After years of buying ‘comfortable’ bras, that never fitted properly and squashed me into a mono-boob; I think I’ve finally cracked it and managed to make a comfortable and very pretty non-wired bra for a larger boobed woman. I’m an odd size and my most comfortable bra I own is an underwired Freya bra in UK32FF. I l like wearing a bra at night so I need a soft and comfortable bra that I can sleep in.
This is going to be a self help guide to making your own bra from one you already own that is super comfy.
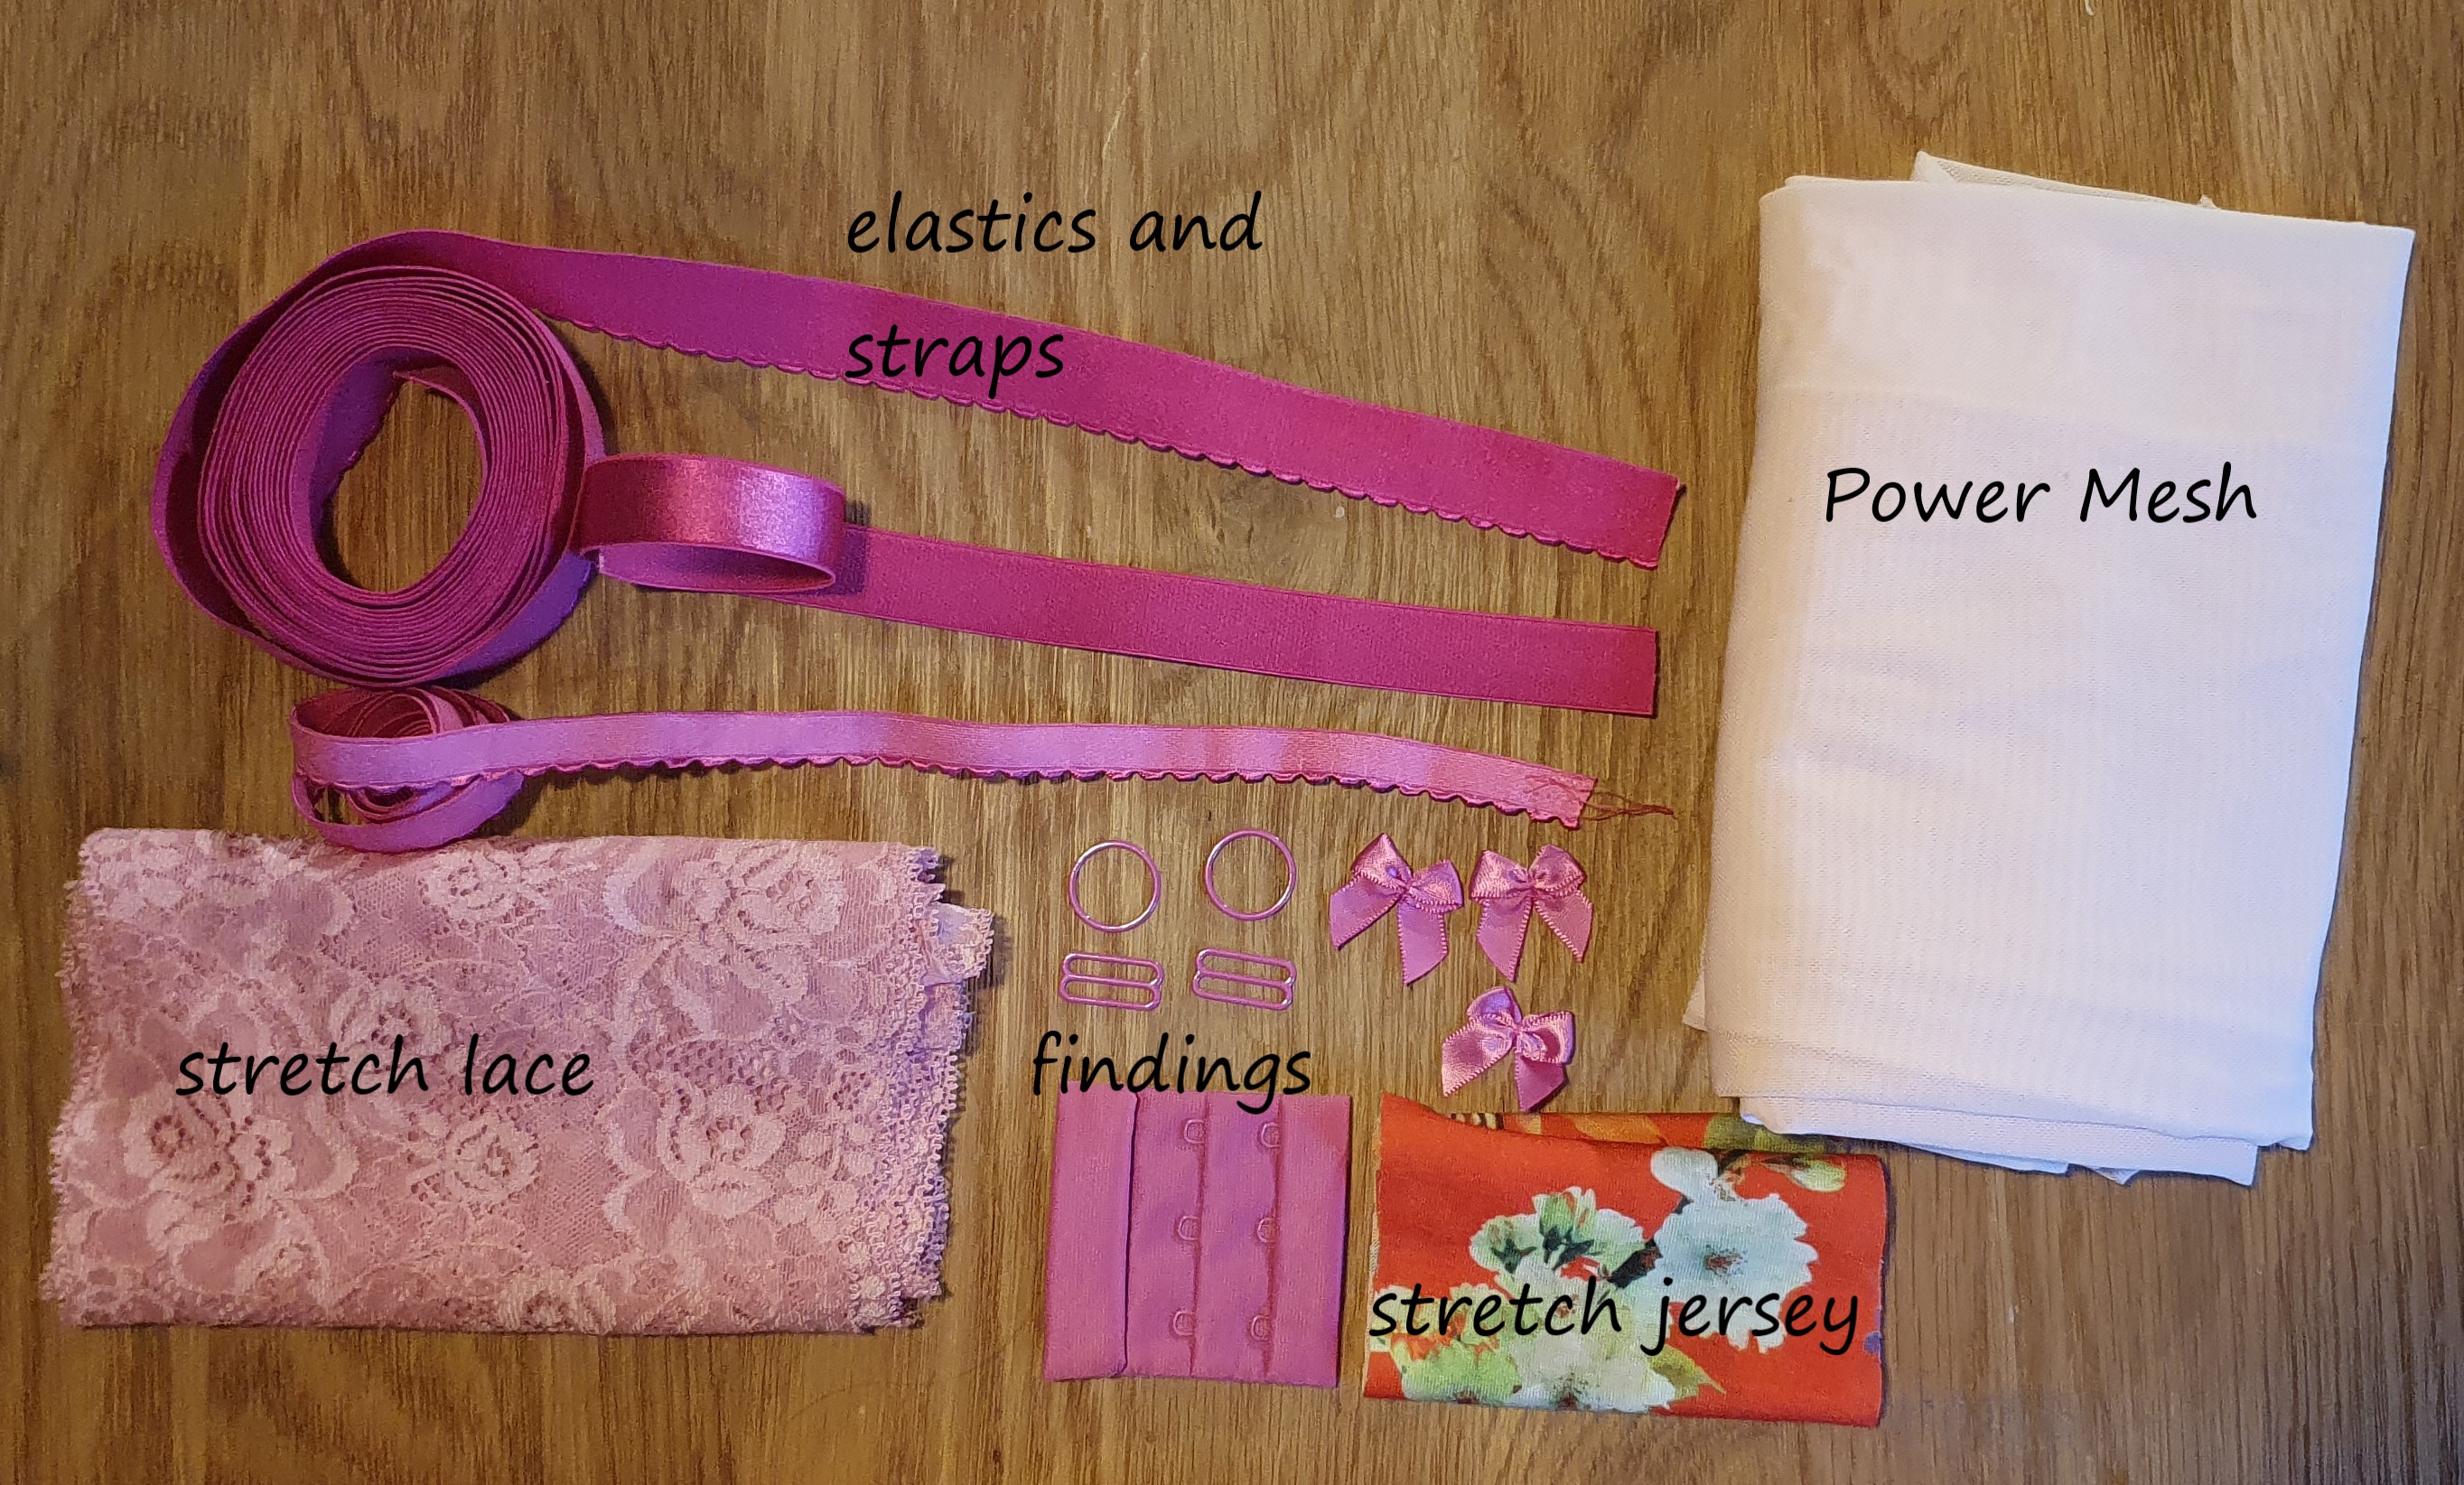
You are going to need some bra making supplies. I found these websites very useful:
https://www.sewingchest.co.uk/
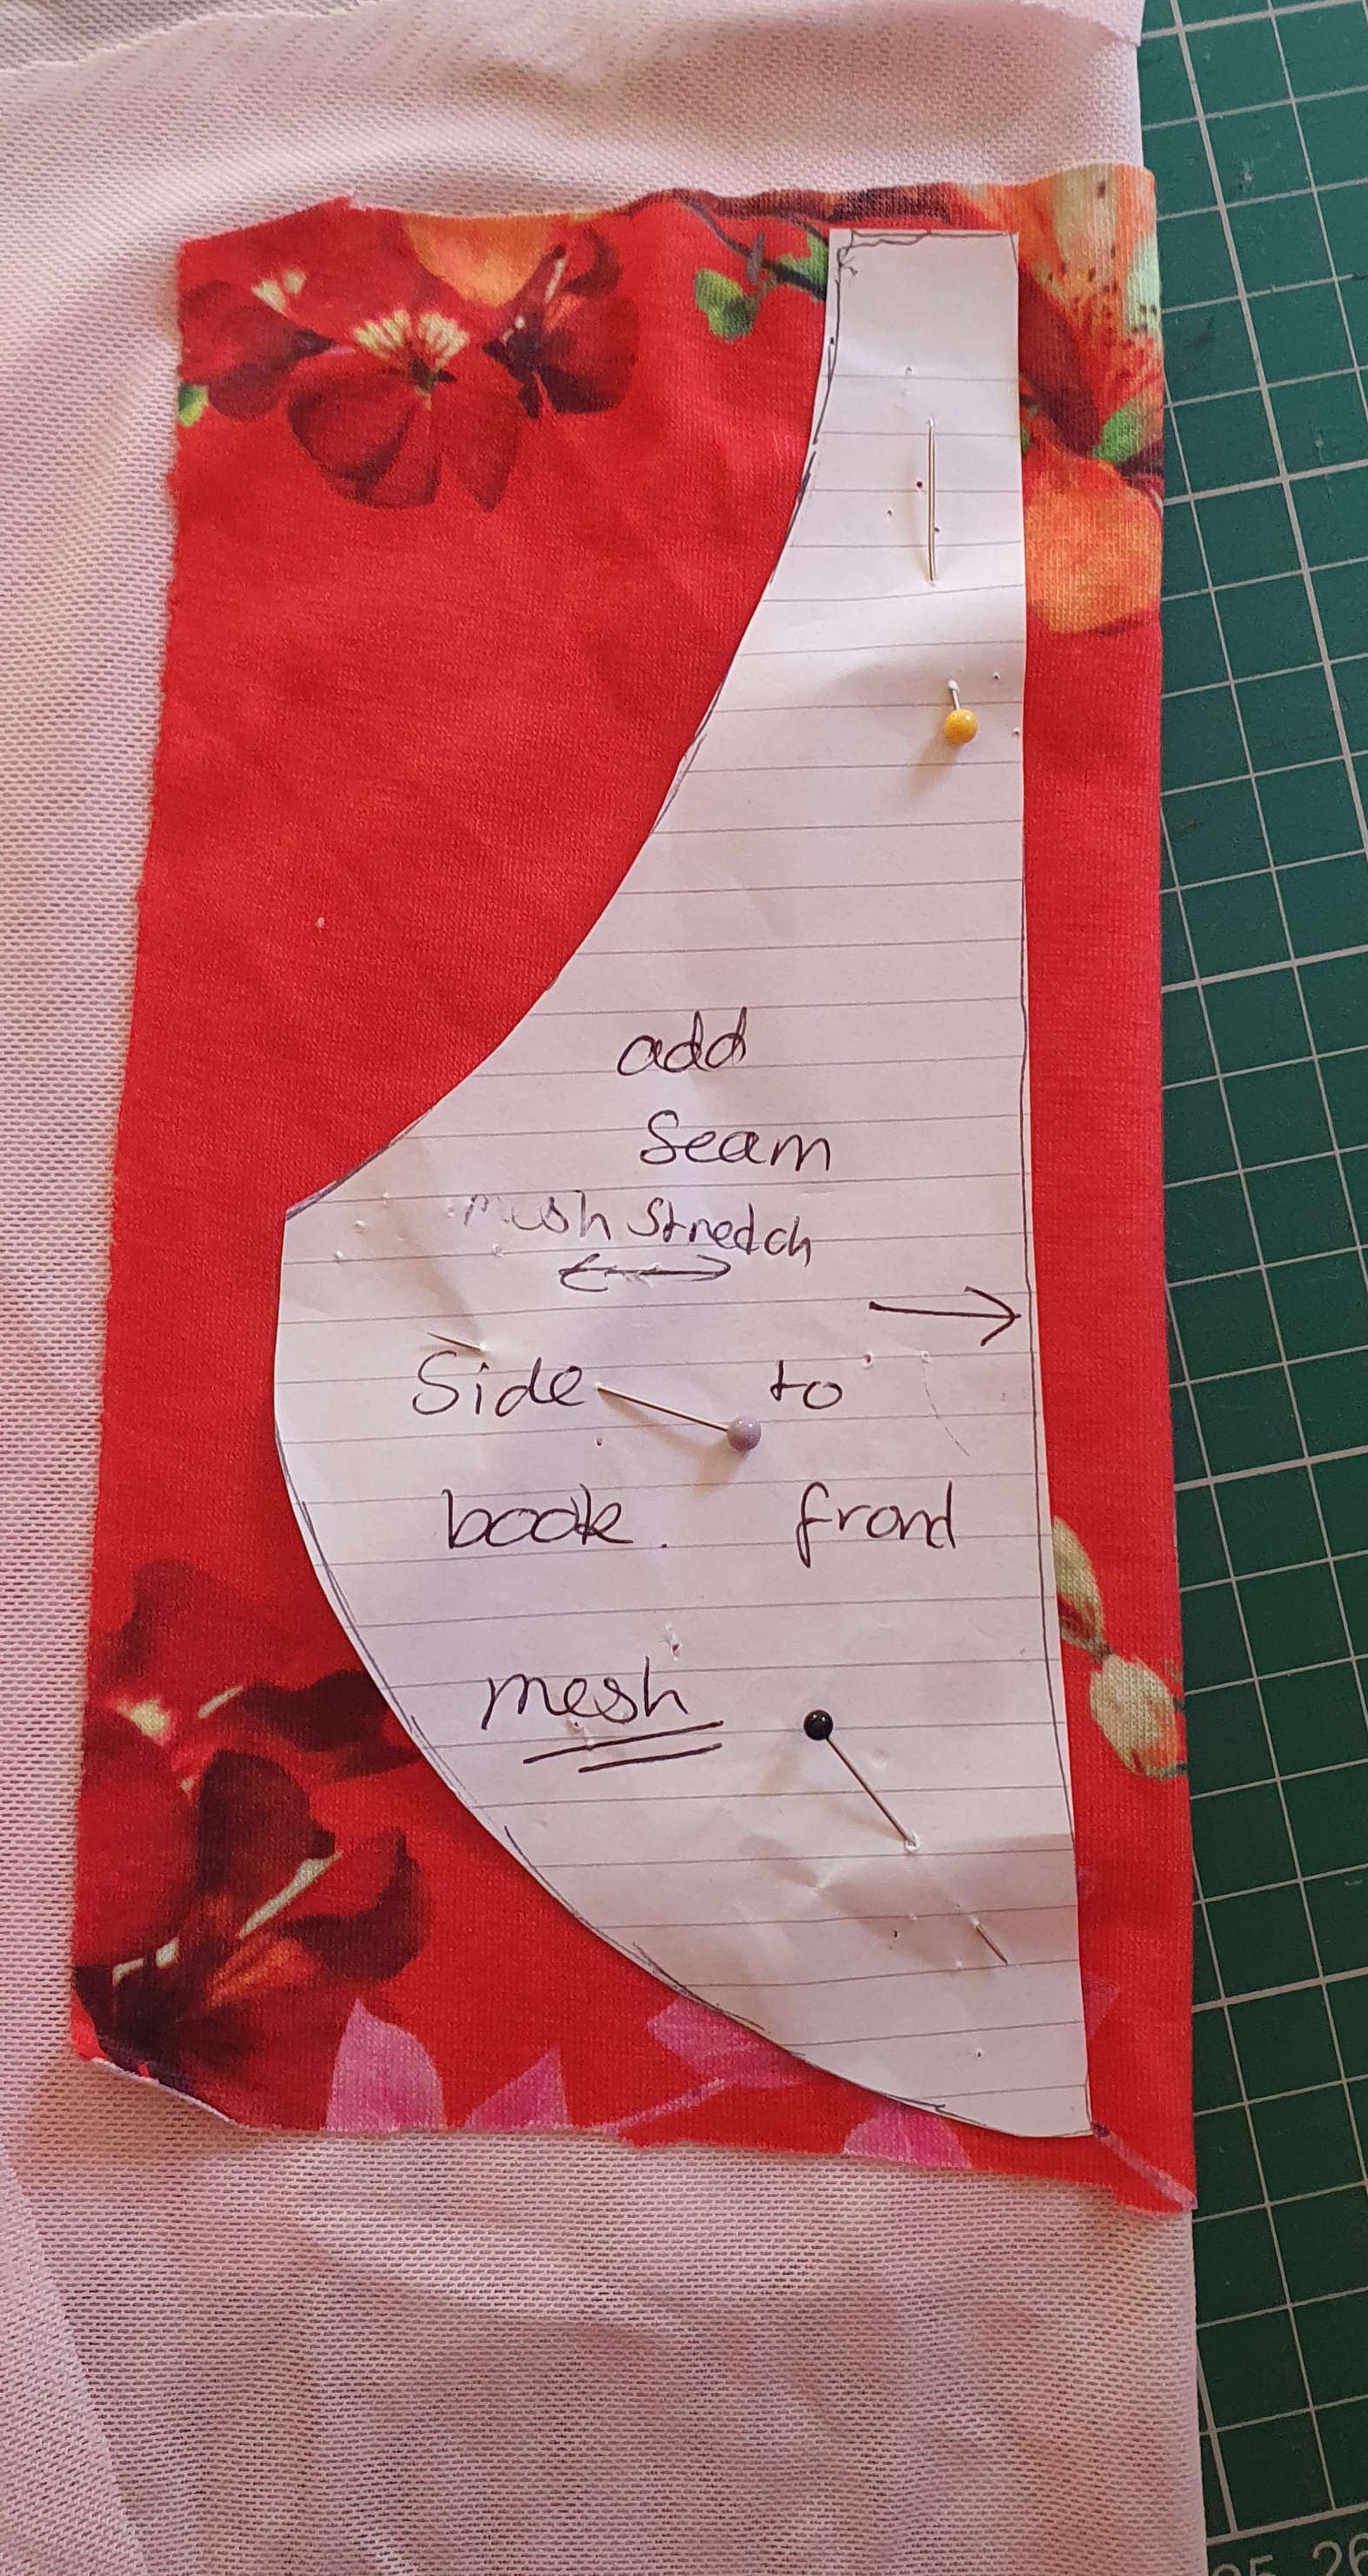
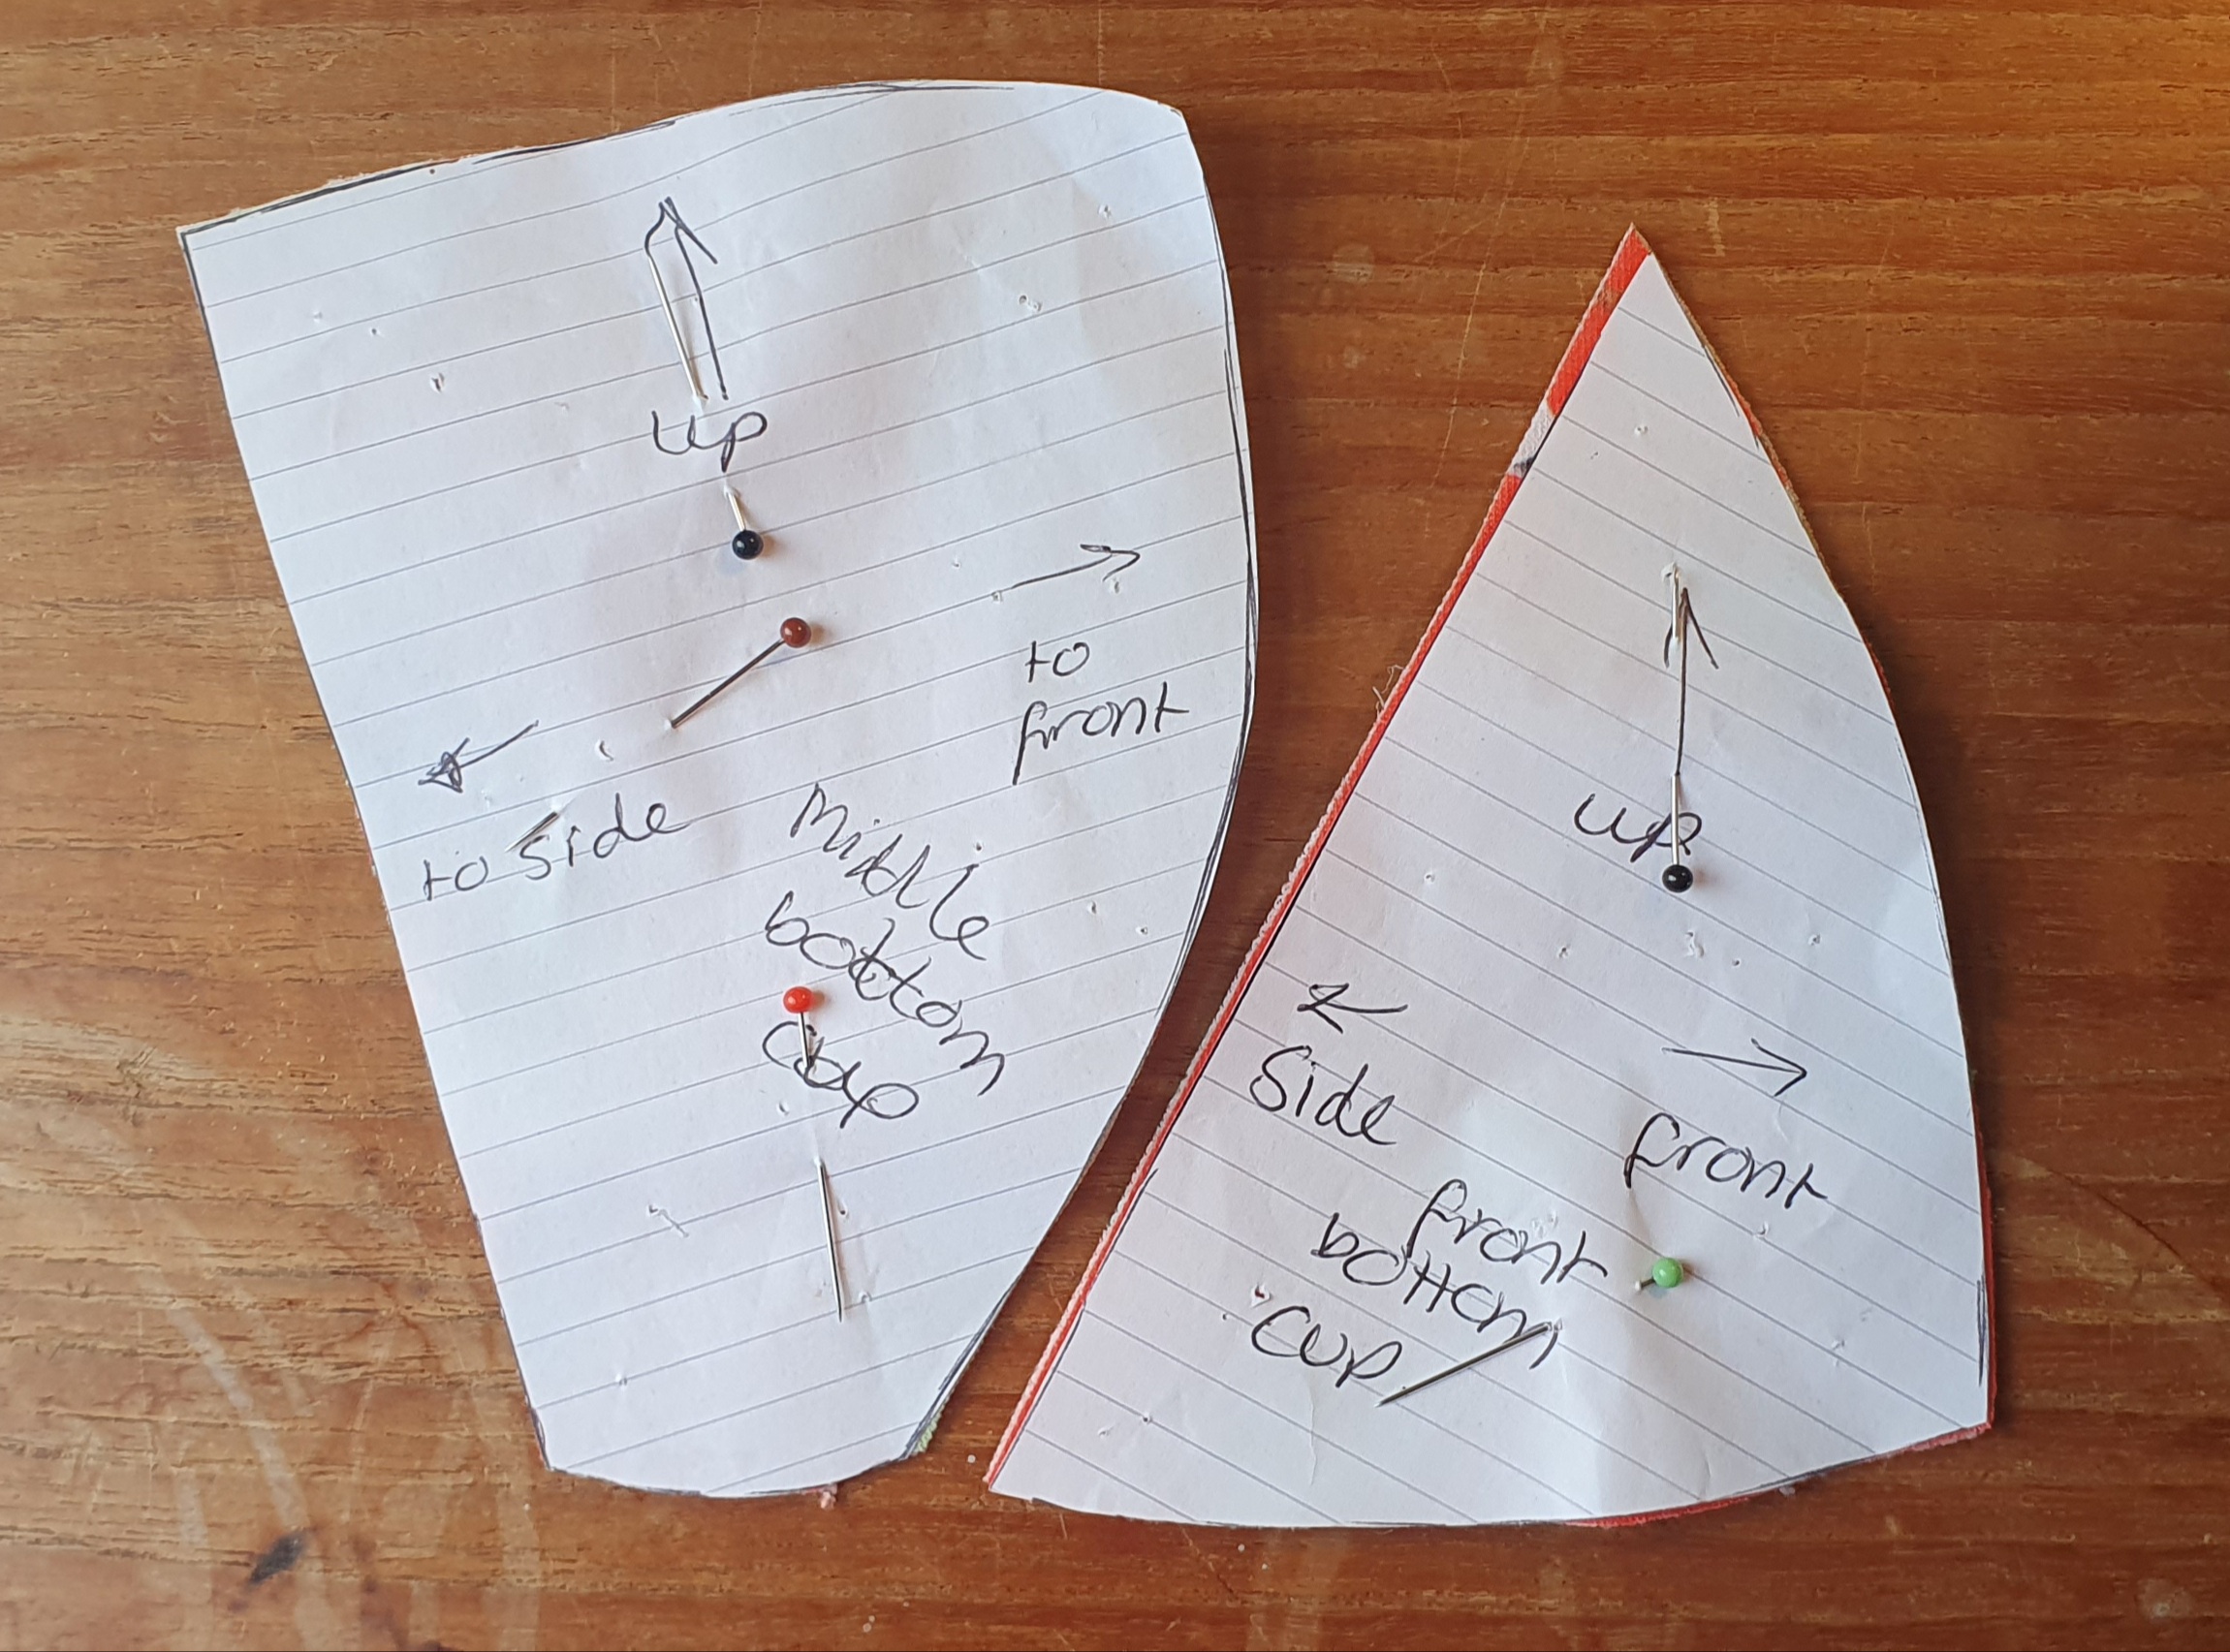
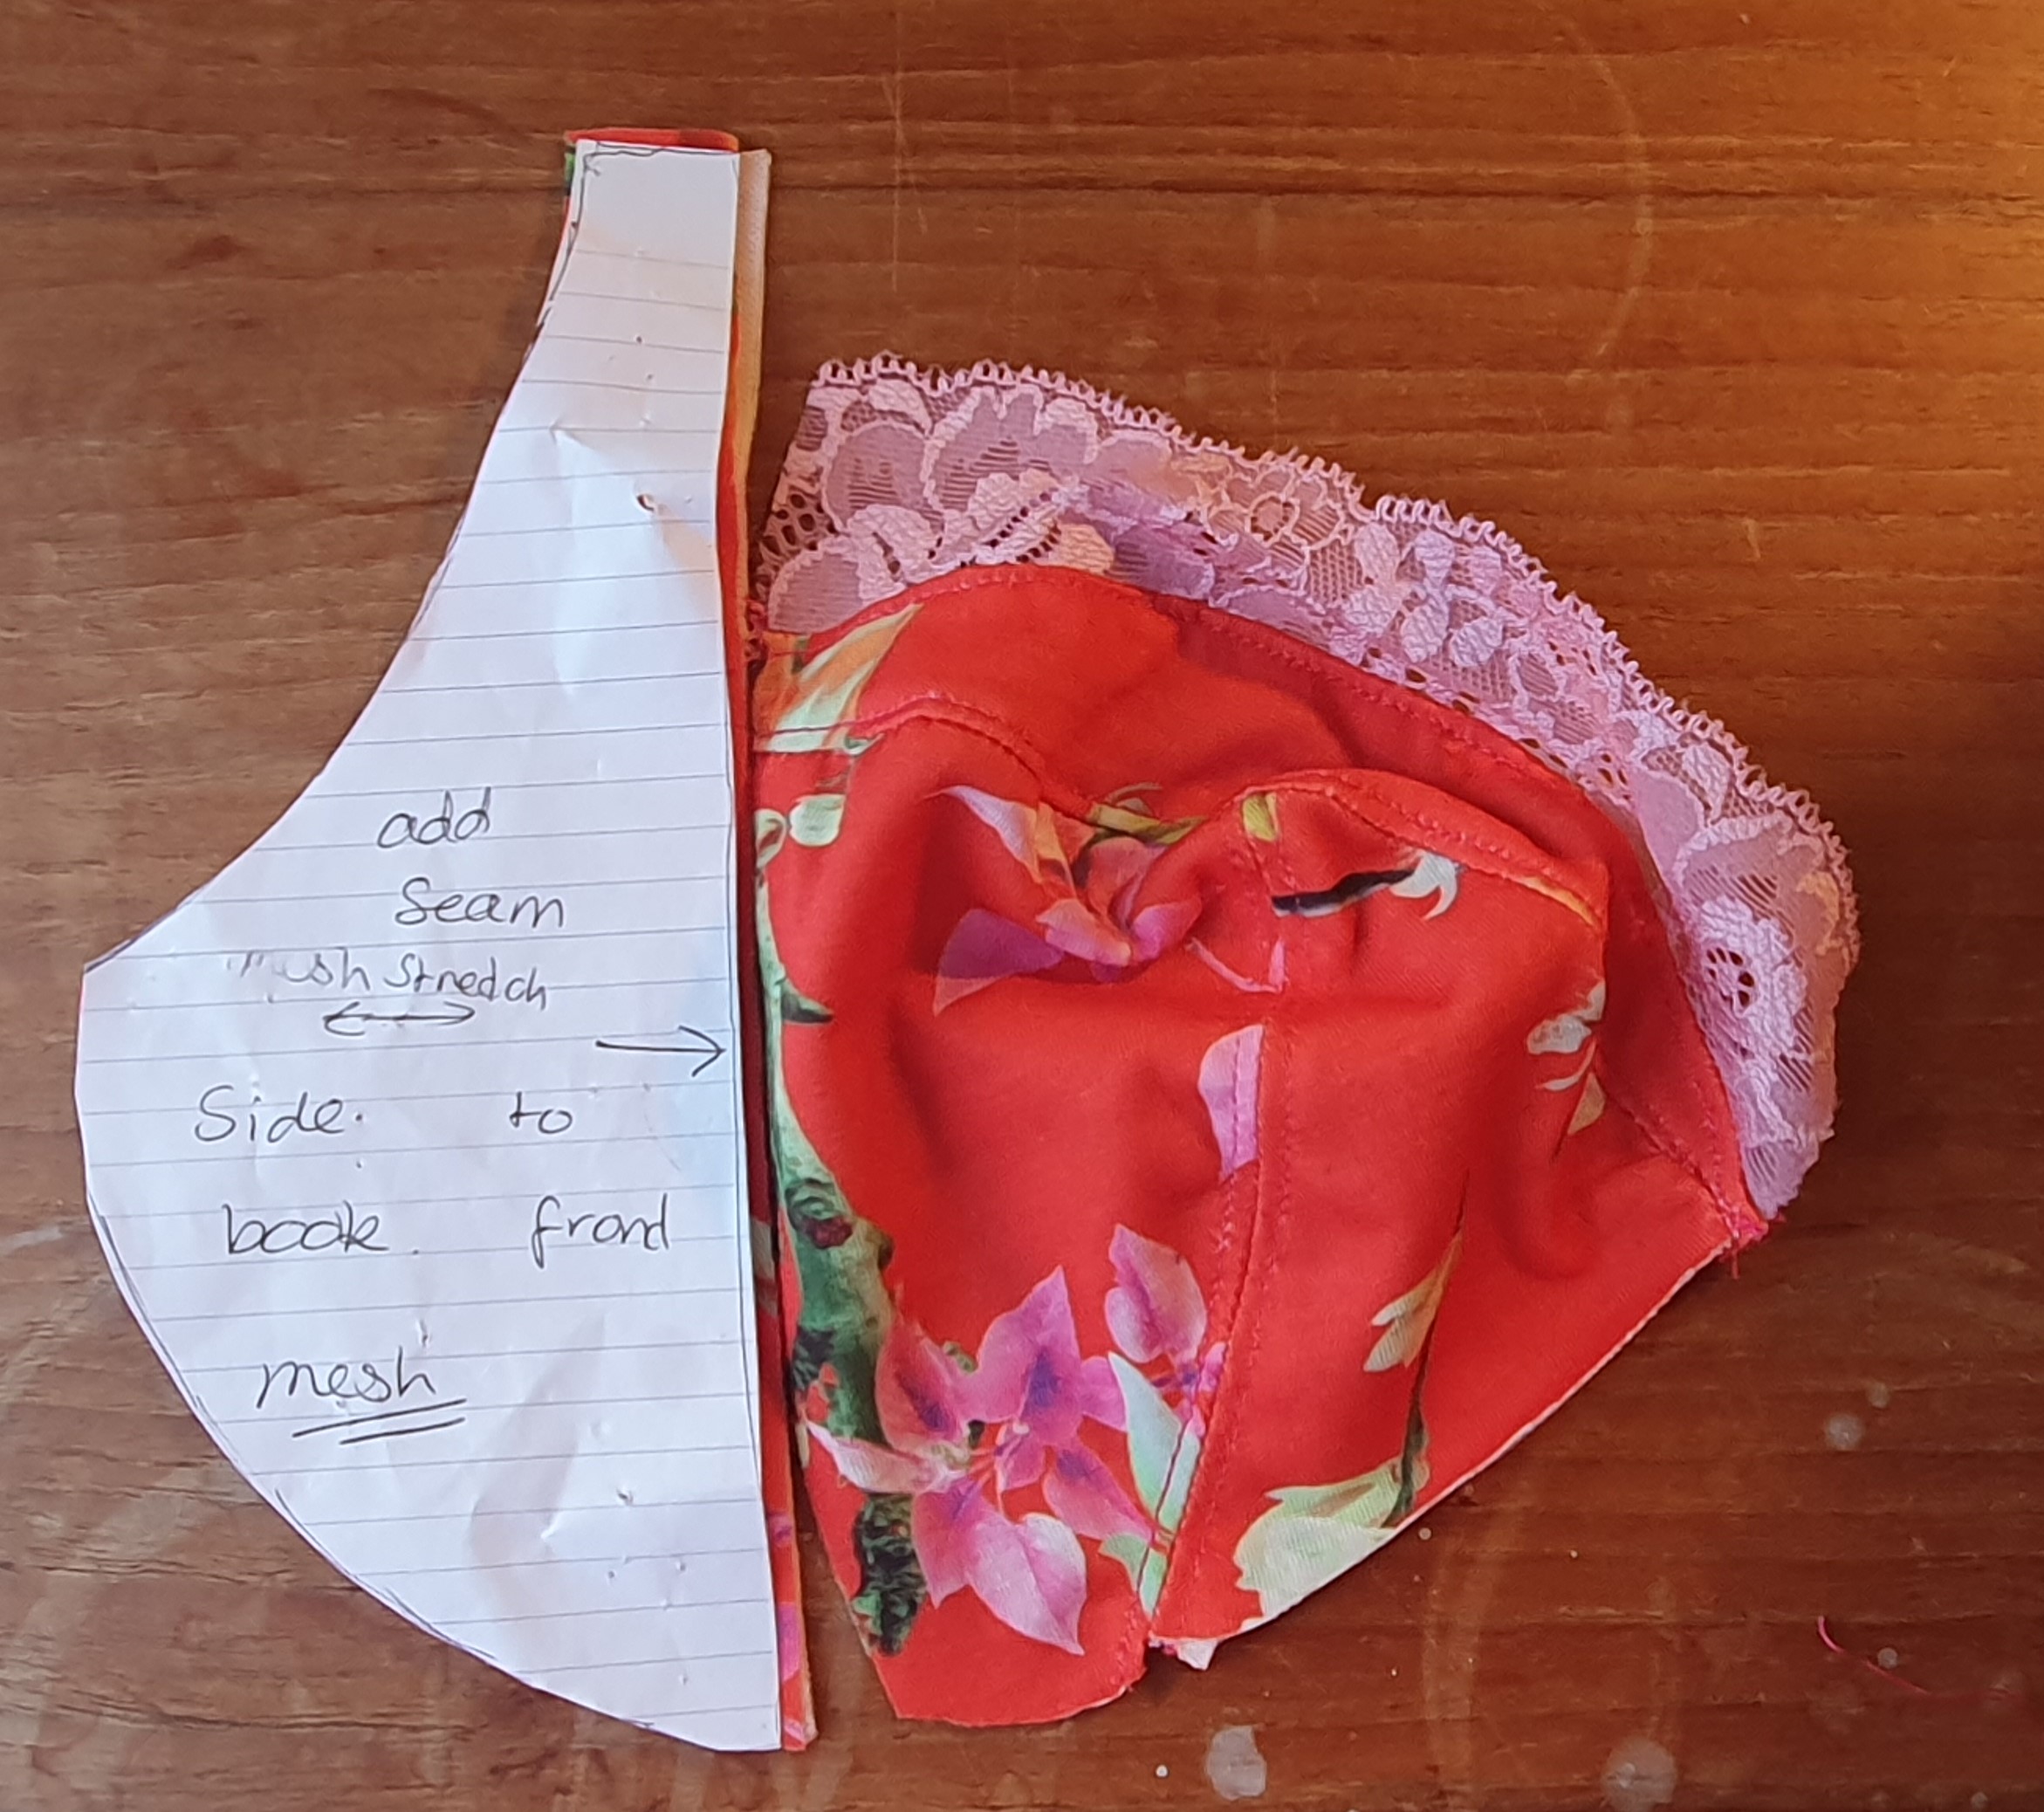
First you need to carefully make pattern pieces from your bra. I did this by marking the straight edges with dots and joining the points together. You will have to manipulate the bra to stretch out the elastic parts to get an accurate shape. Add narrow seam allowances where necessary and then check it’s the right shape by laying the bra back on it. keep doing this until you have all the pieces.


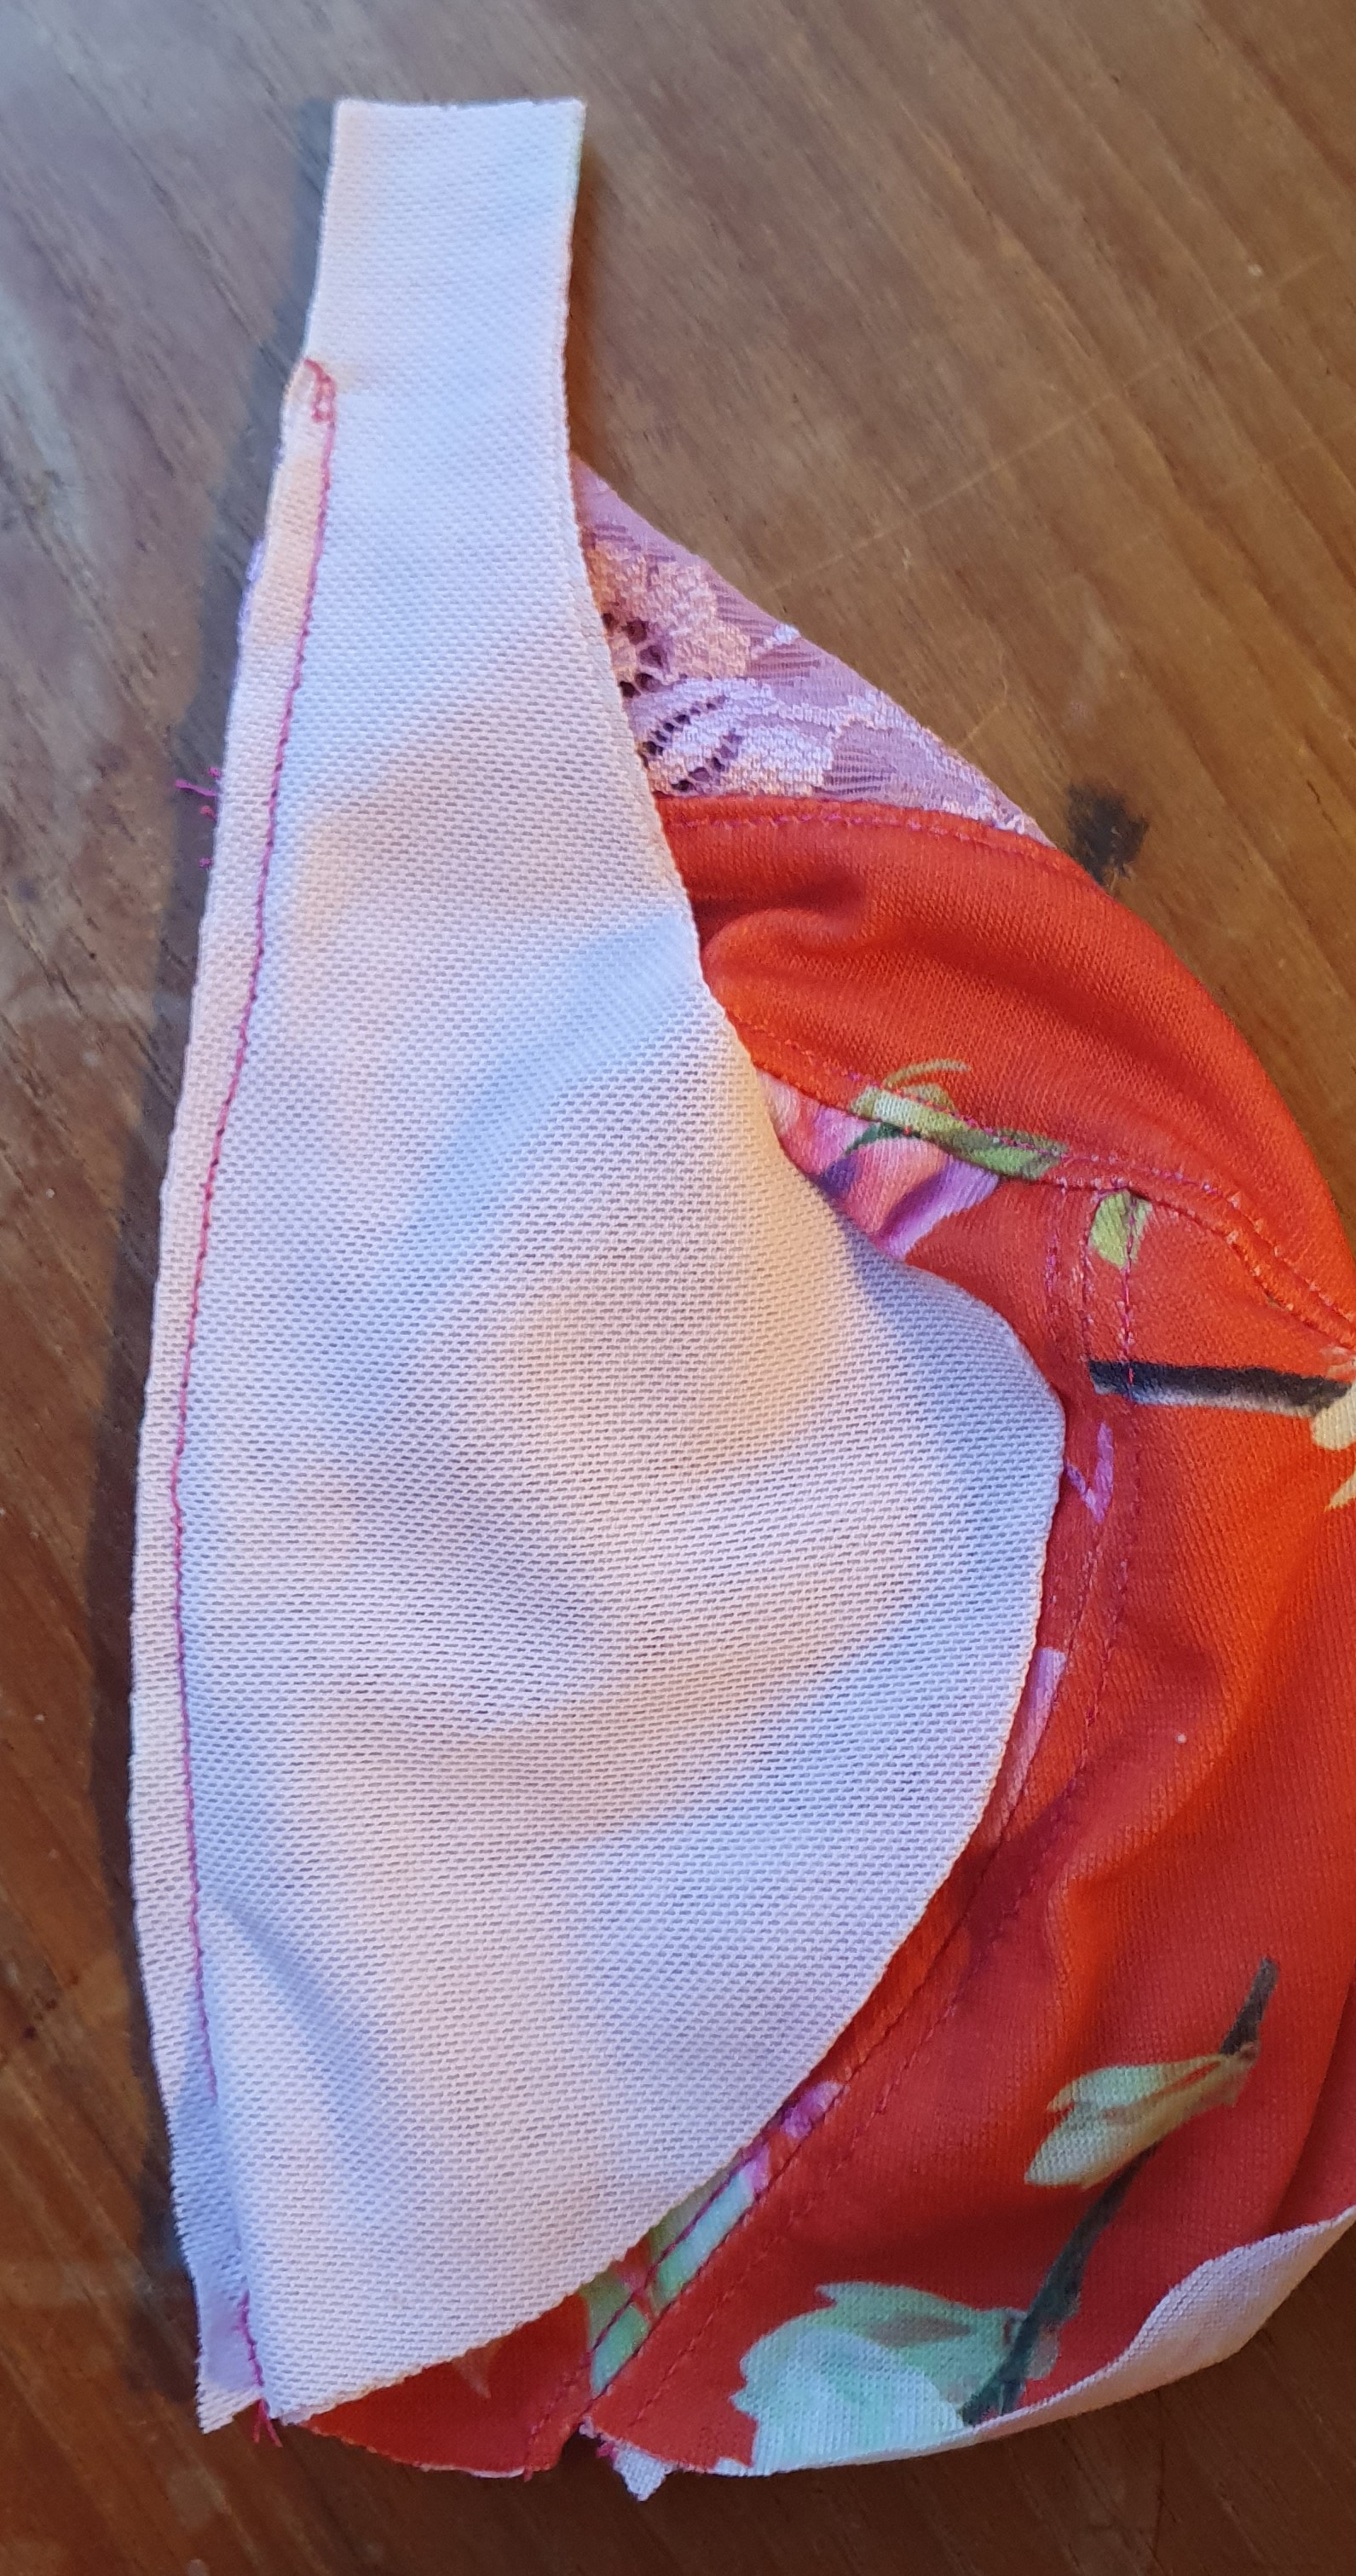
Now you can cut your fabric. I lined the three pieces that were to make up each side with power mesh for extra support. Lay the jersey fabric out and then spray with 505 glue. Carefully add some power mesh to the top. Now that it is lined it can cut as normal from the pattern.

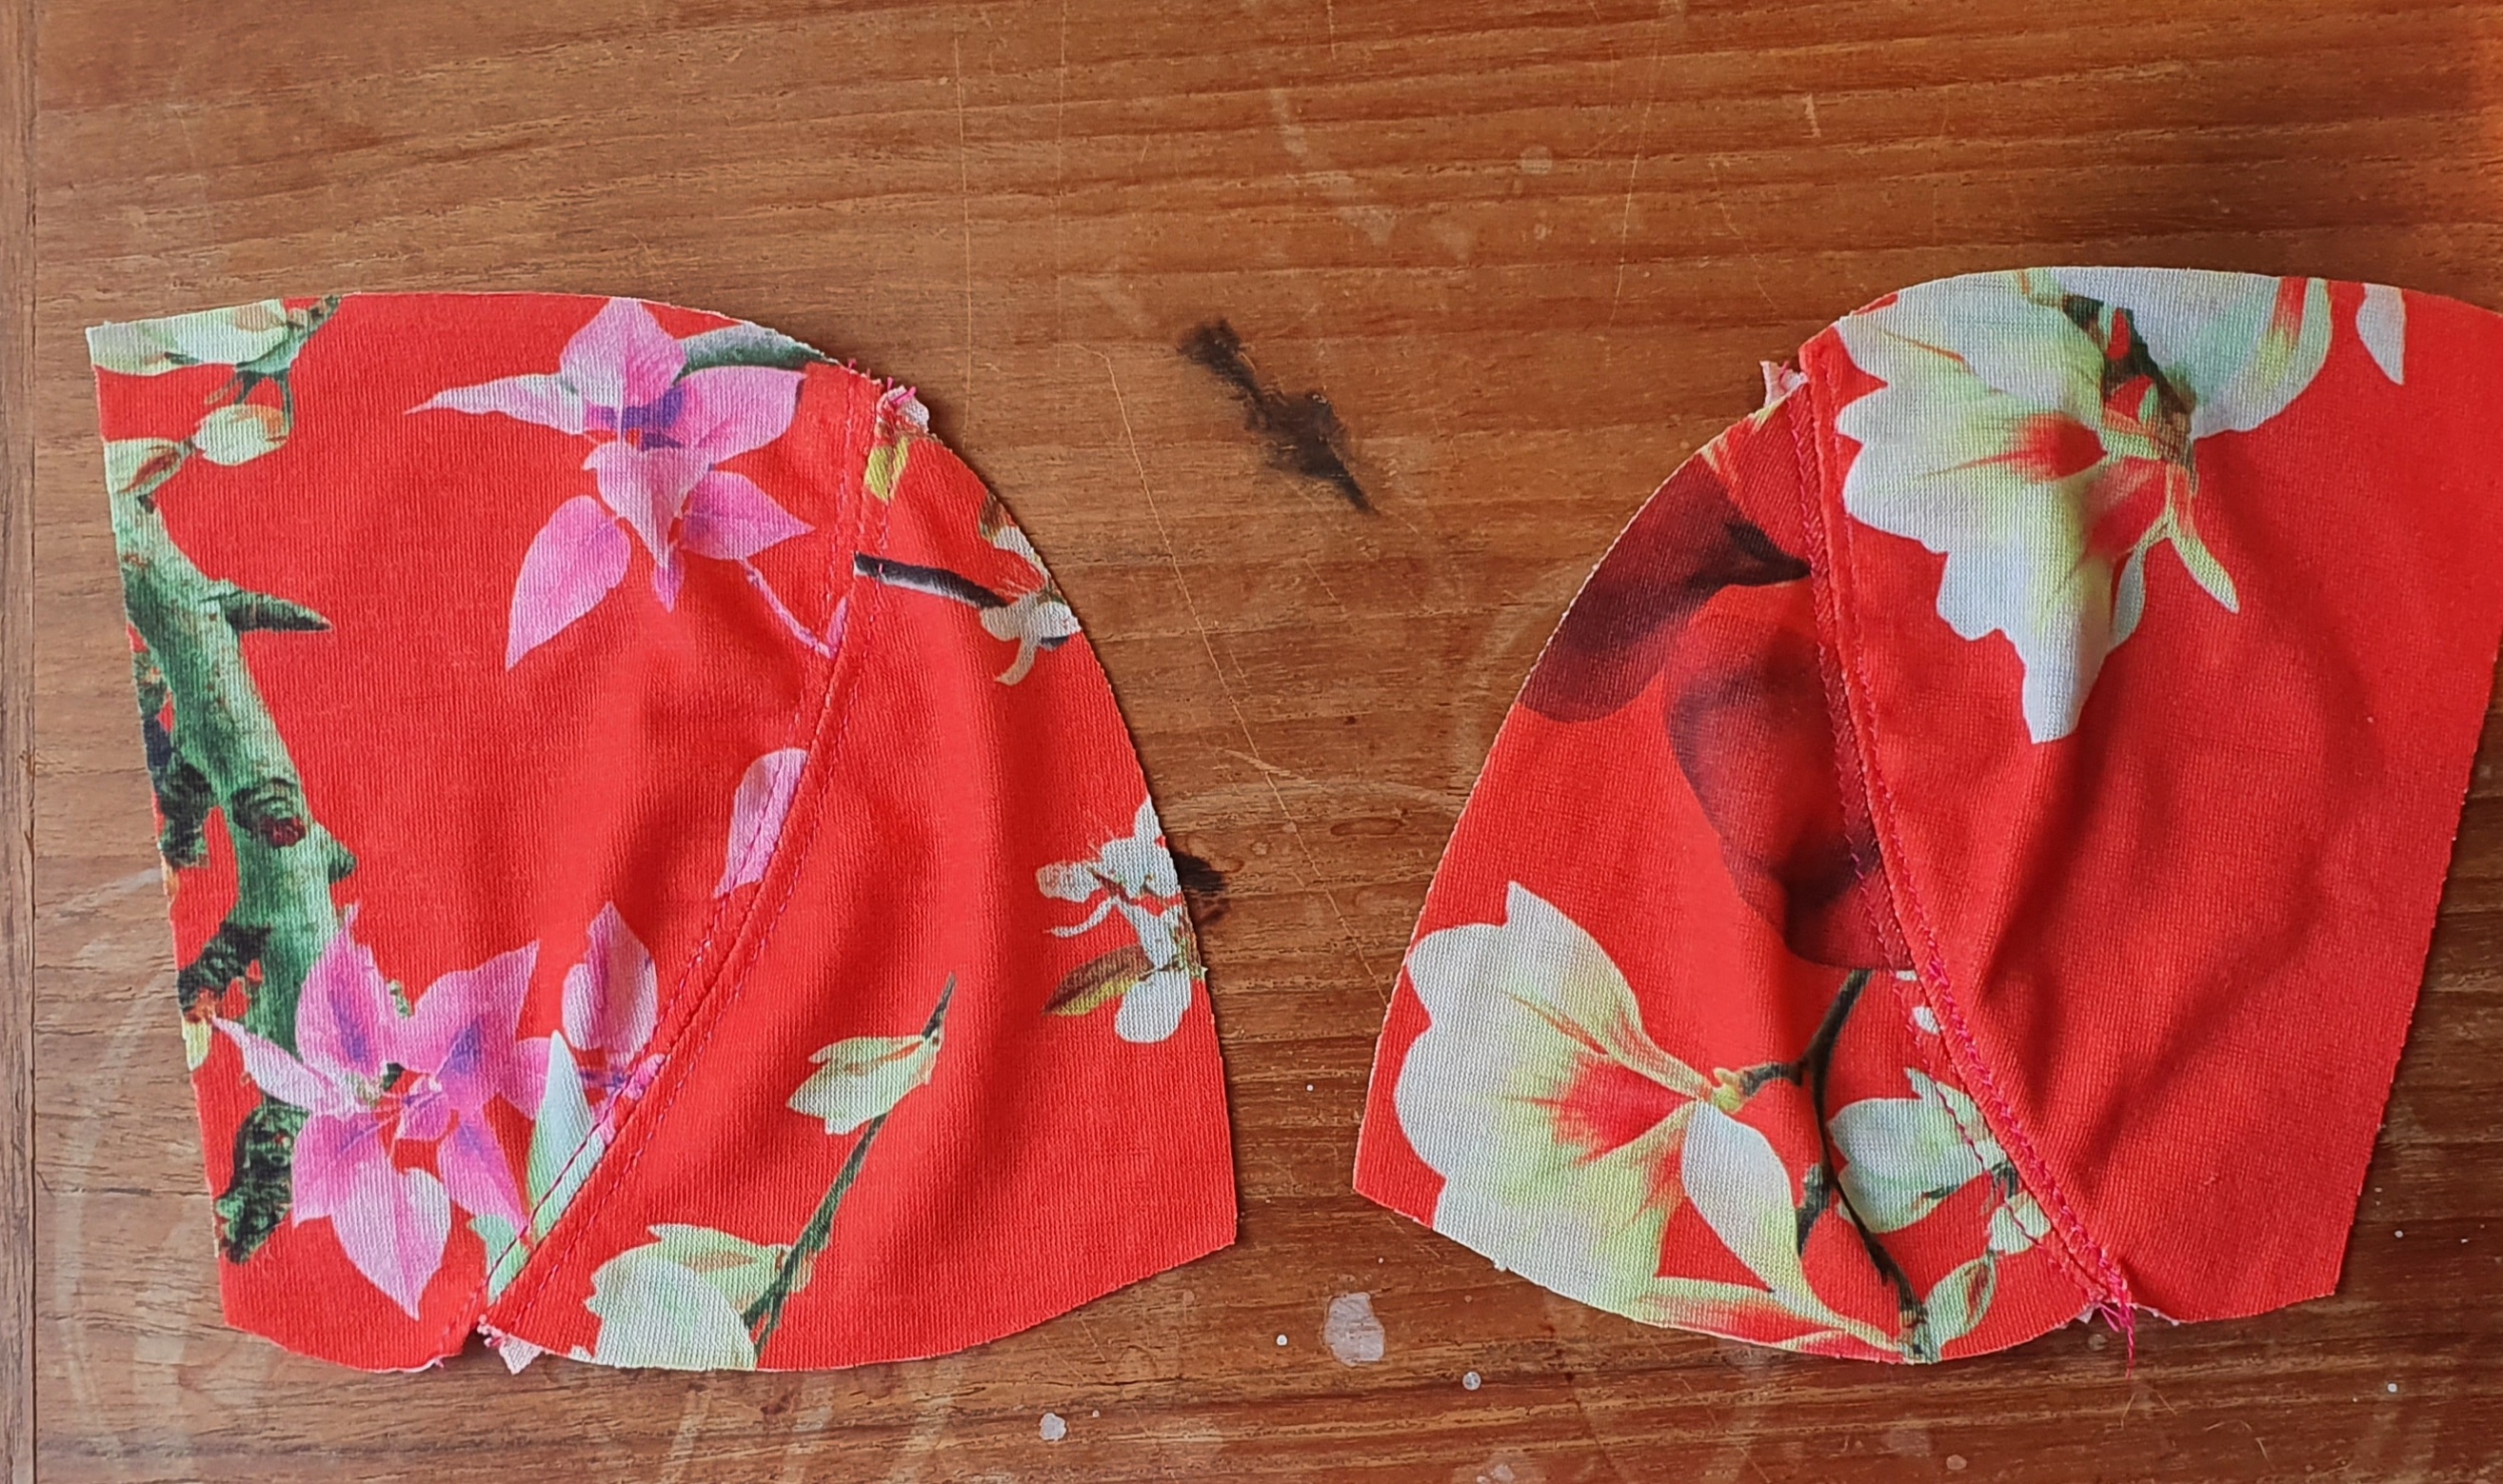
Start to sew together the cups. I made a trial cup first to see if it fits and then adjusted the pattern as needed.
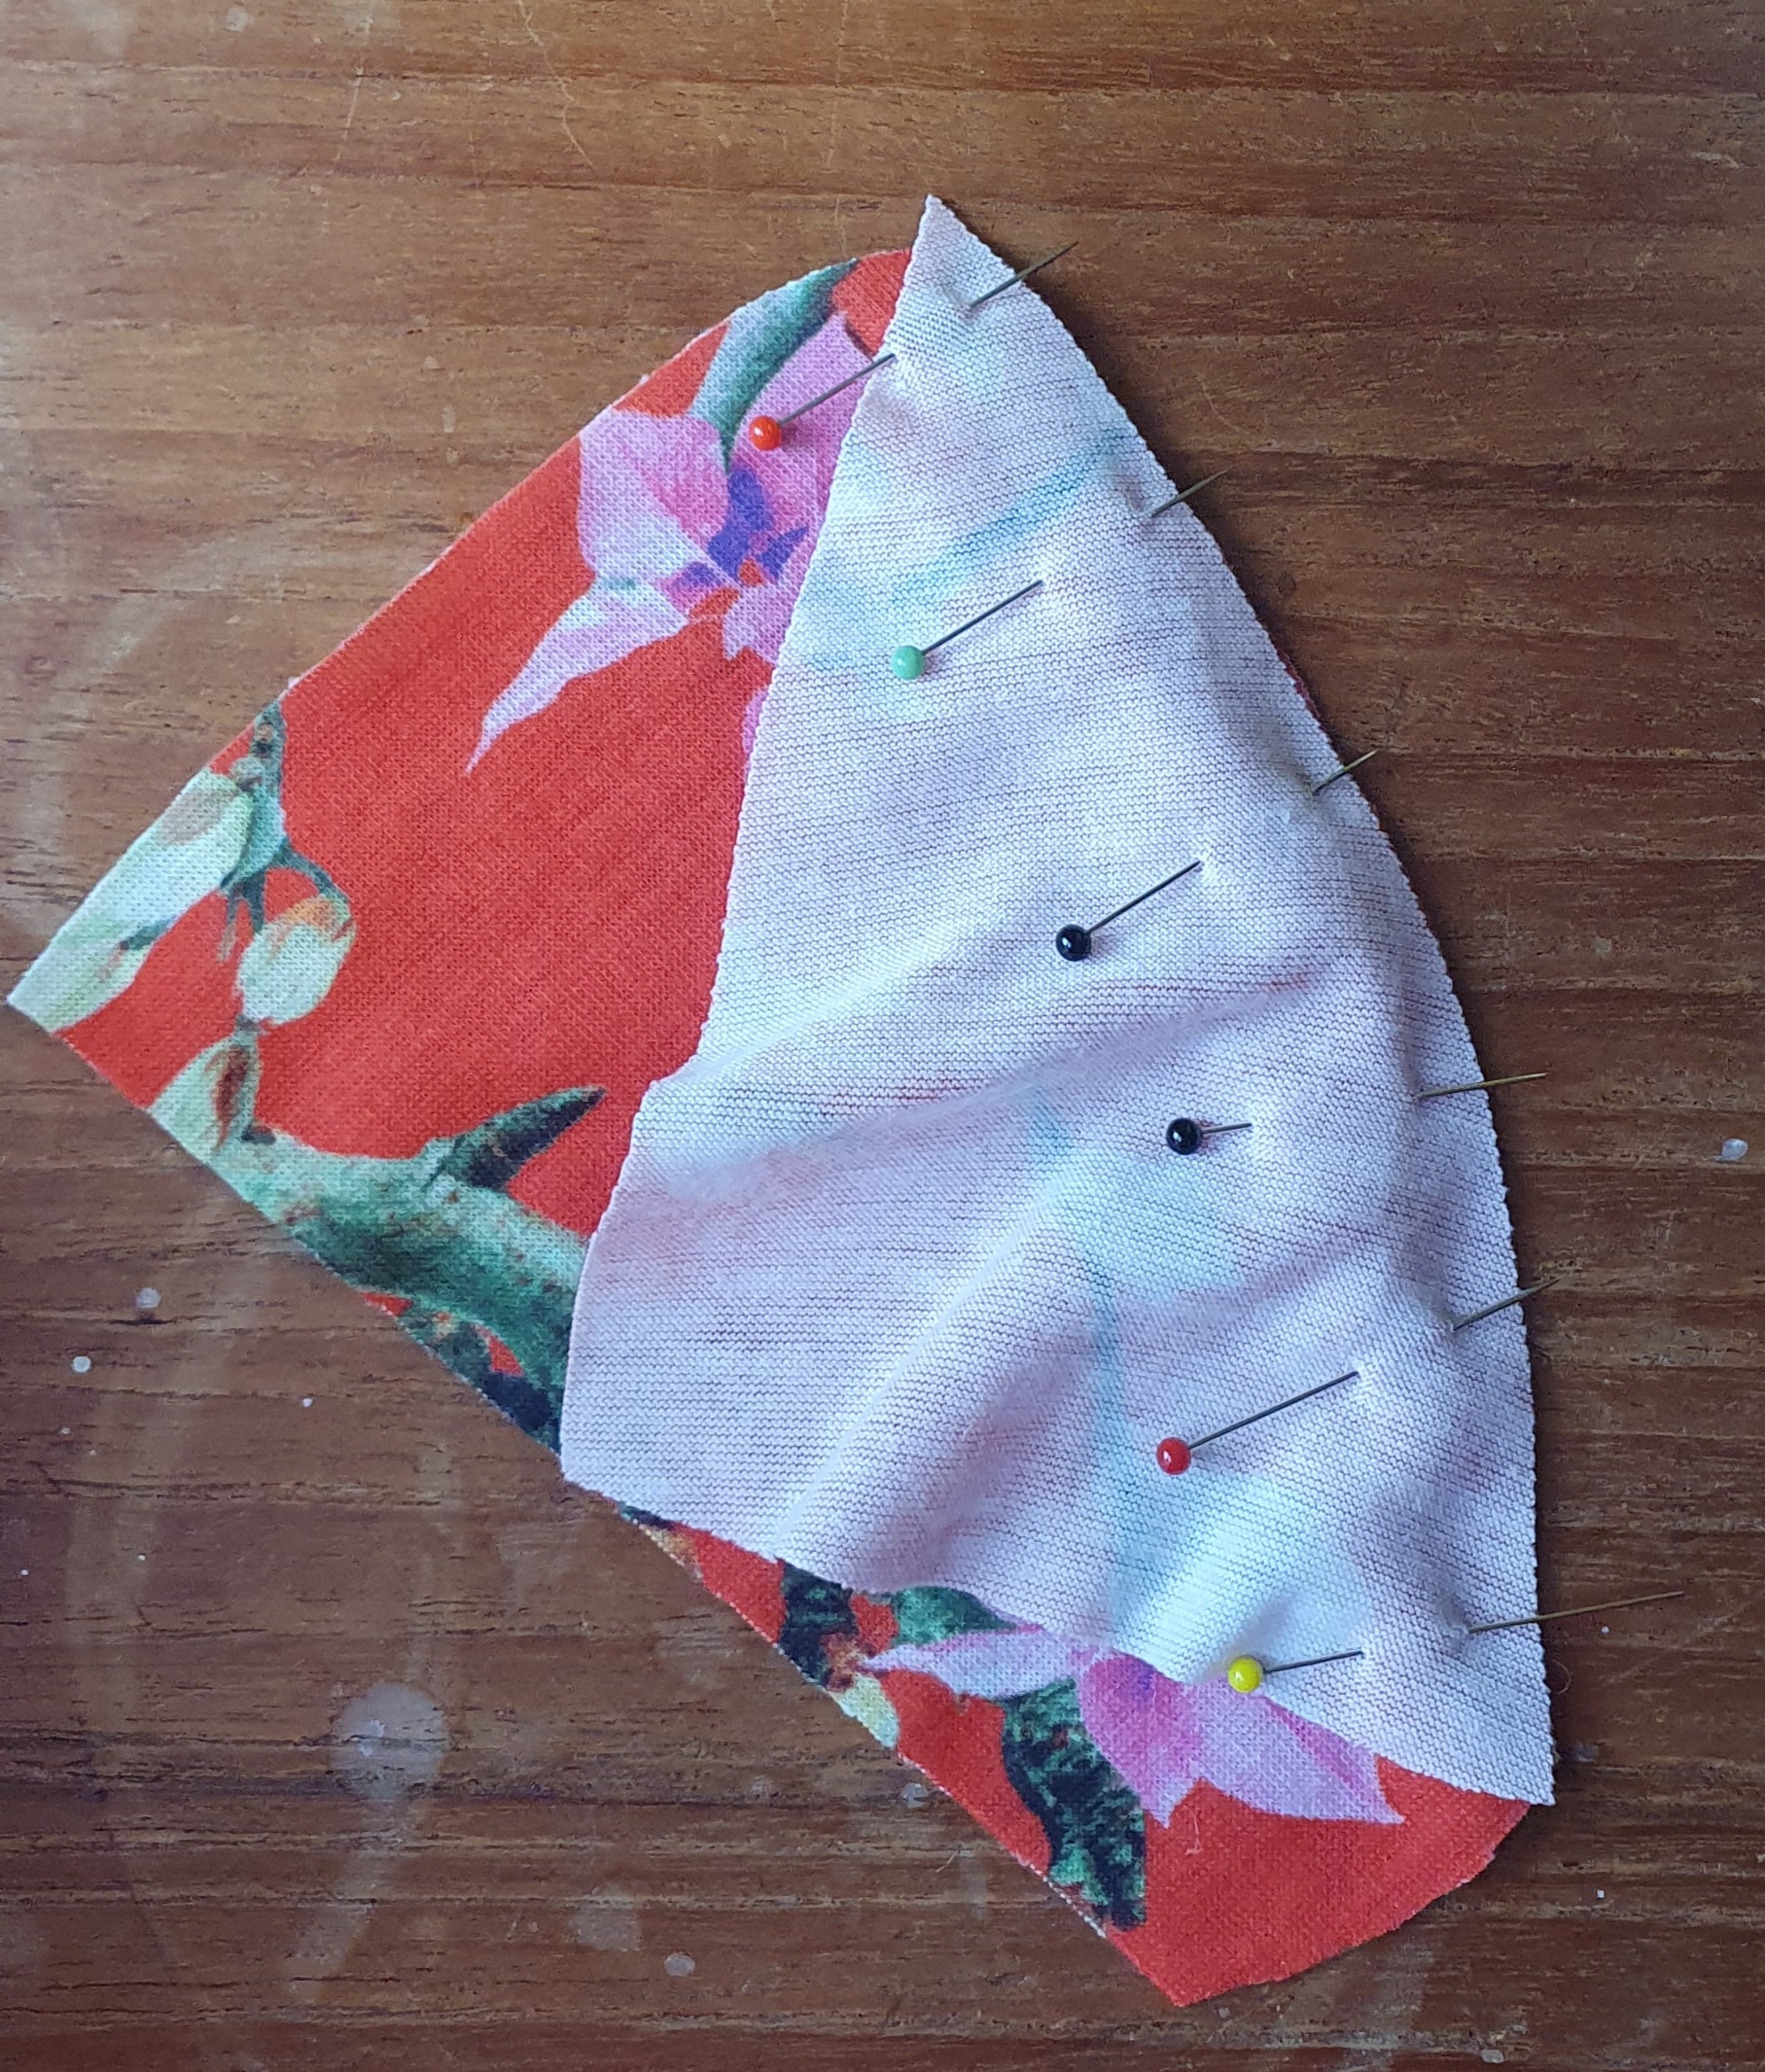
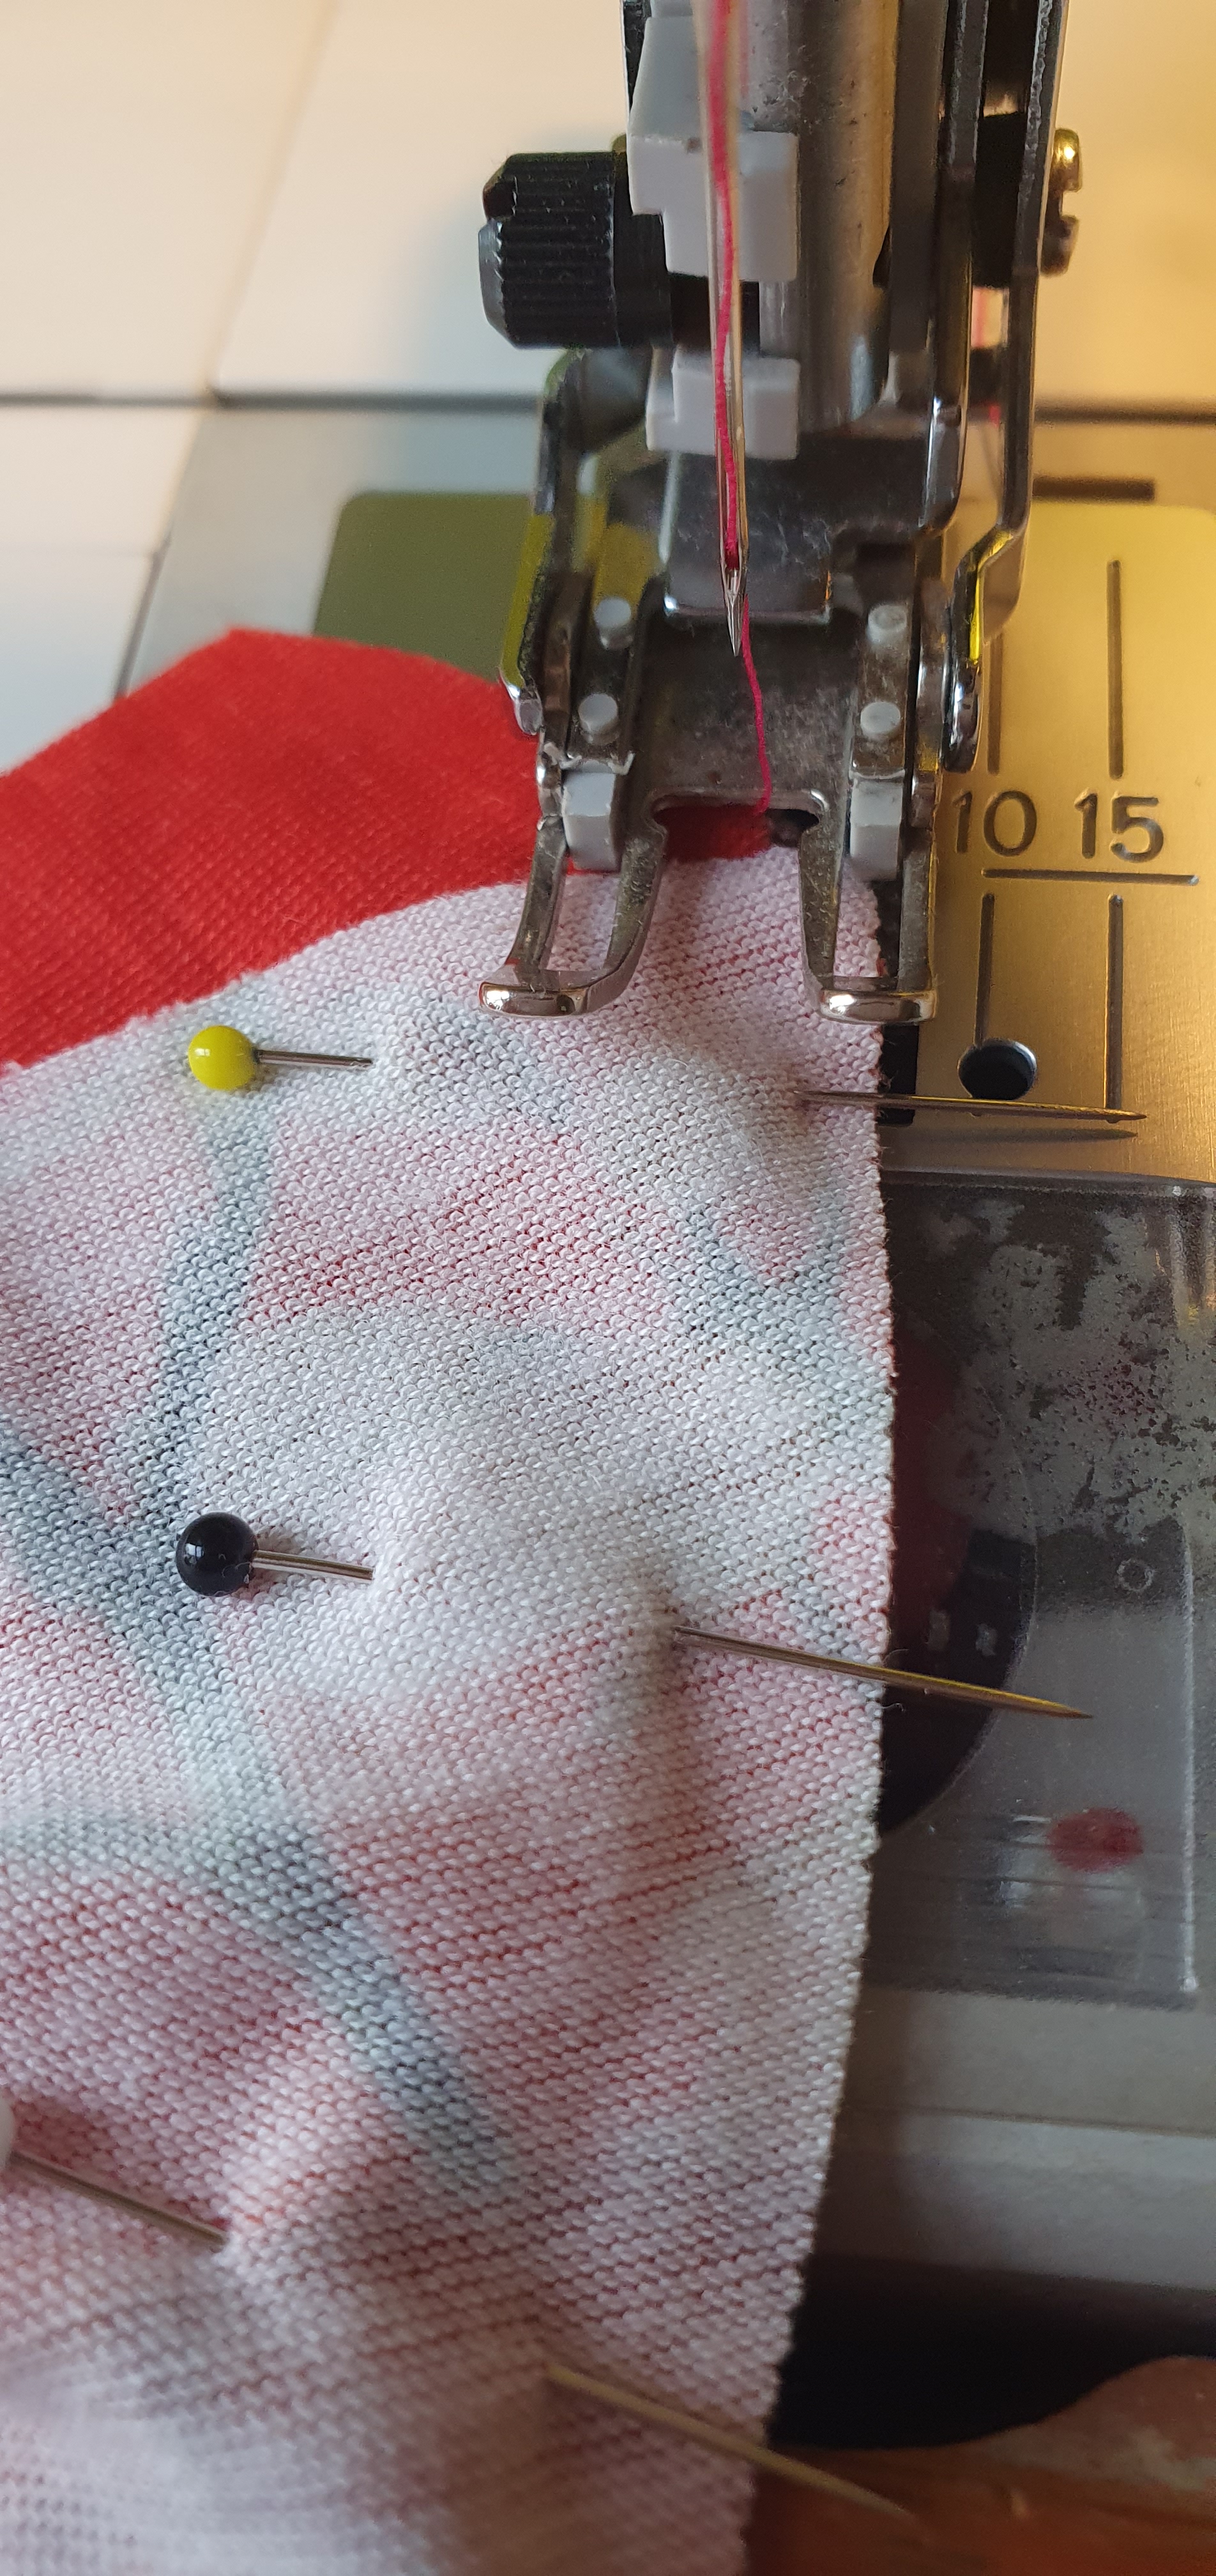
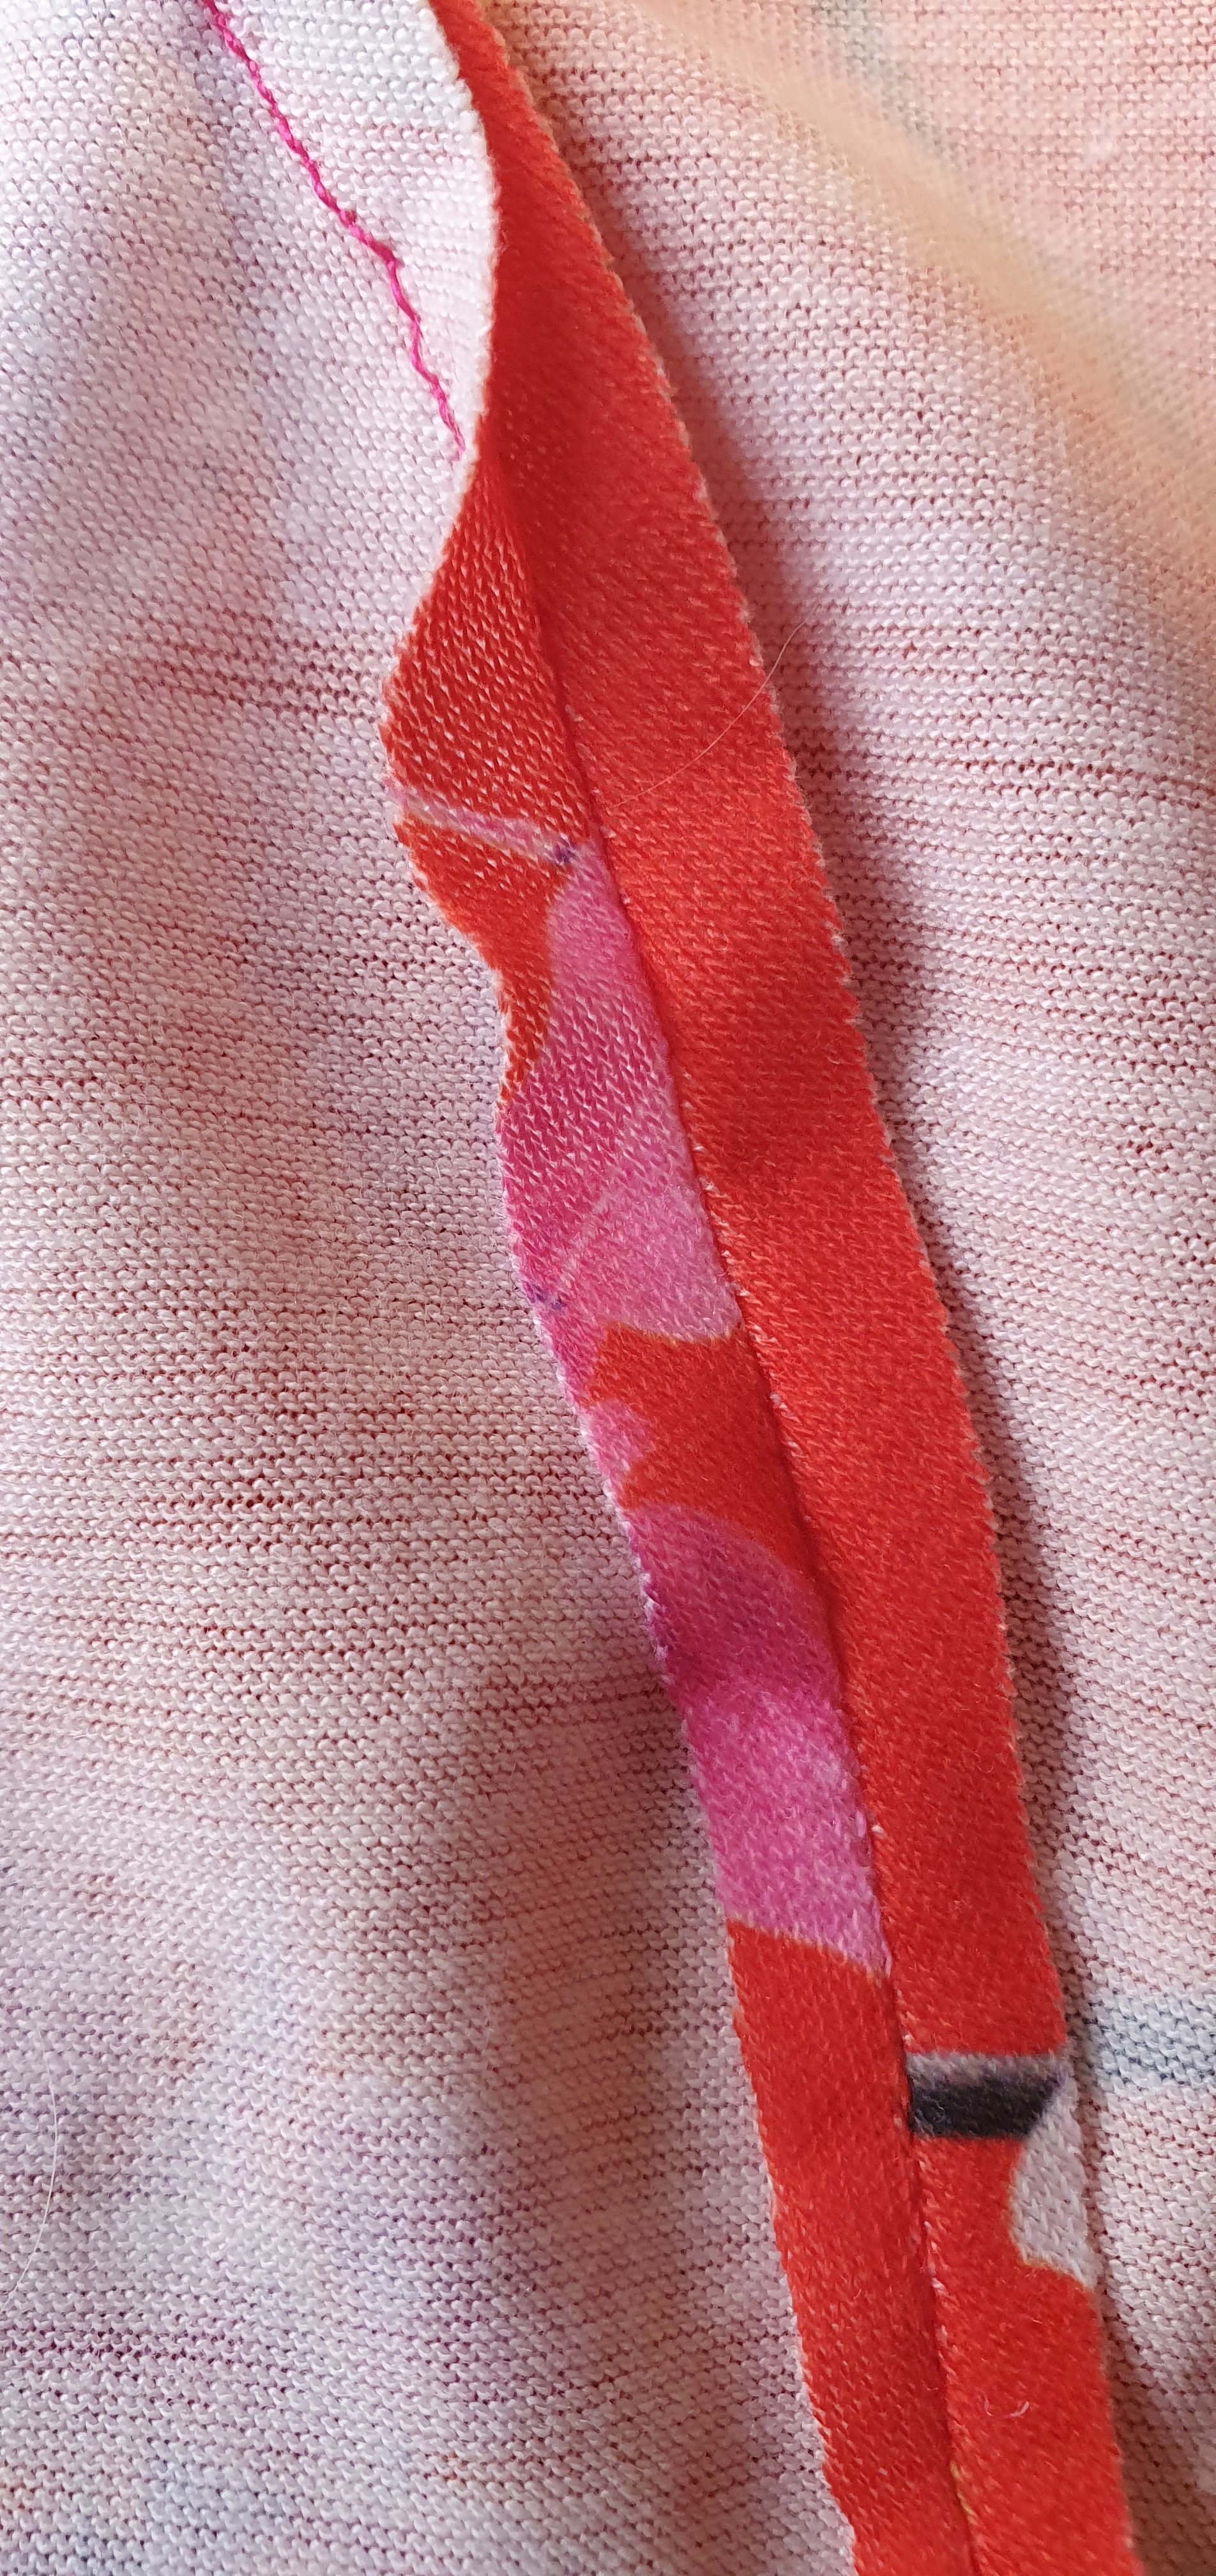
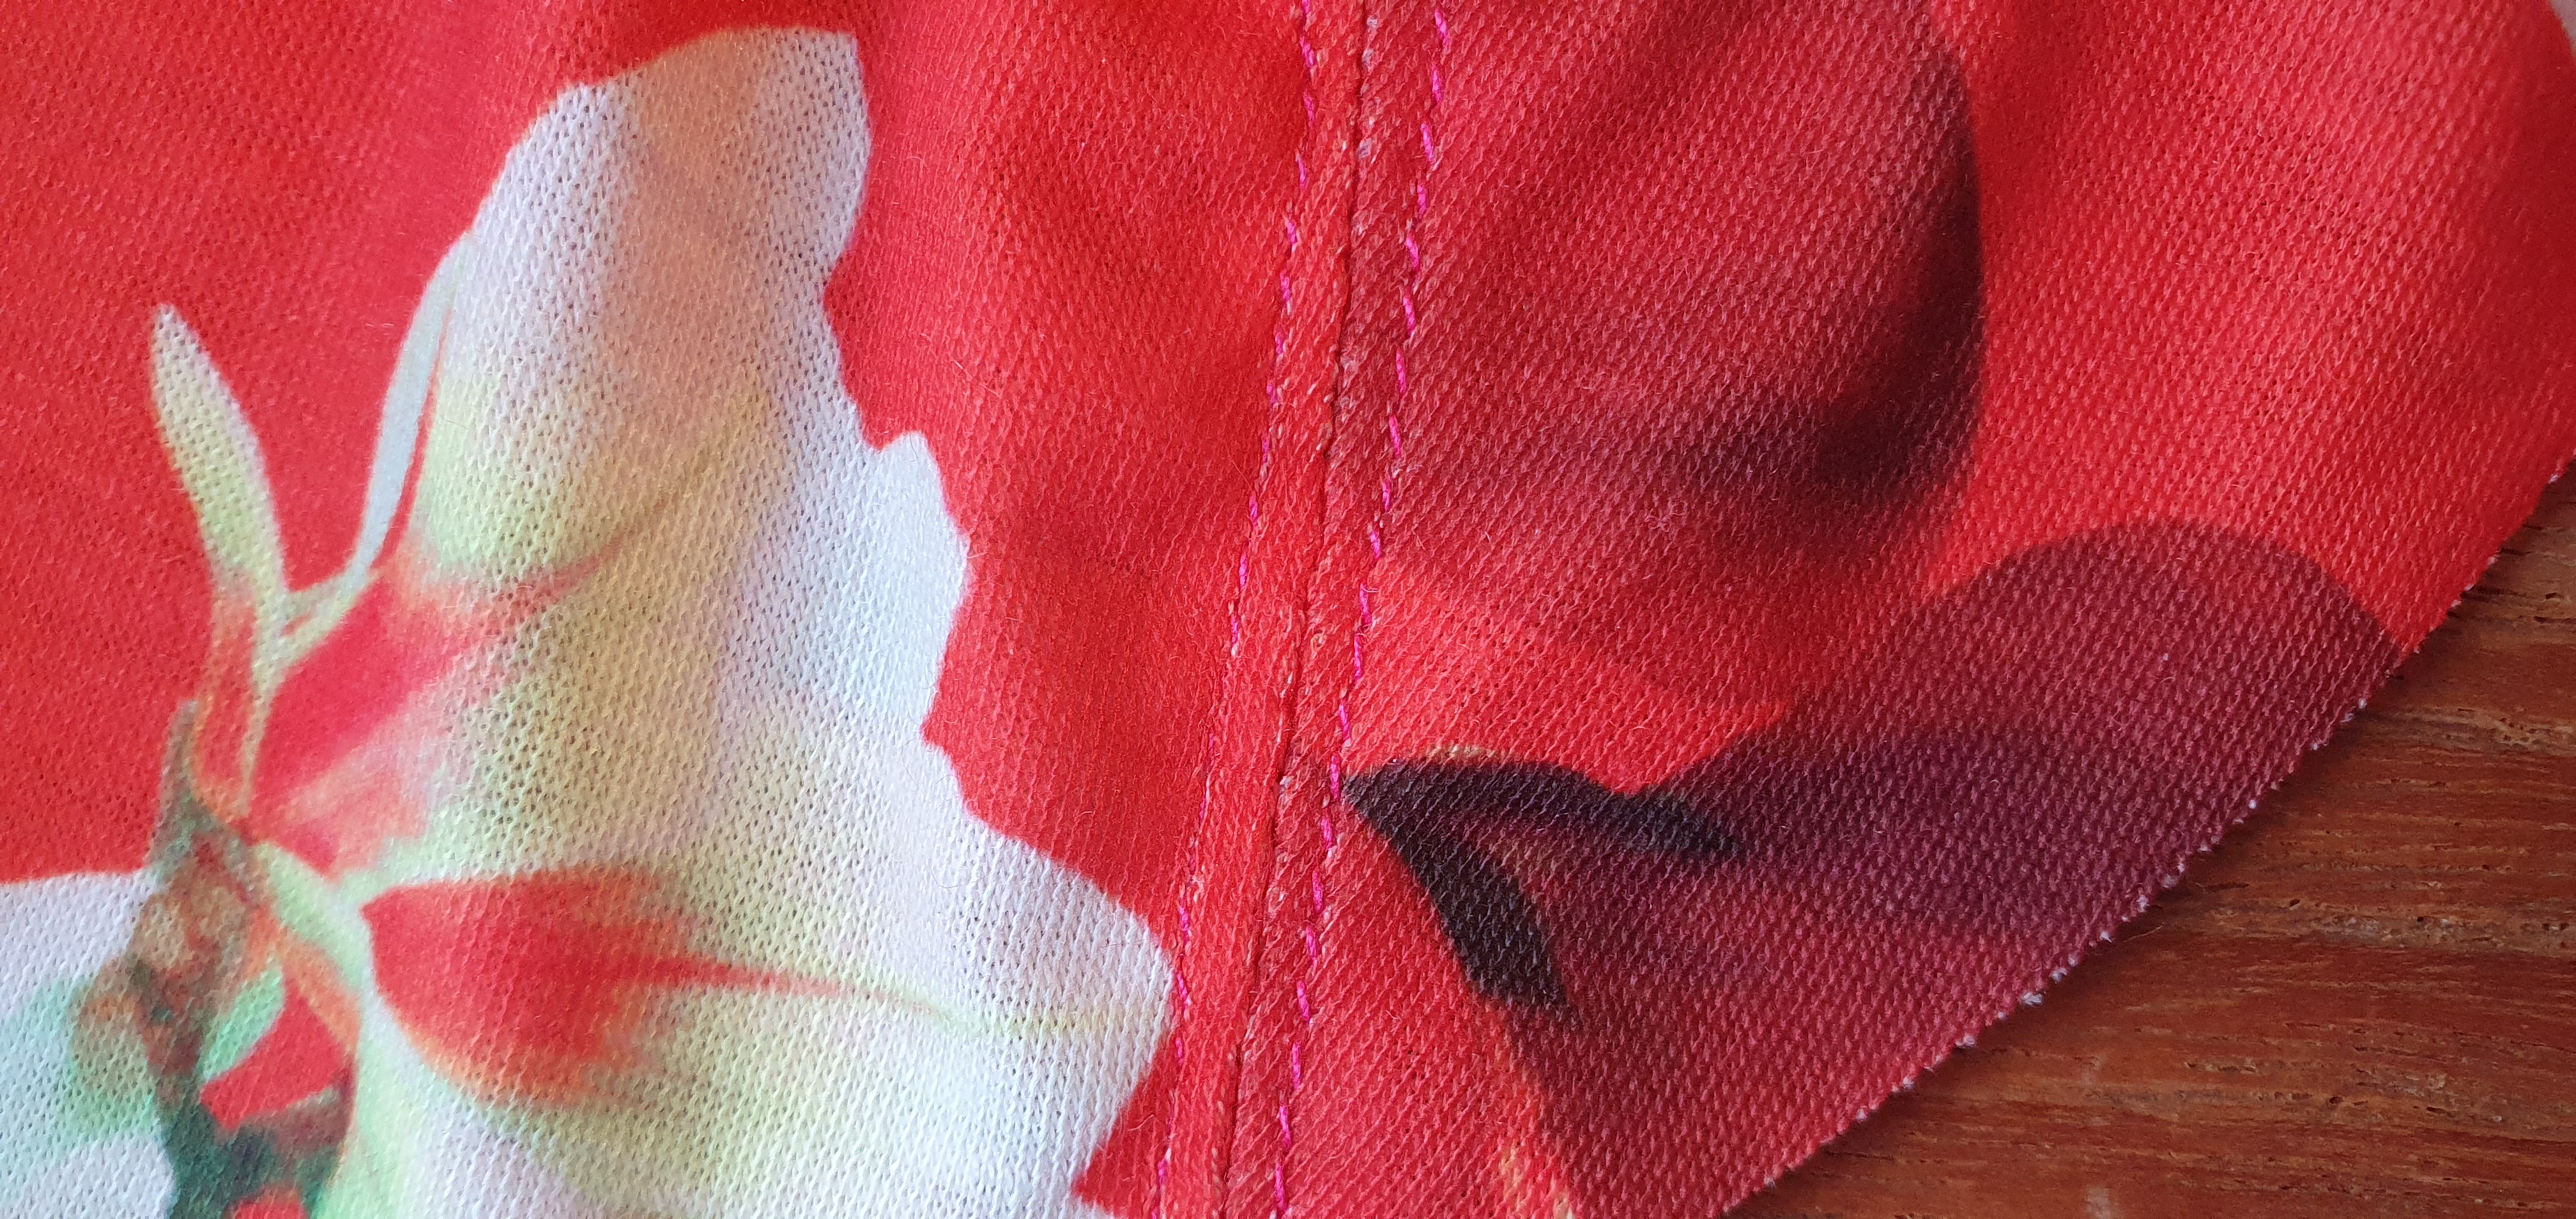
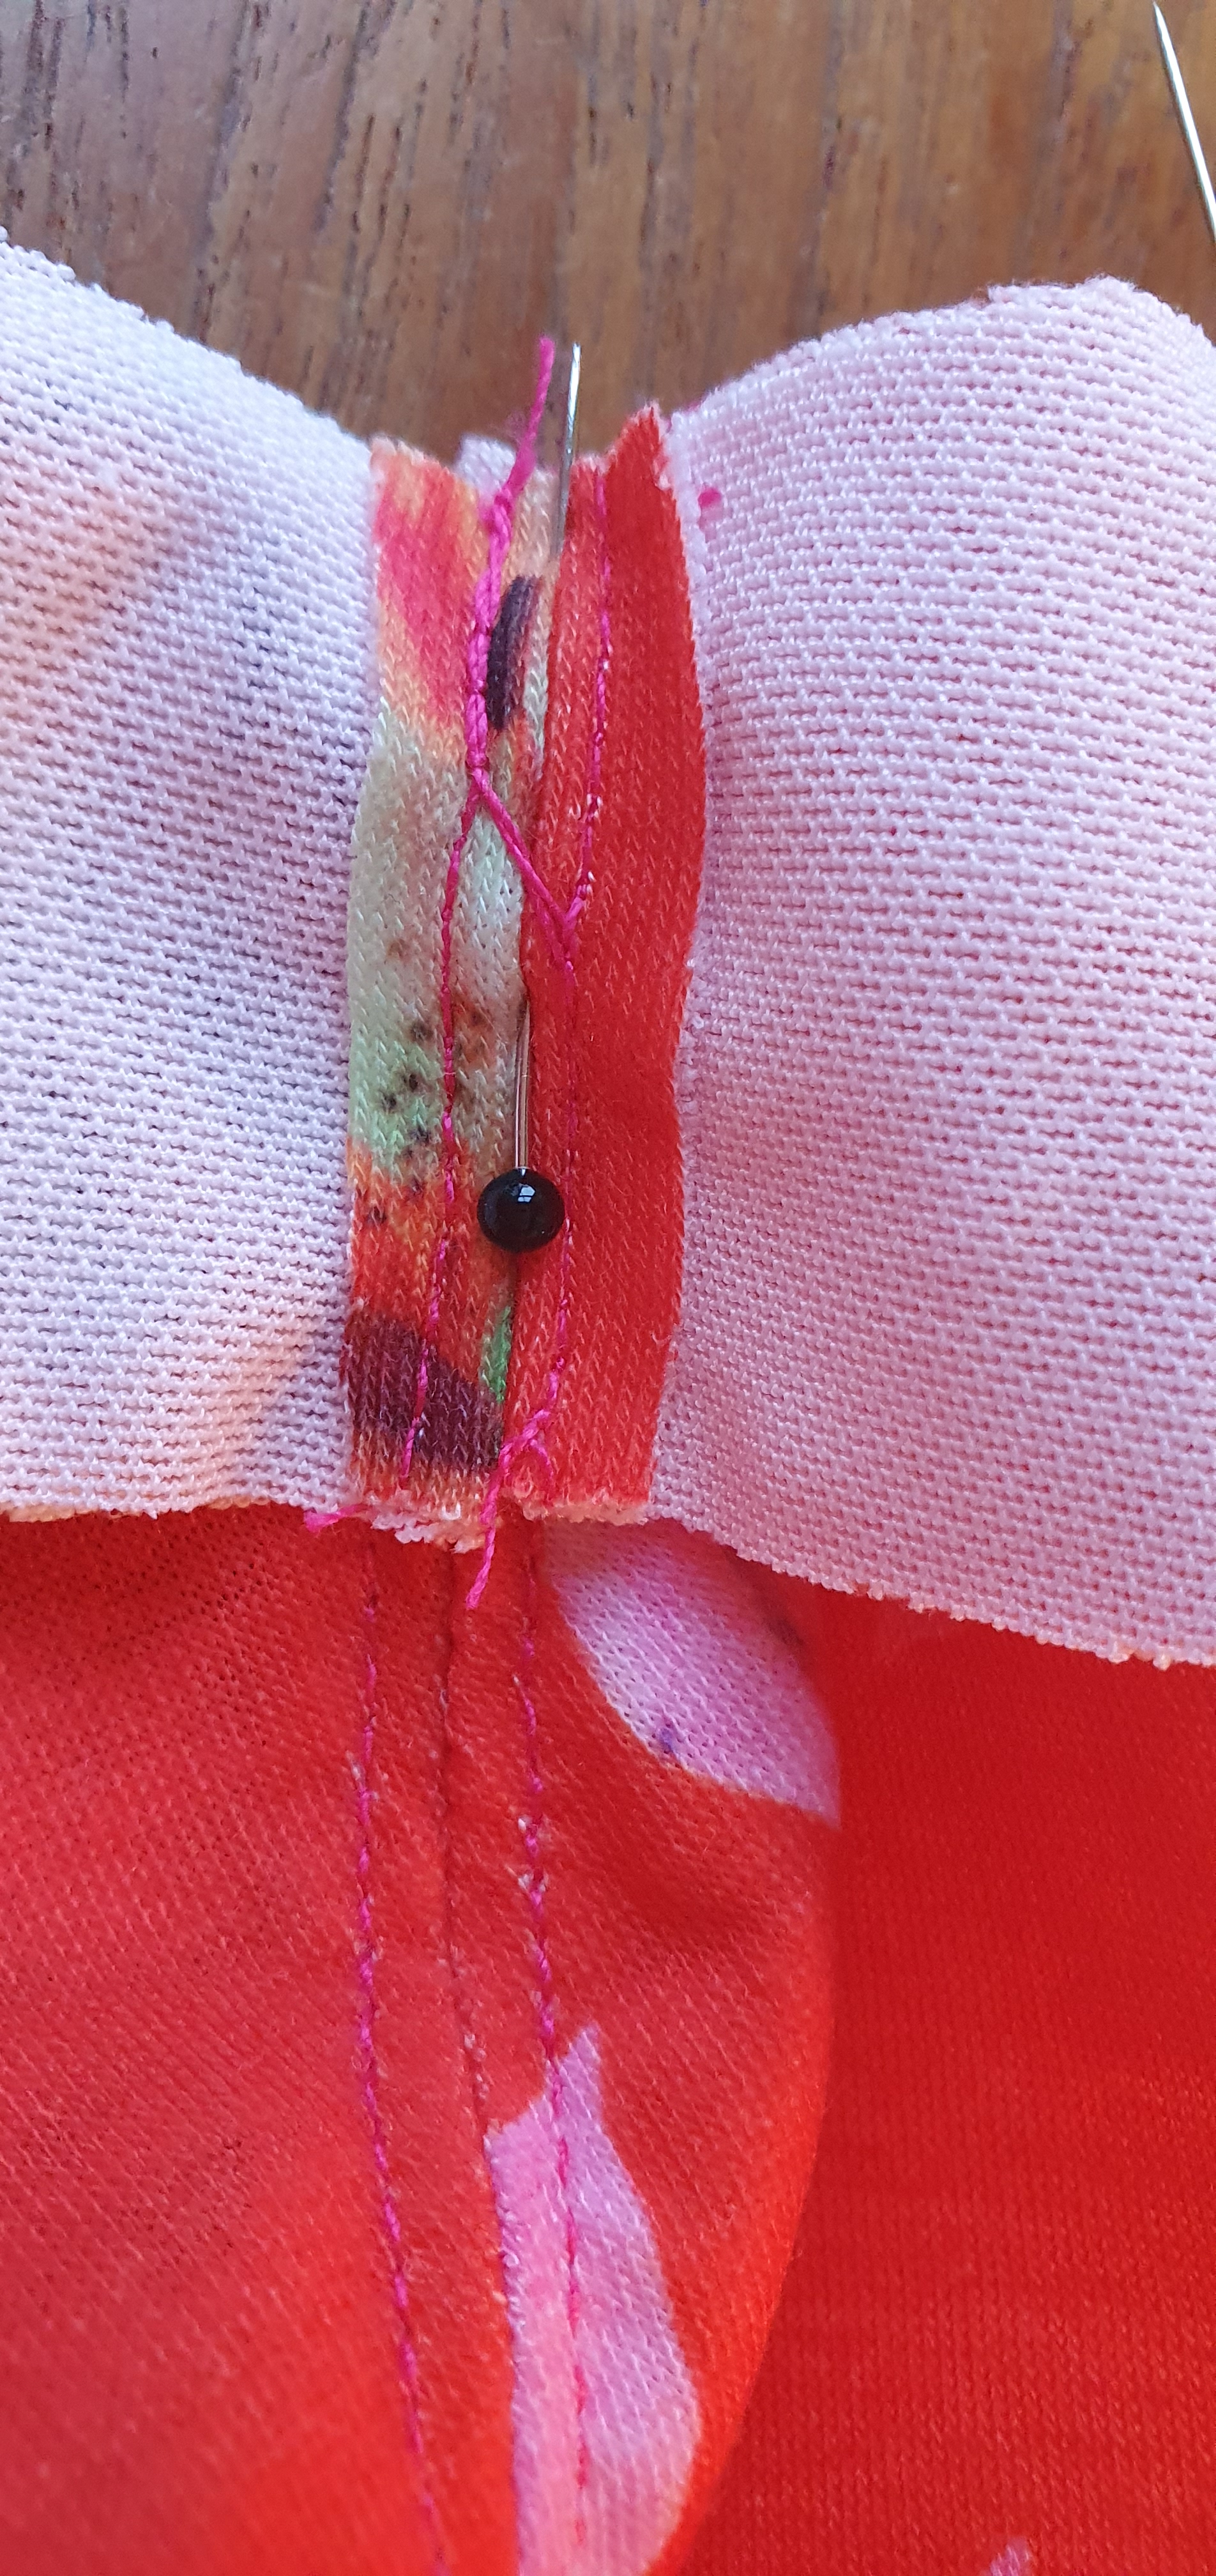
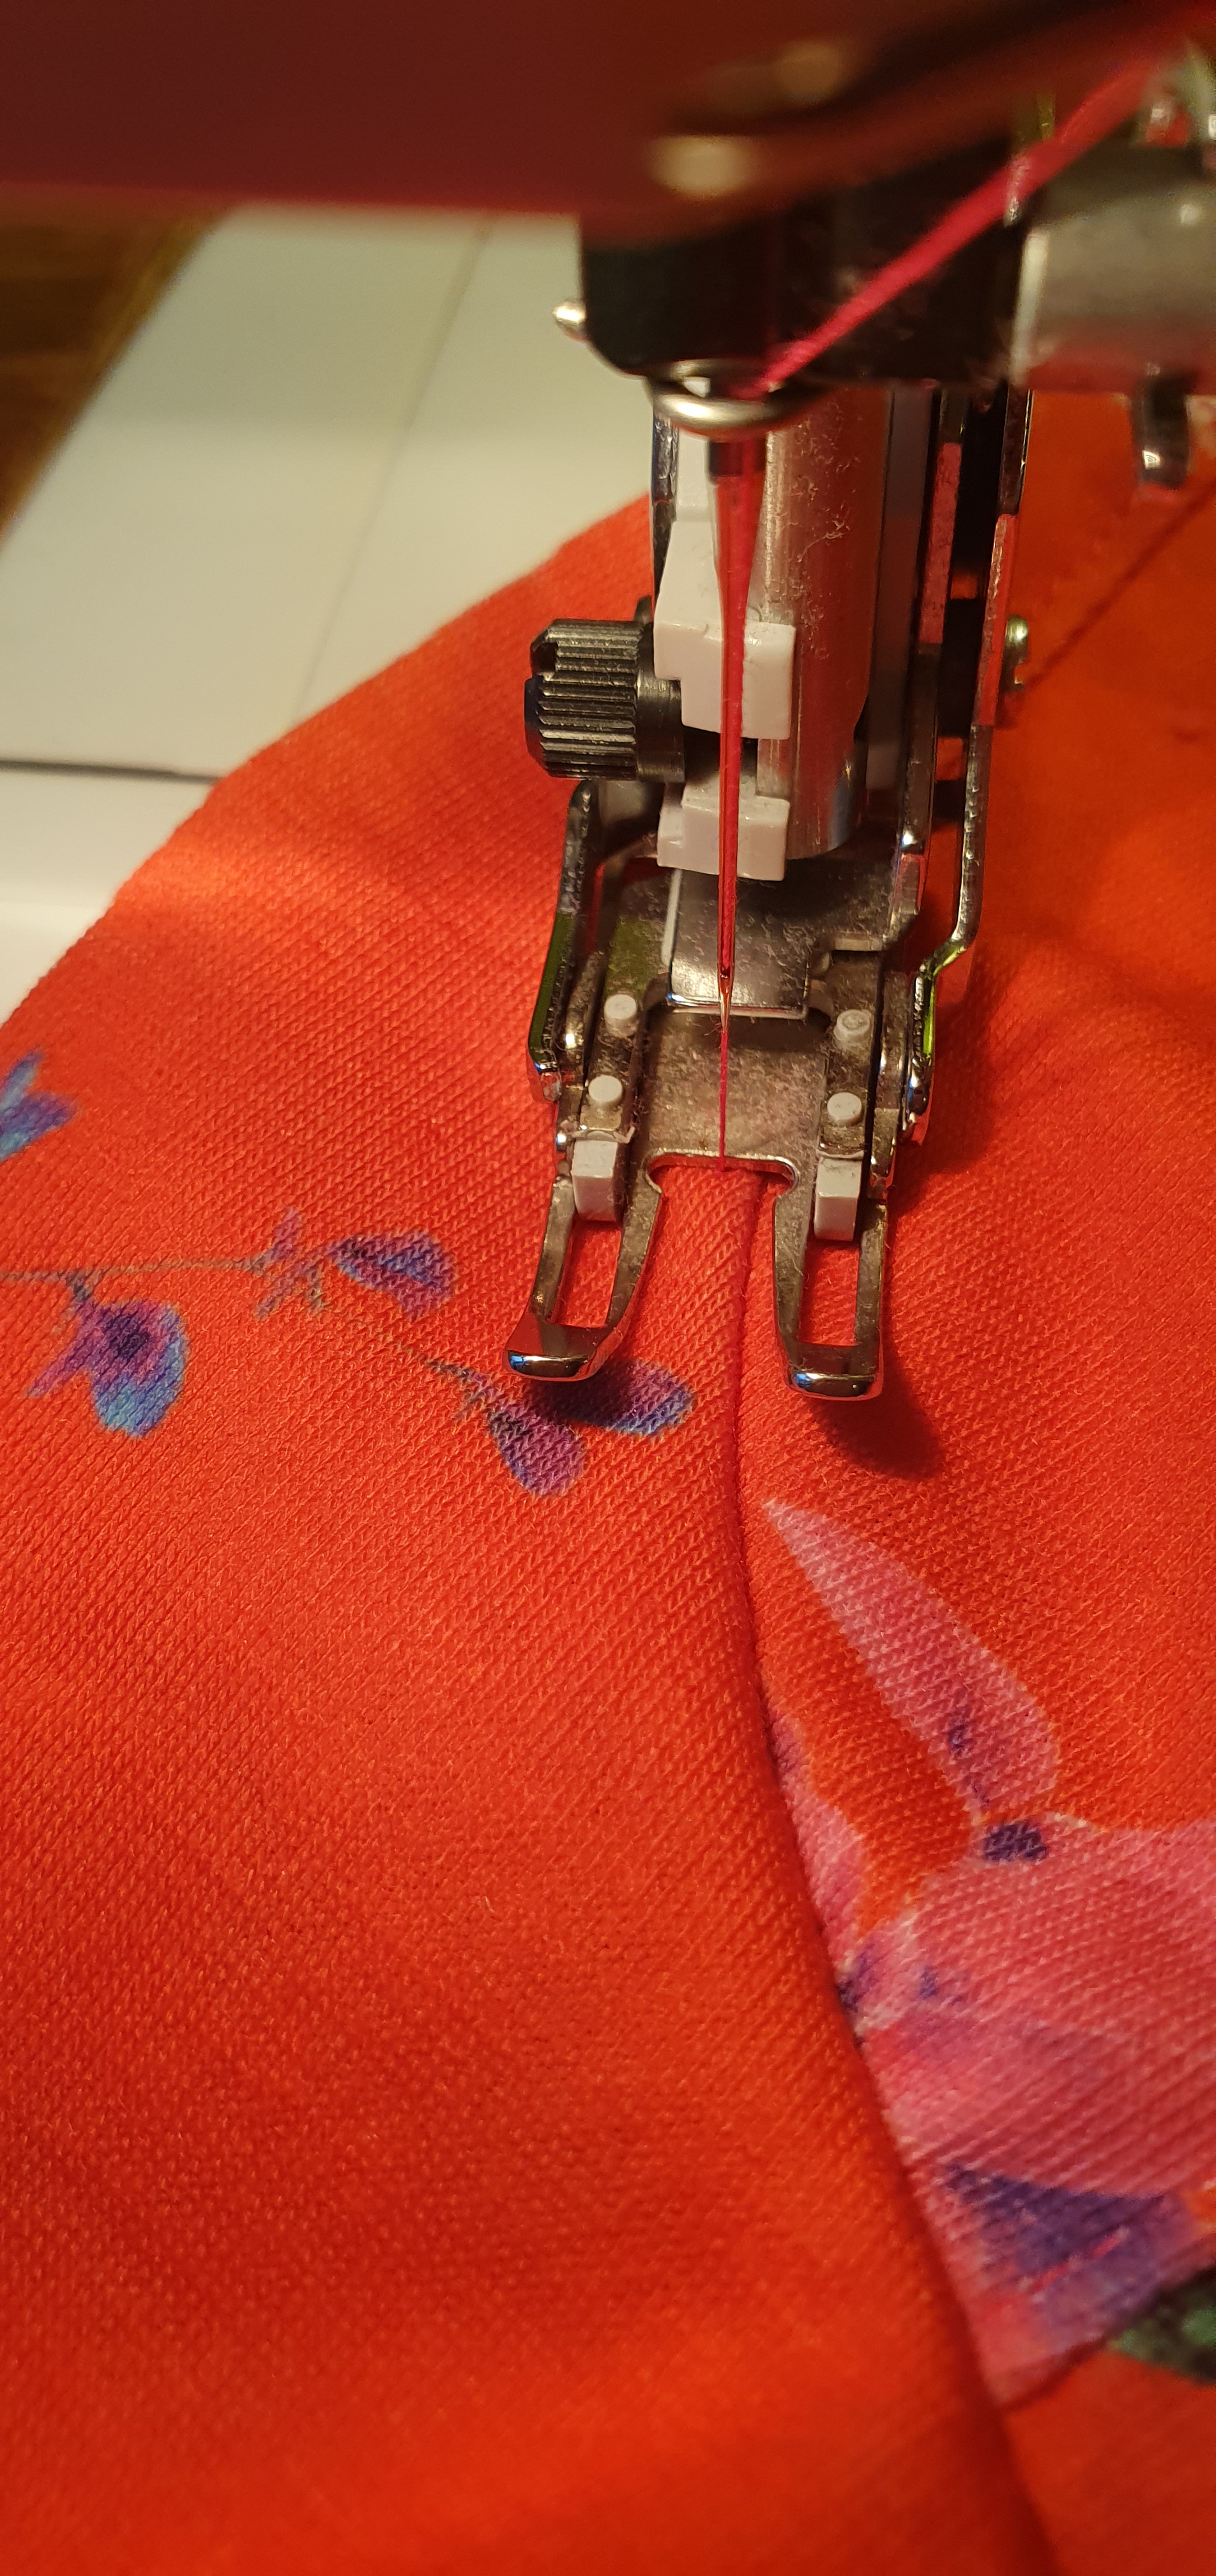
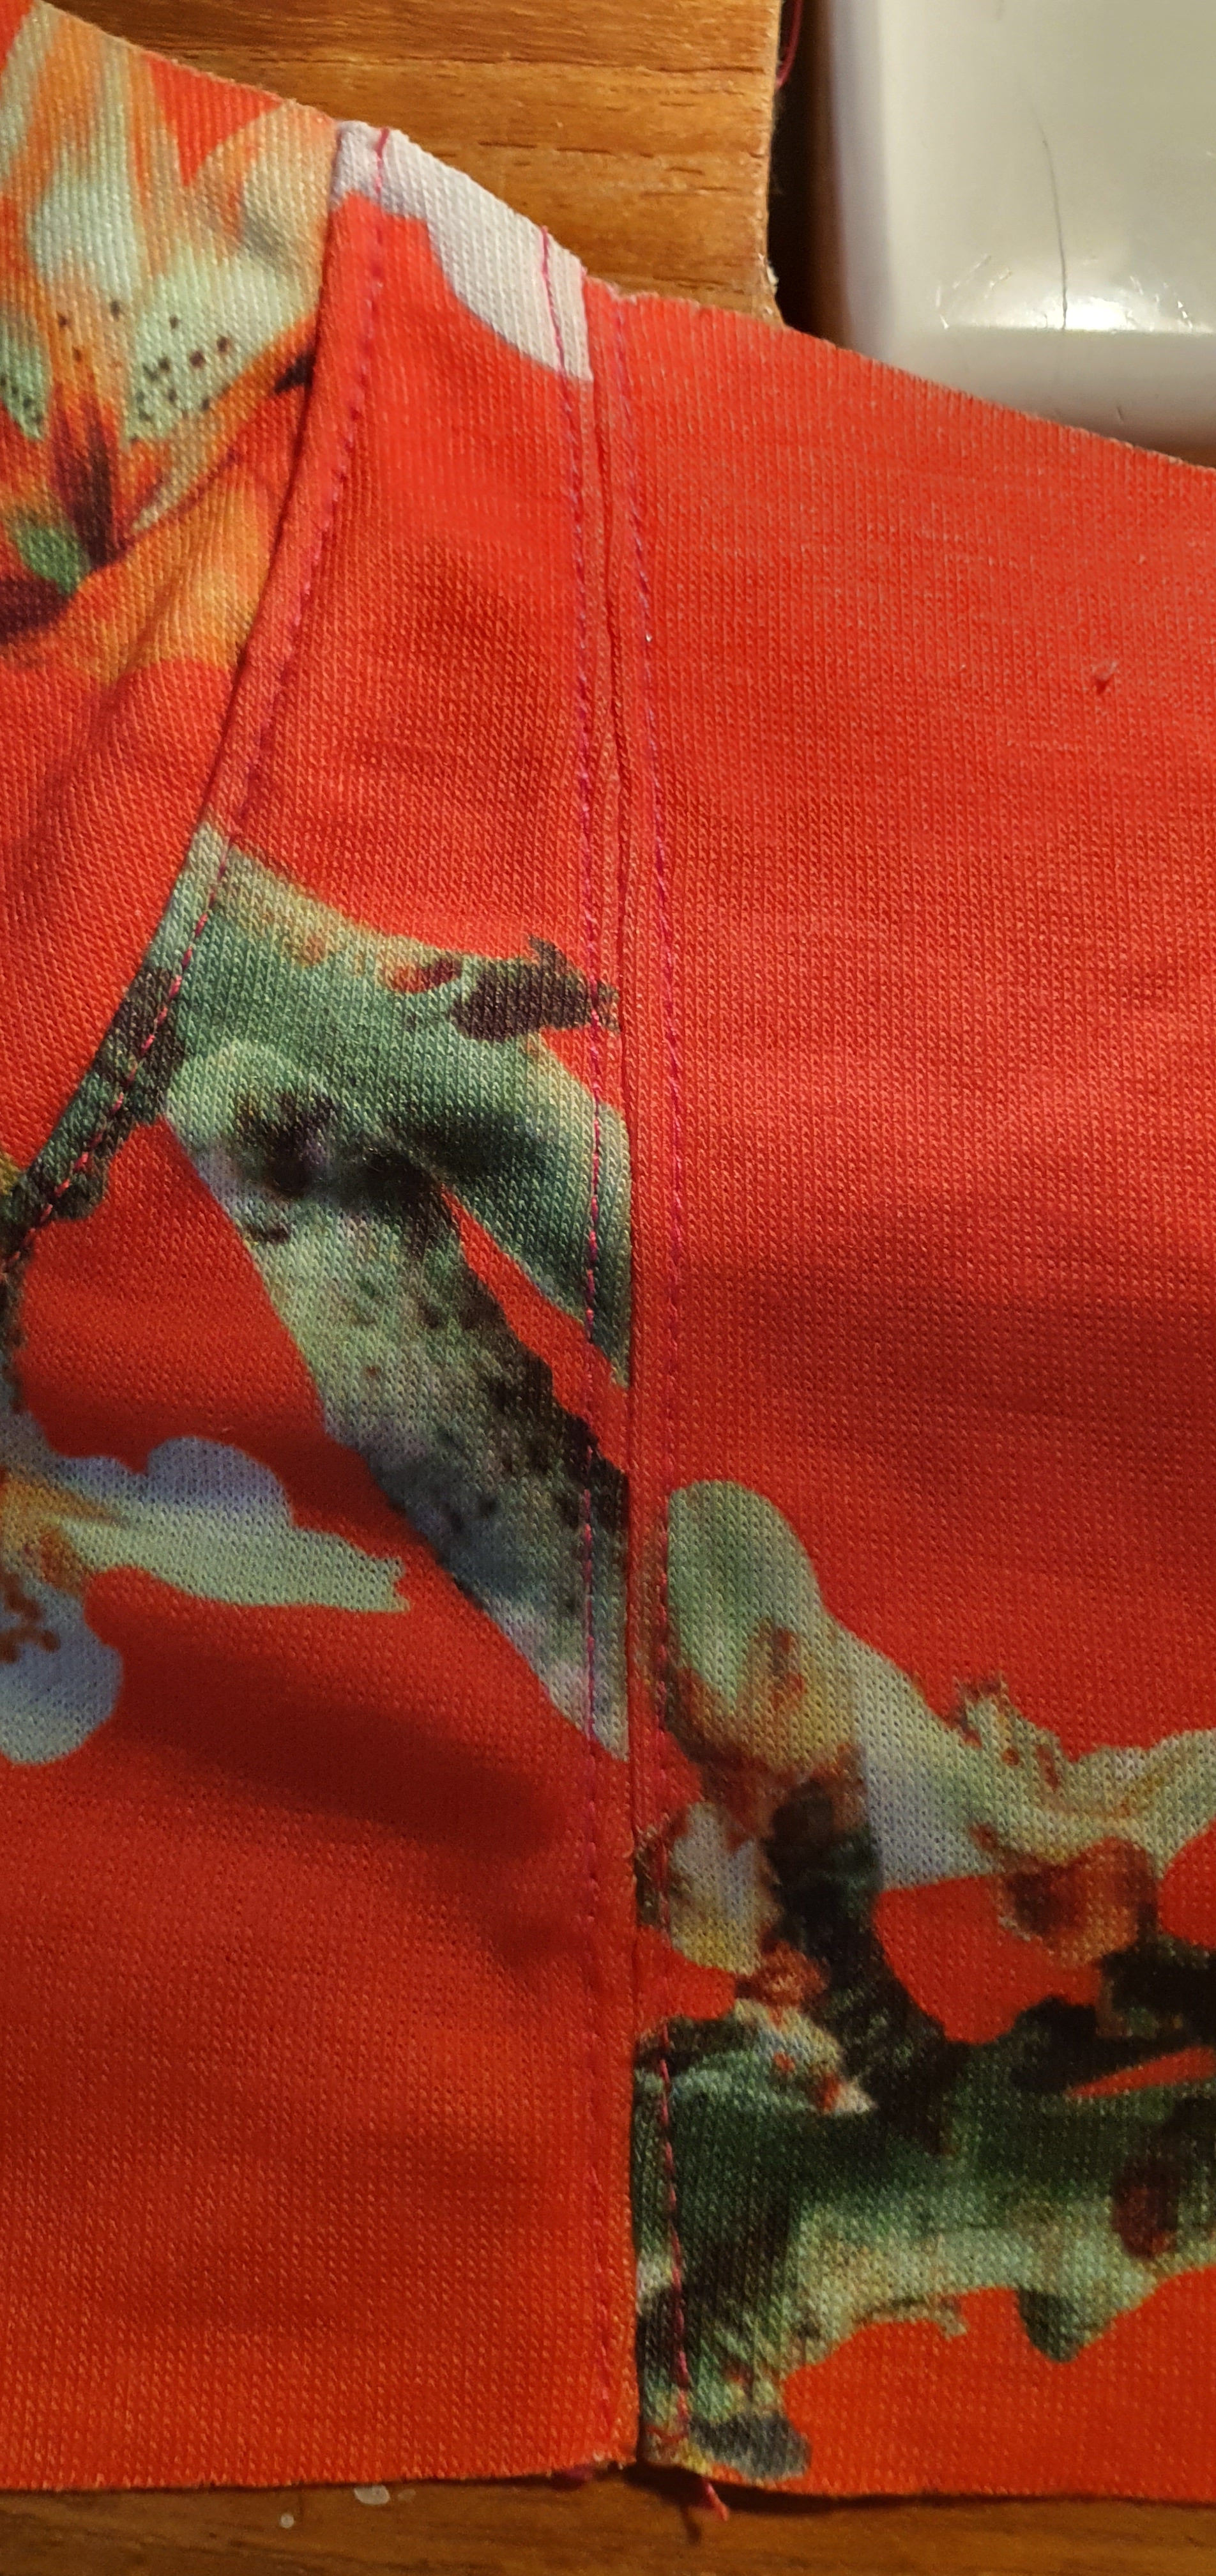
Pin the cup pieces together, right side to right side and sew a straight stitch using a walking foot with a narrow hem. Finger press (do not stretch) the seams on the back of the piece open. Turn the piece back to the front and sew a top stitch close to the middle seam. (This is the point where seam tape could be added to the back of the seam to add strength and neatness to your bra).
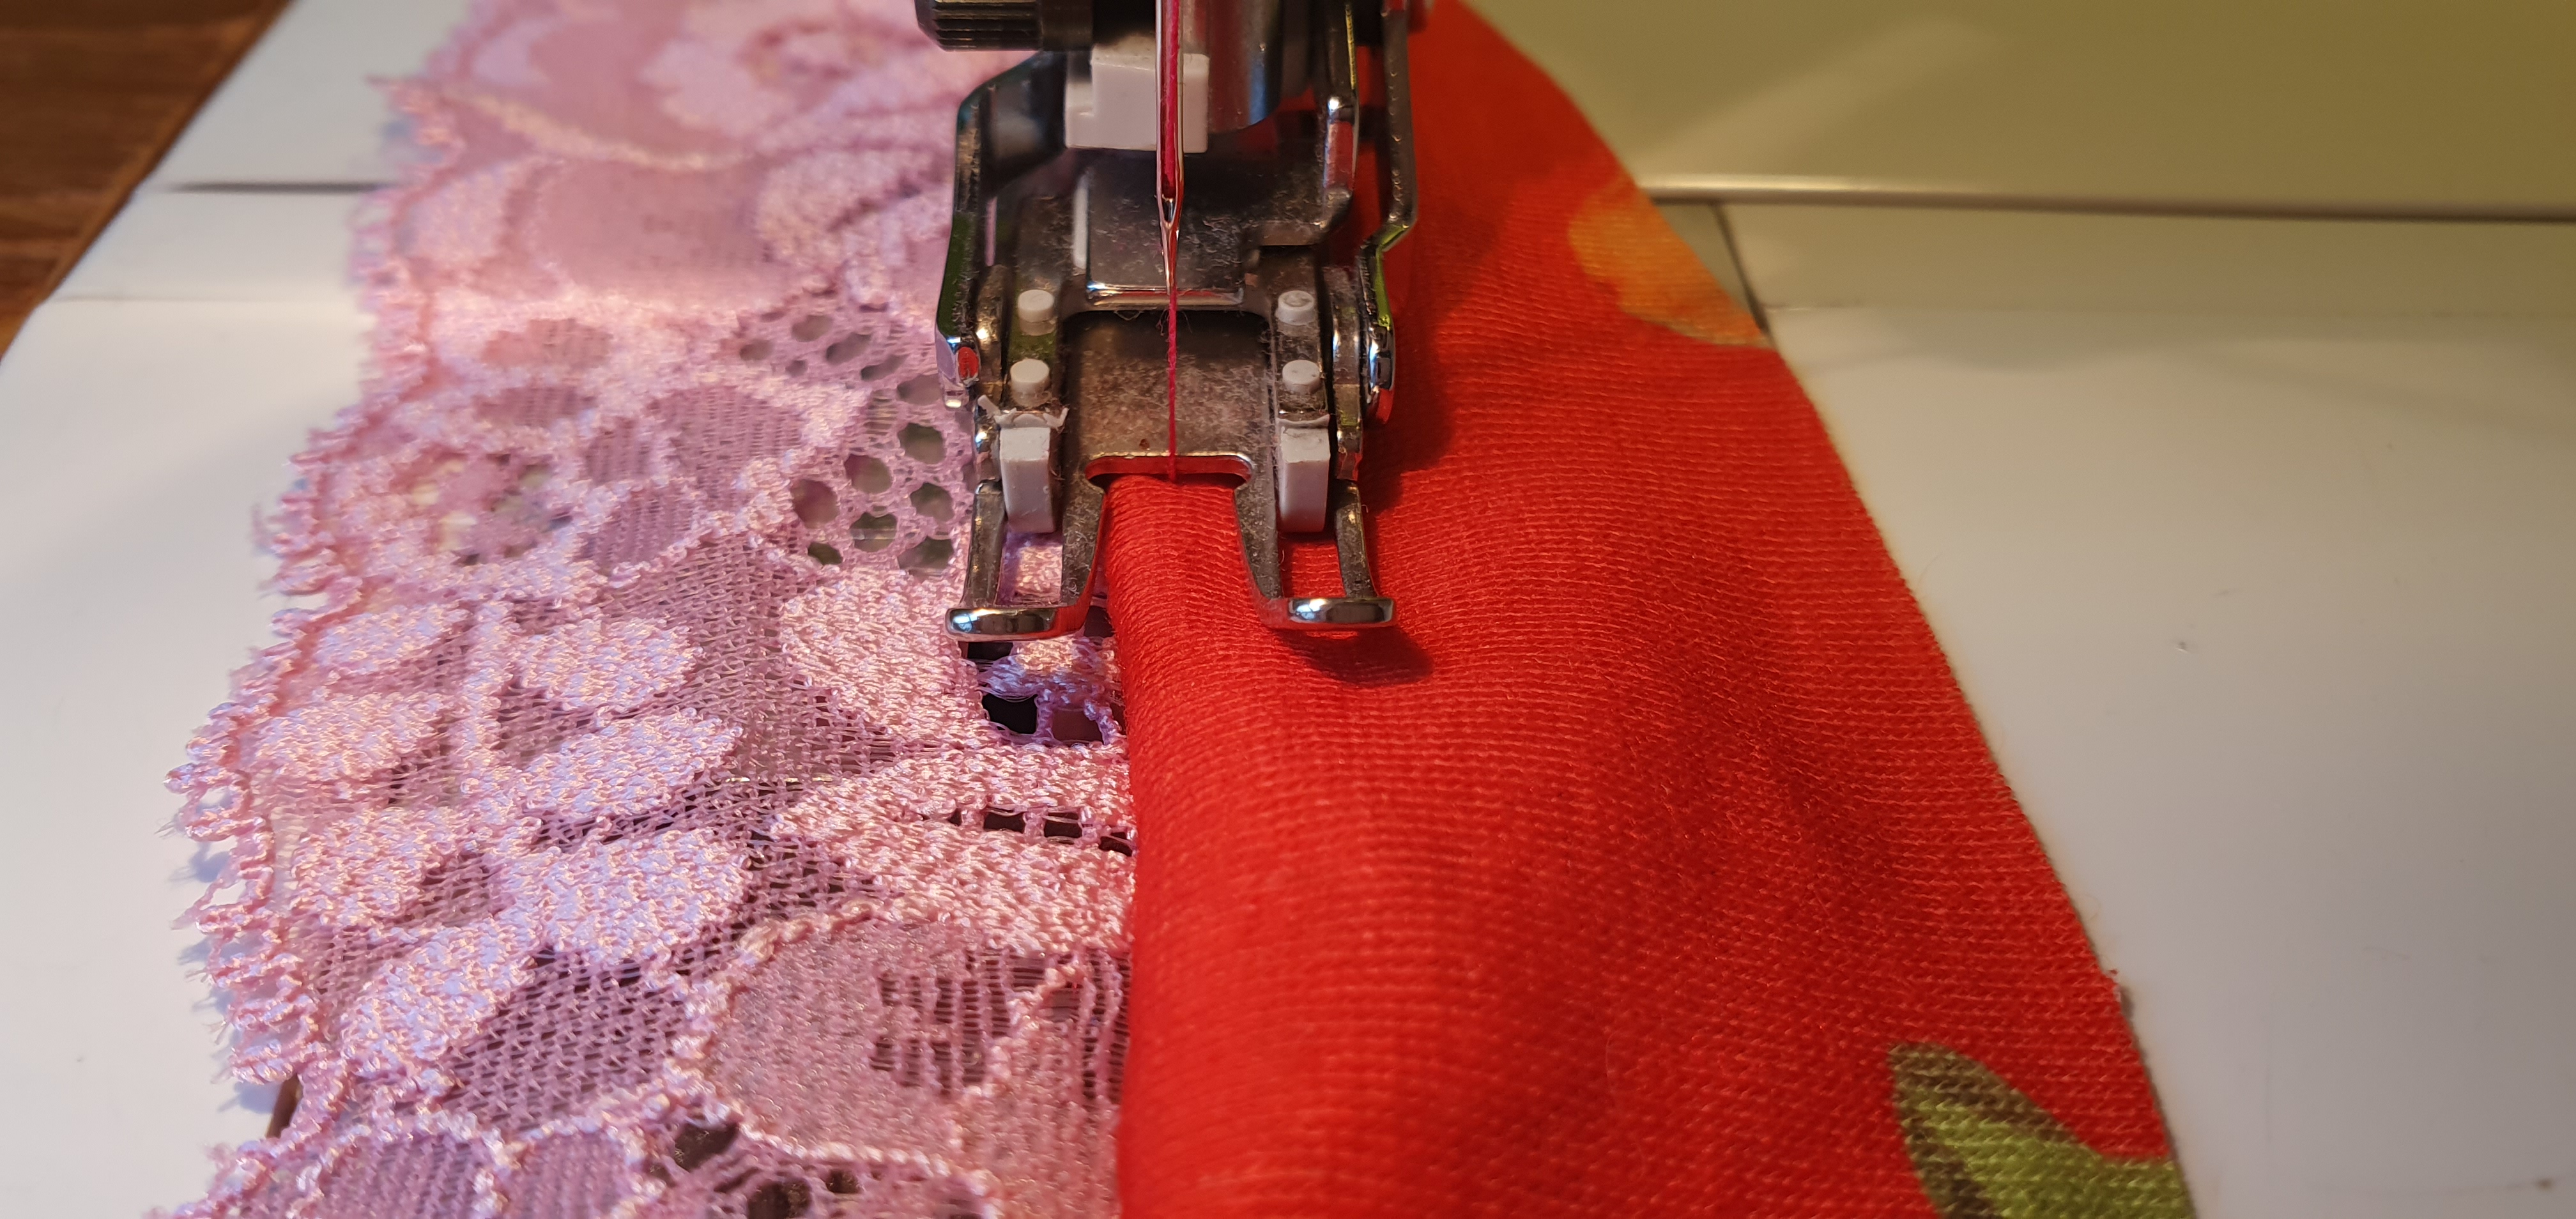
Time to add the top portion of the cup and lace. Sew these pieces together and turn the top seam away from the lace and the bottom seam up towards the lace. Top stitch the seams flat. Check the cup is the right size.
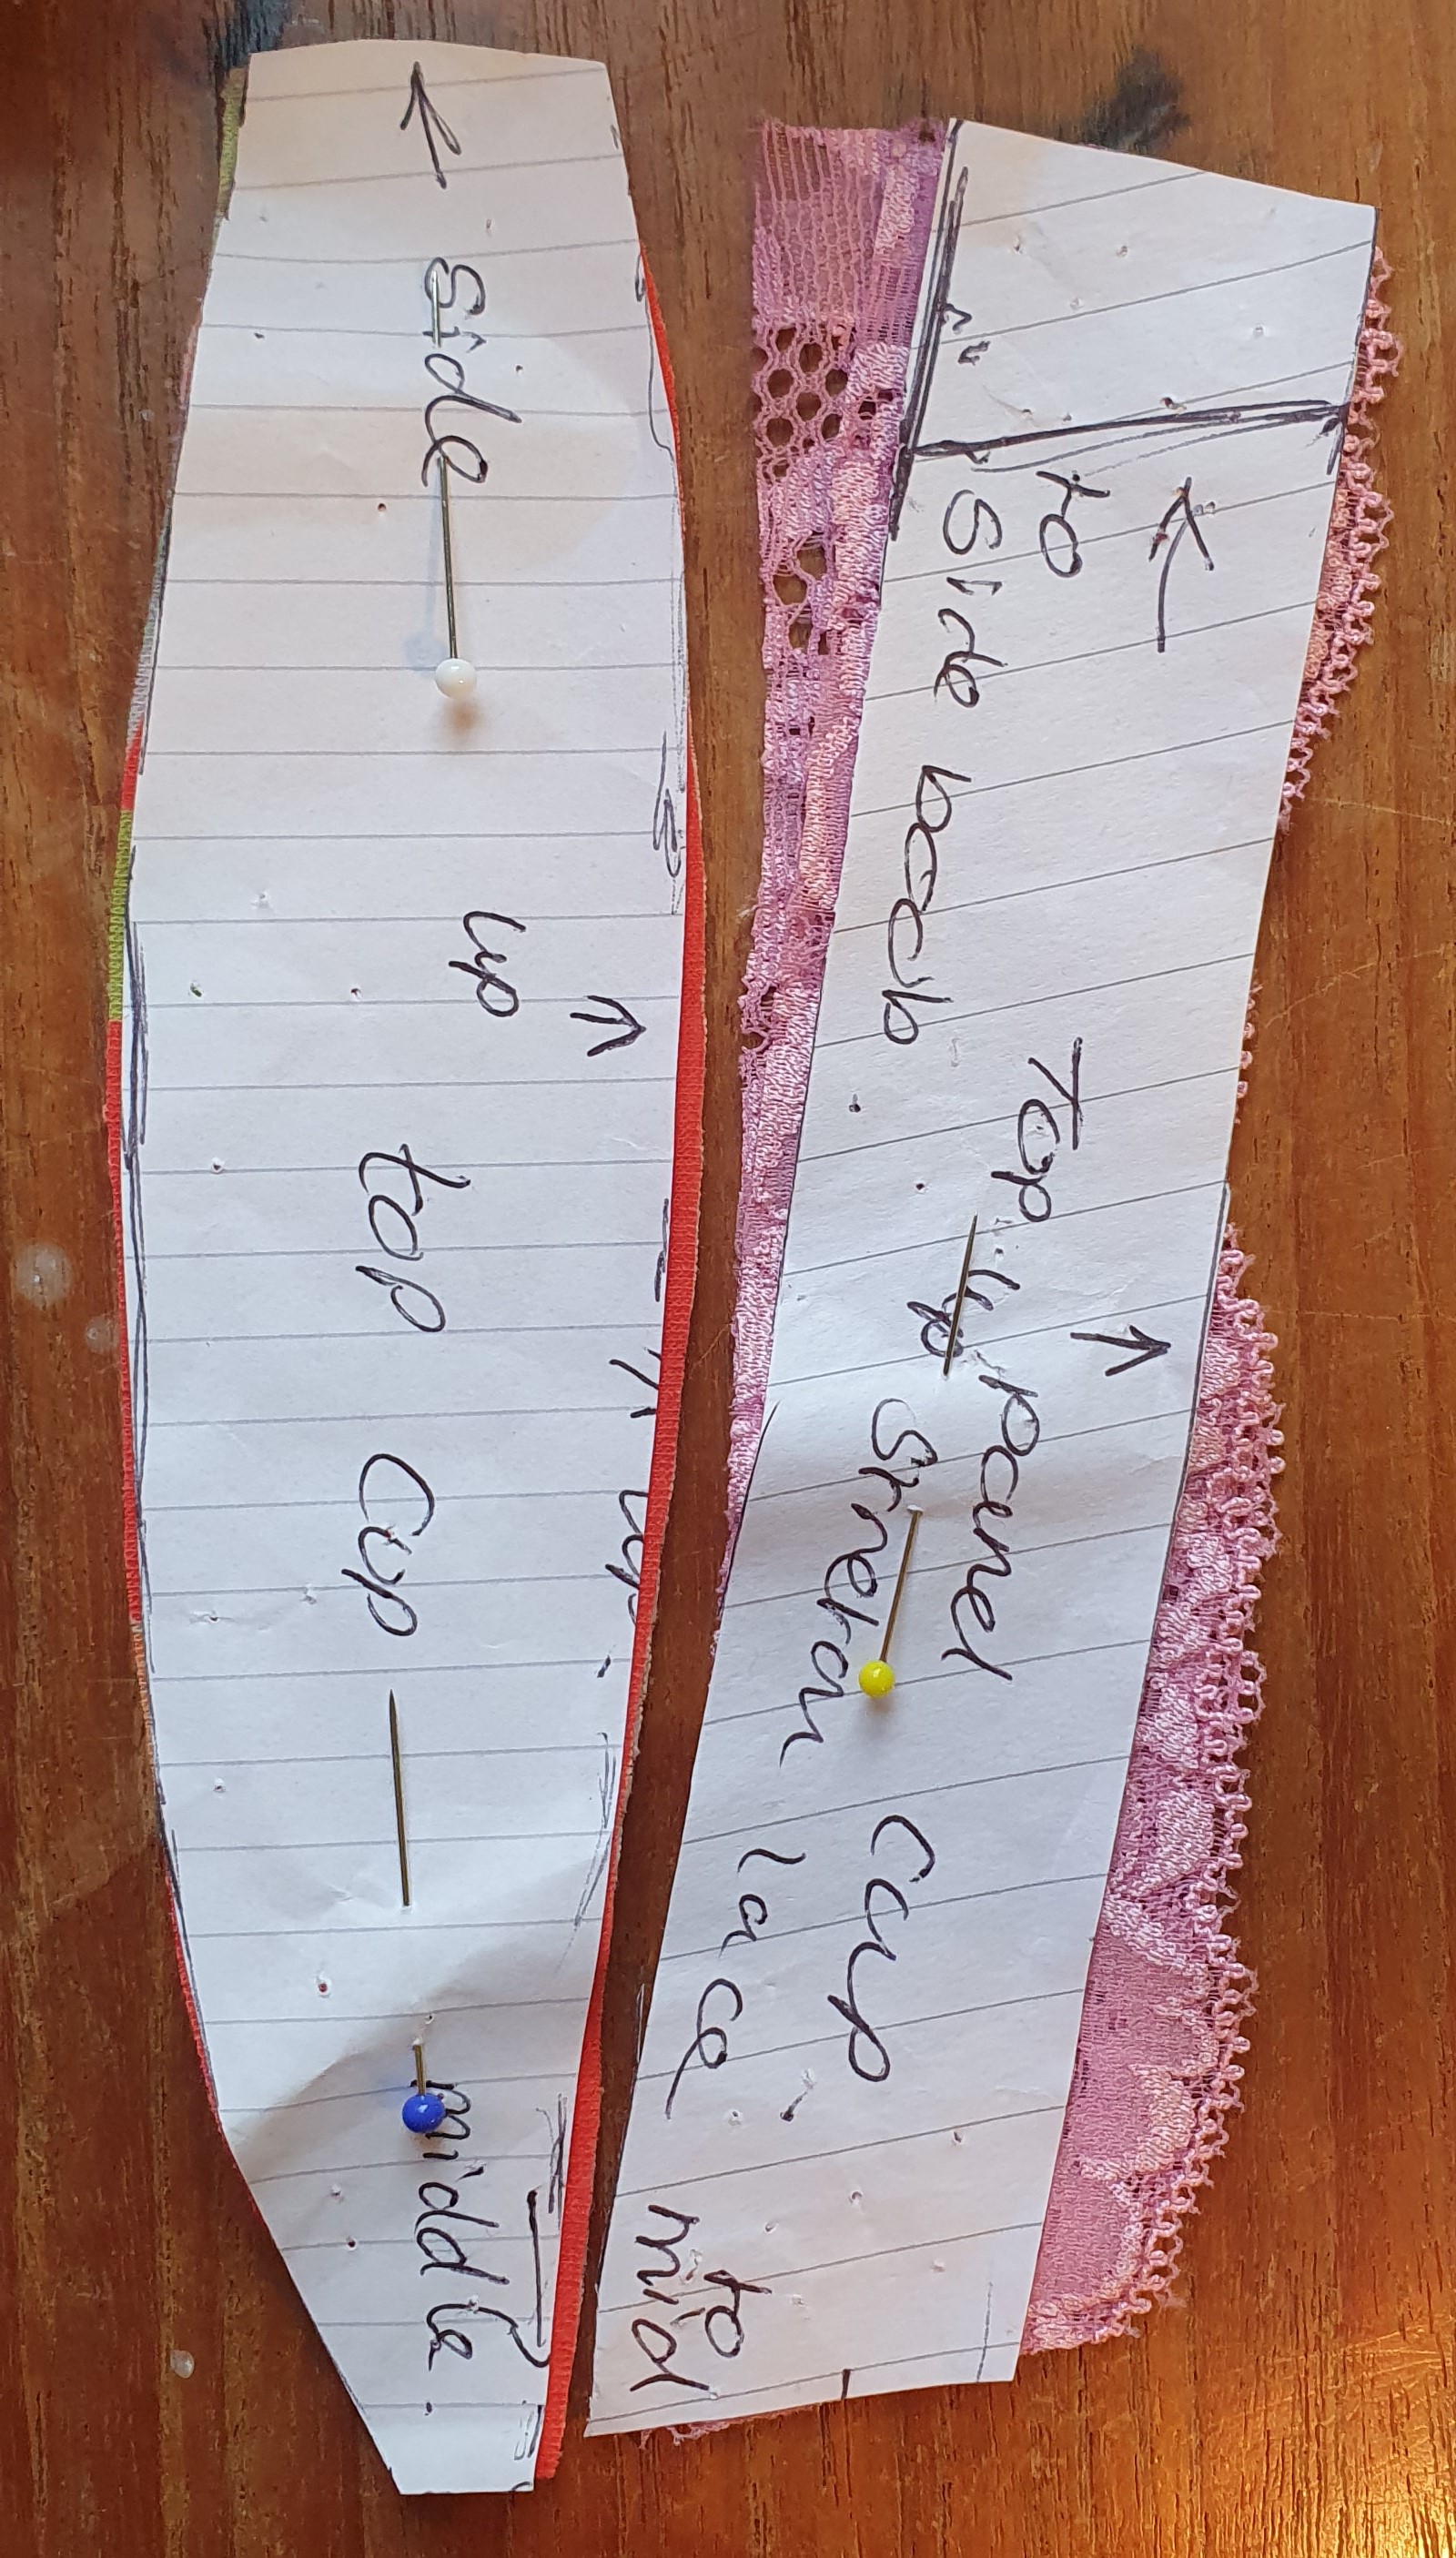
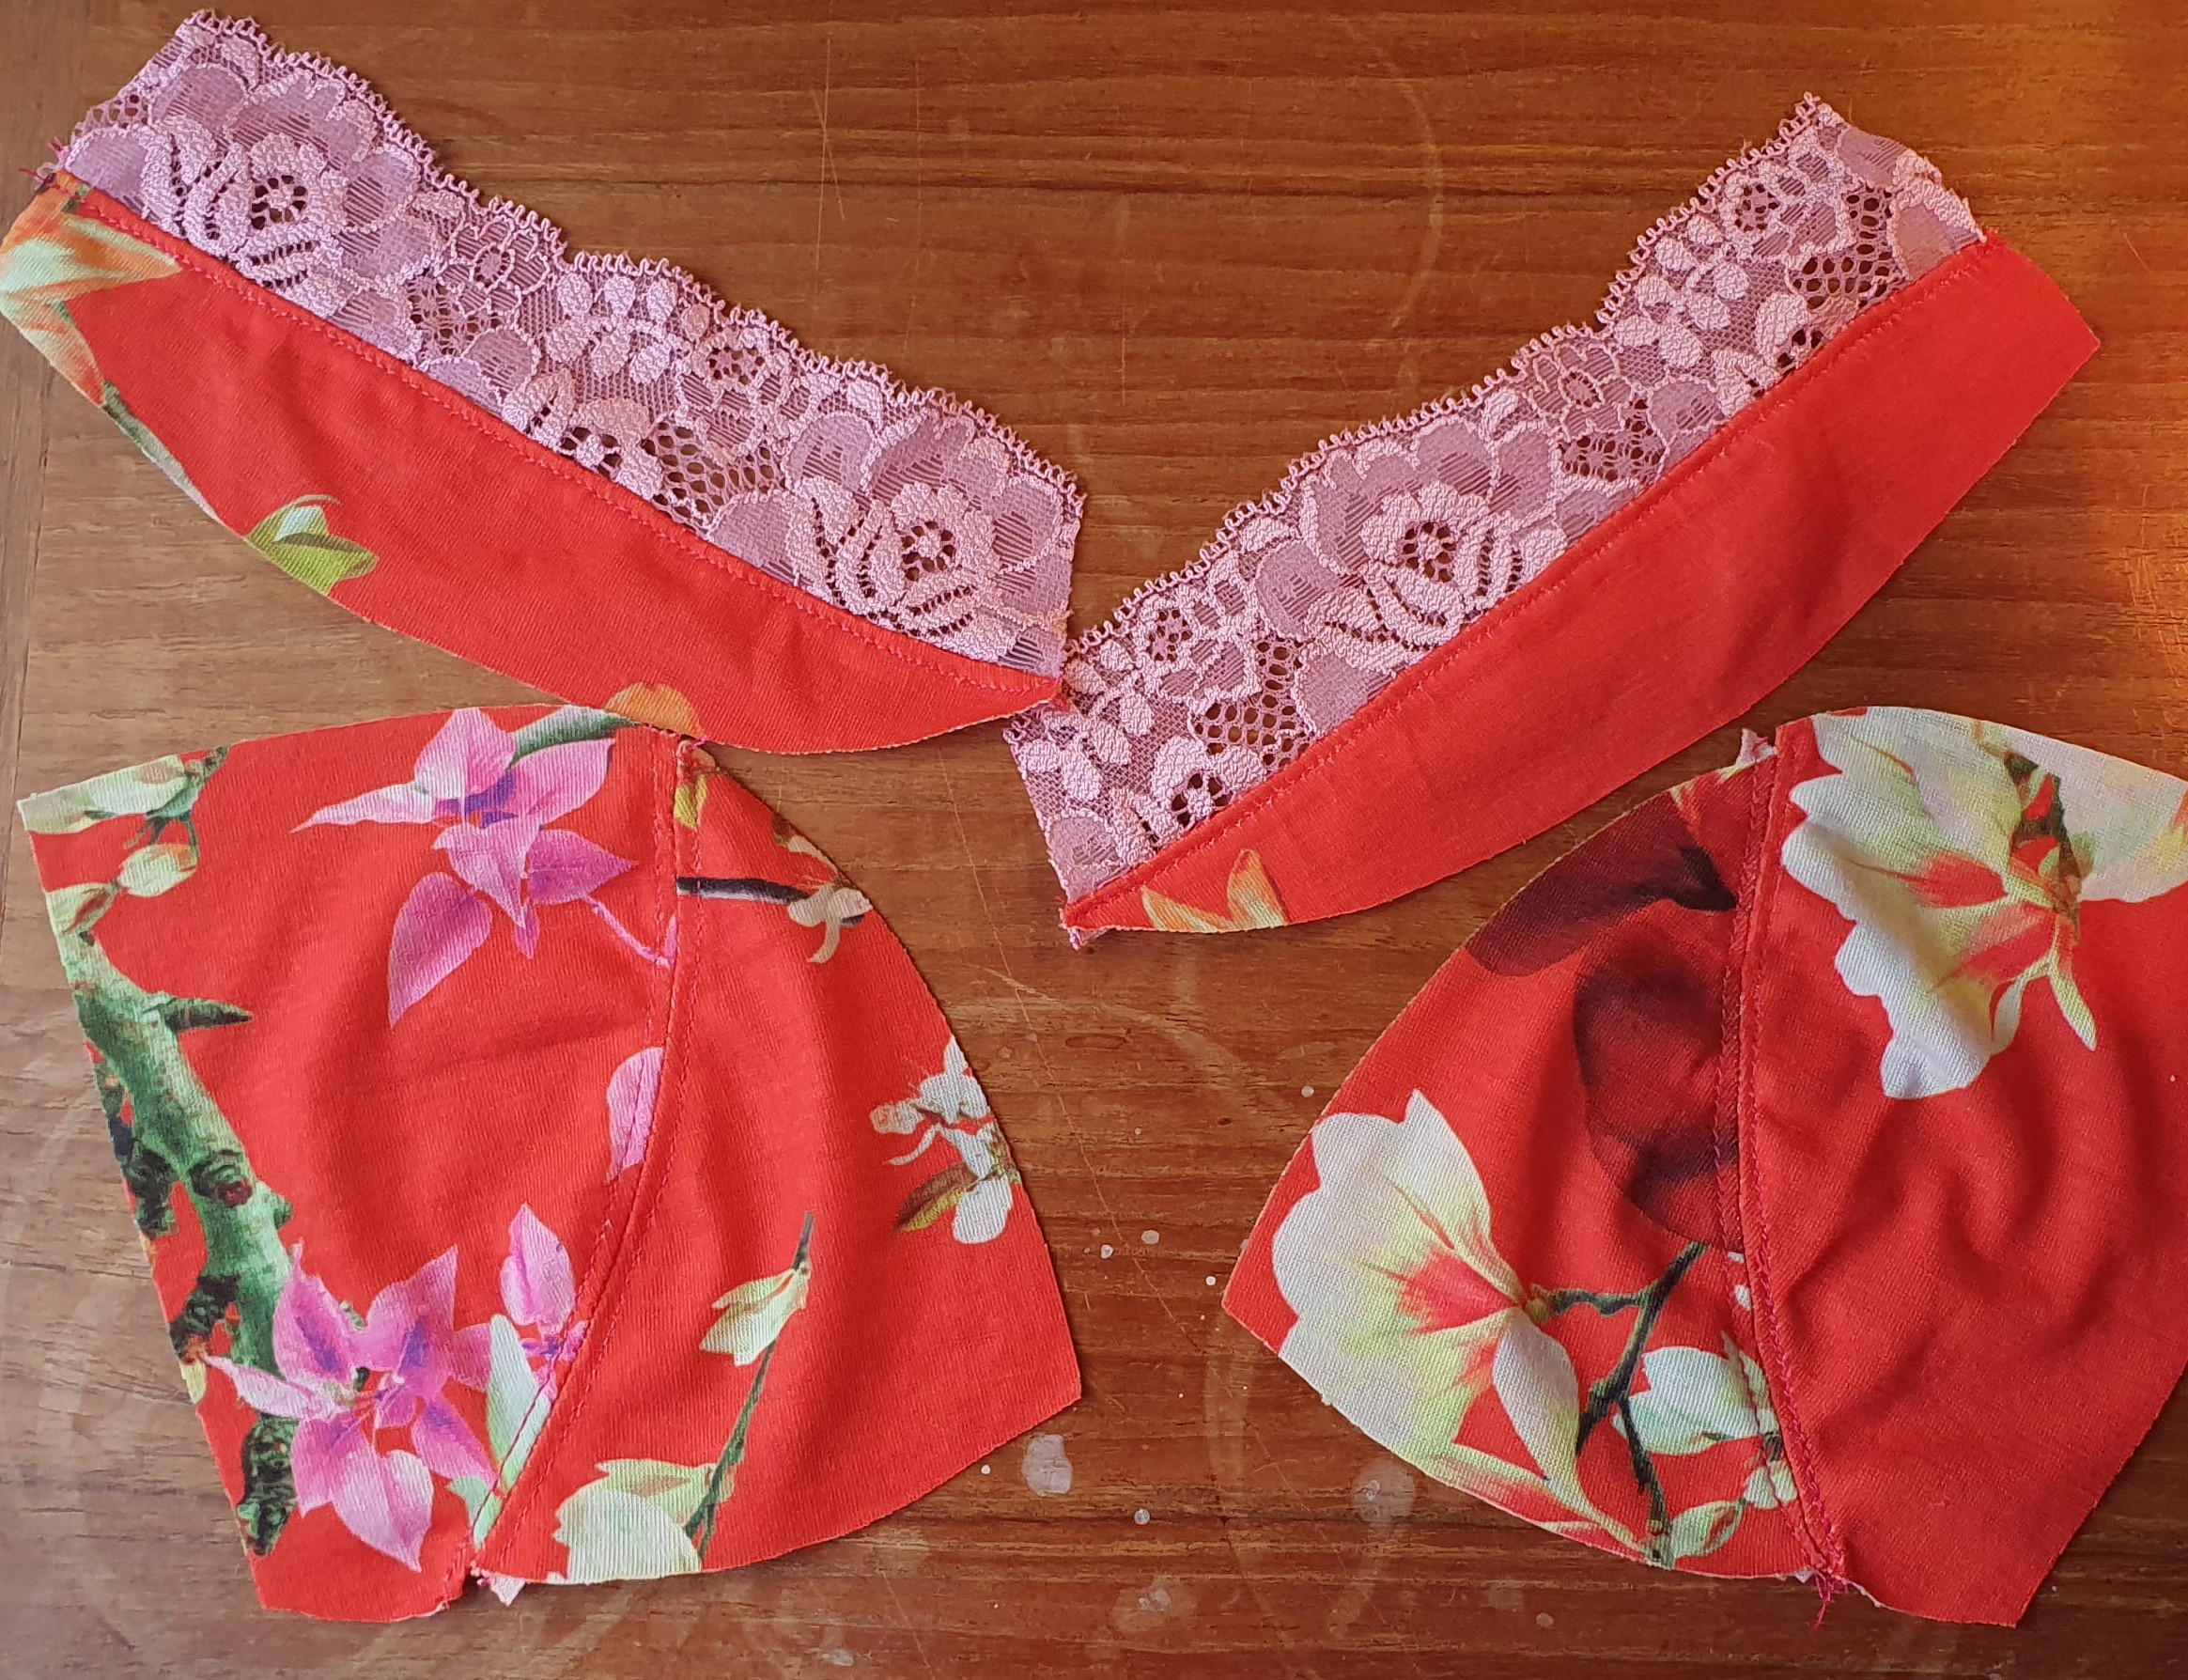
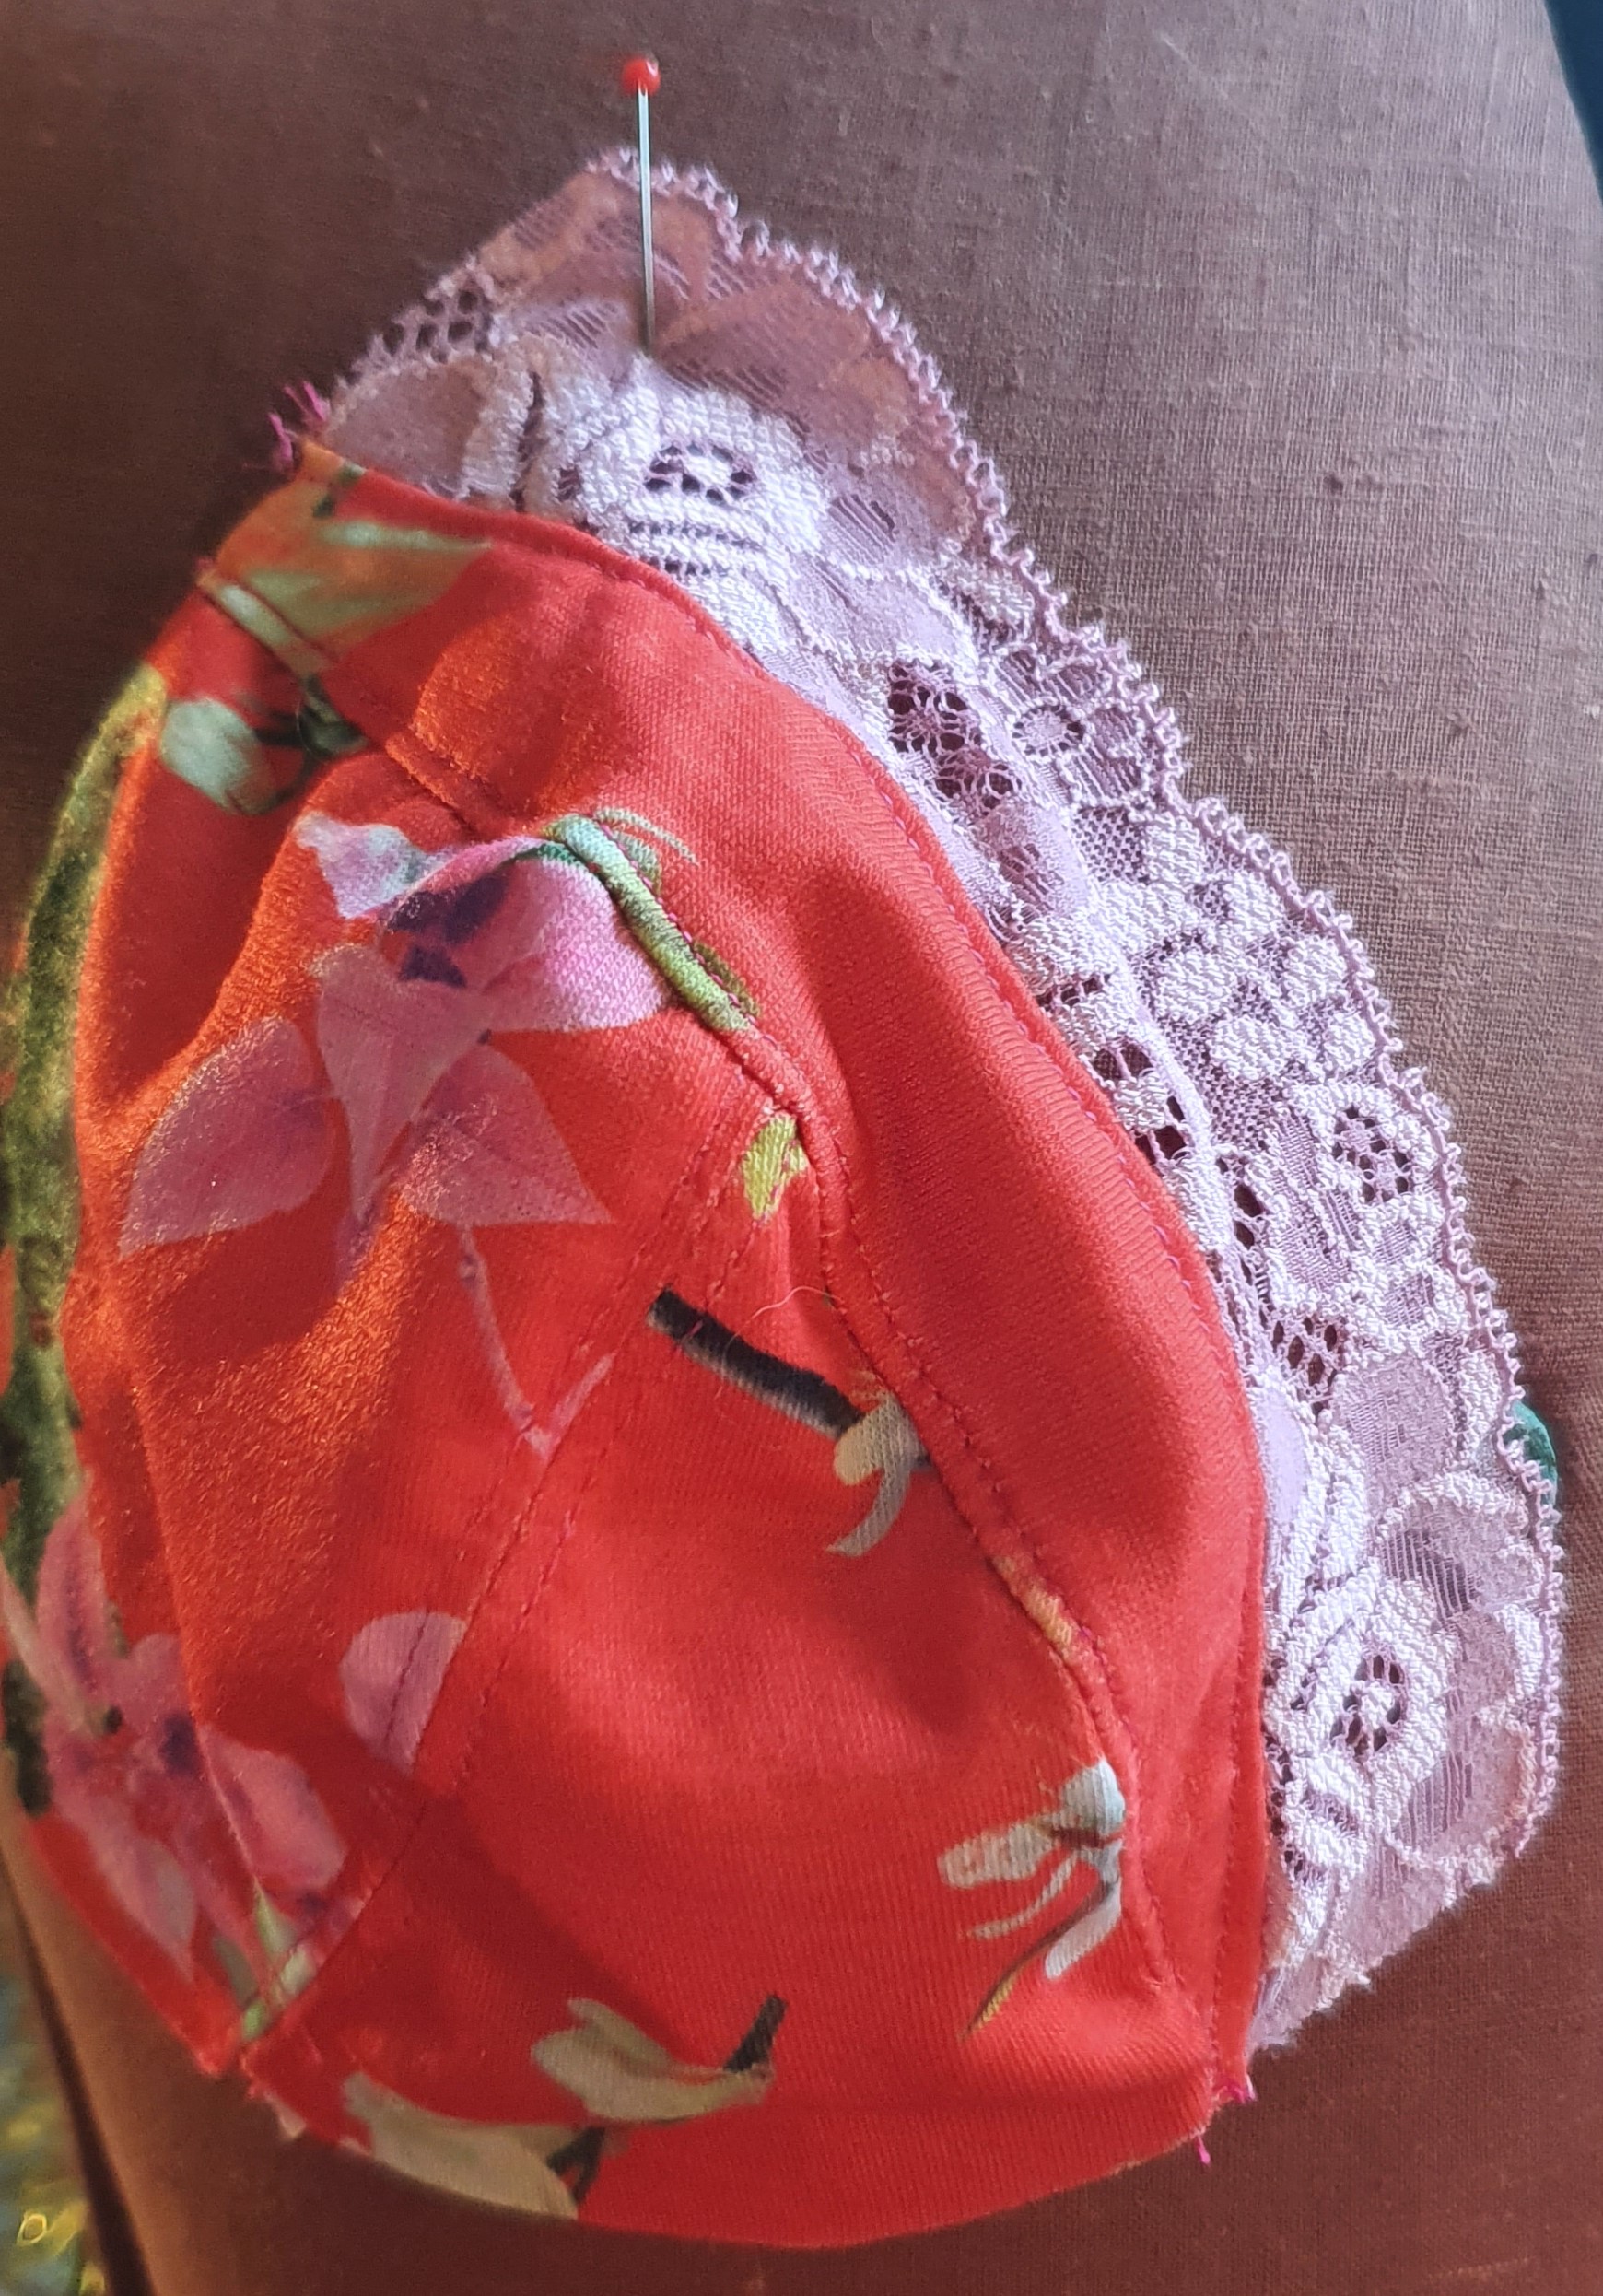
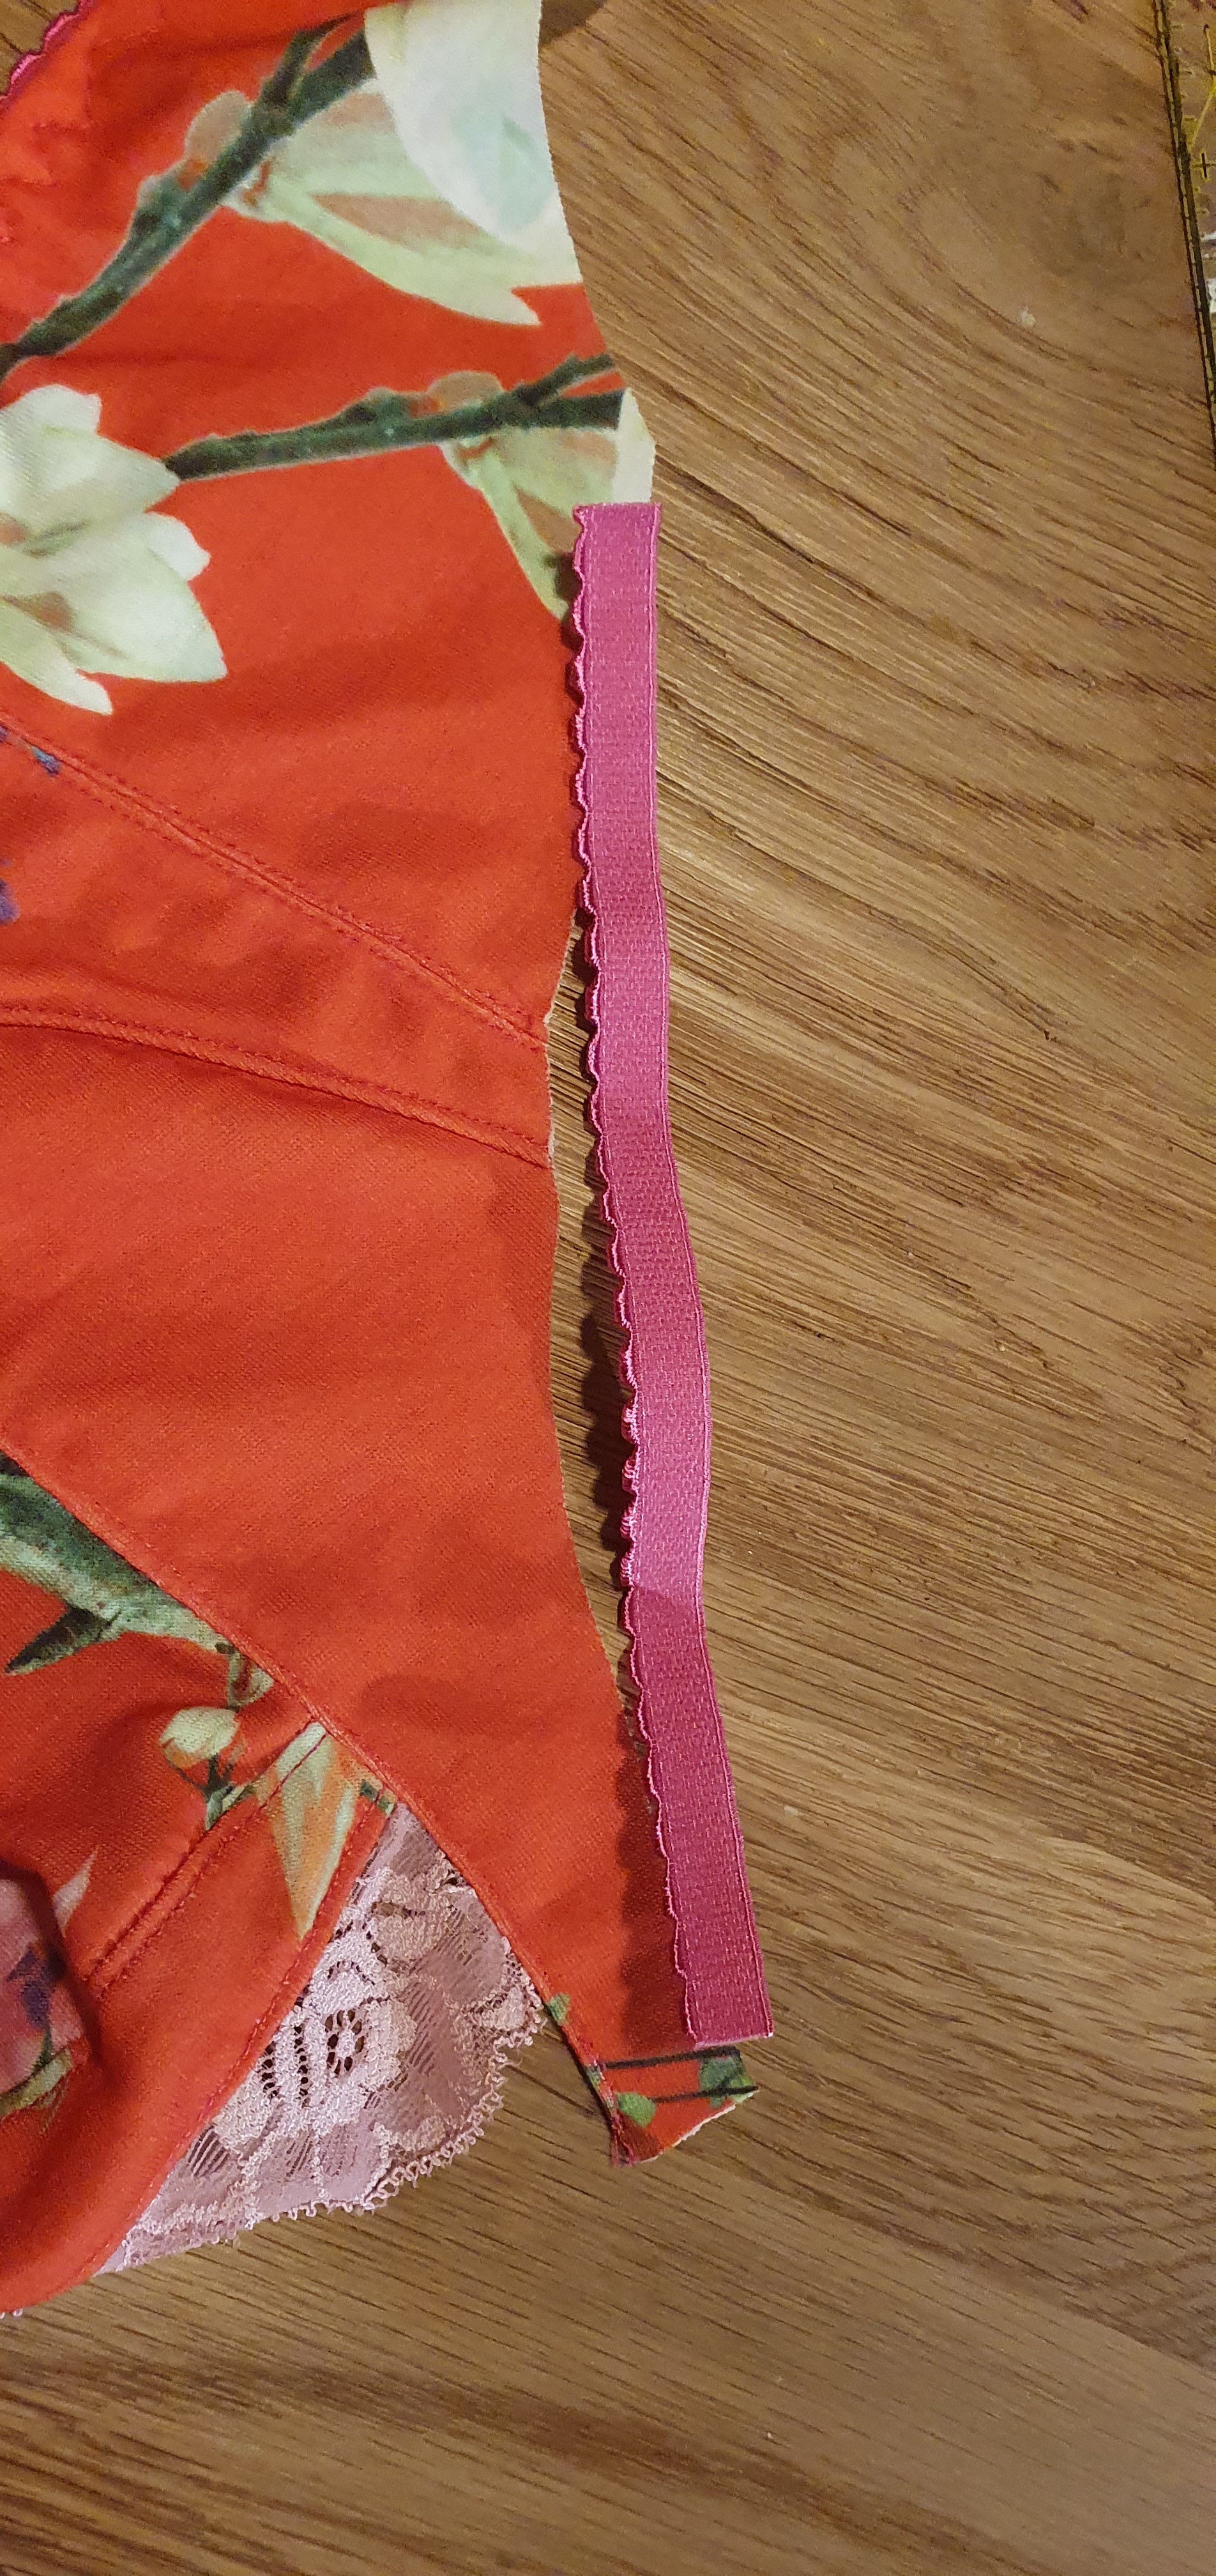
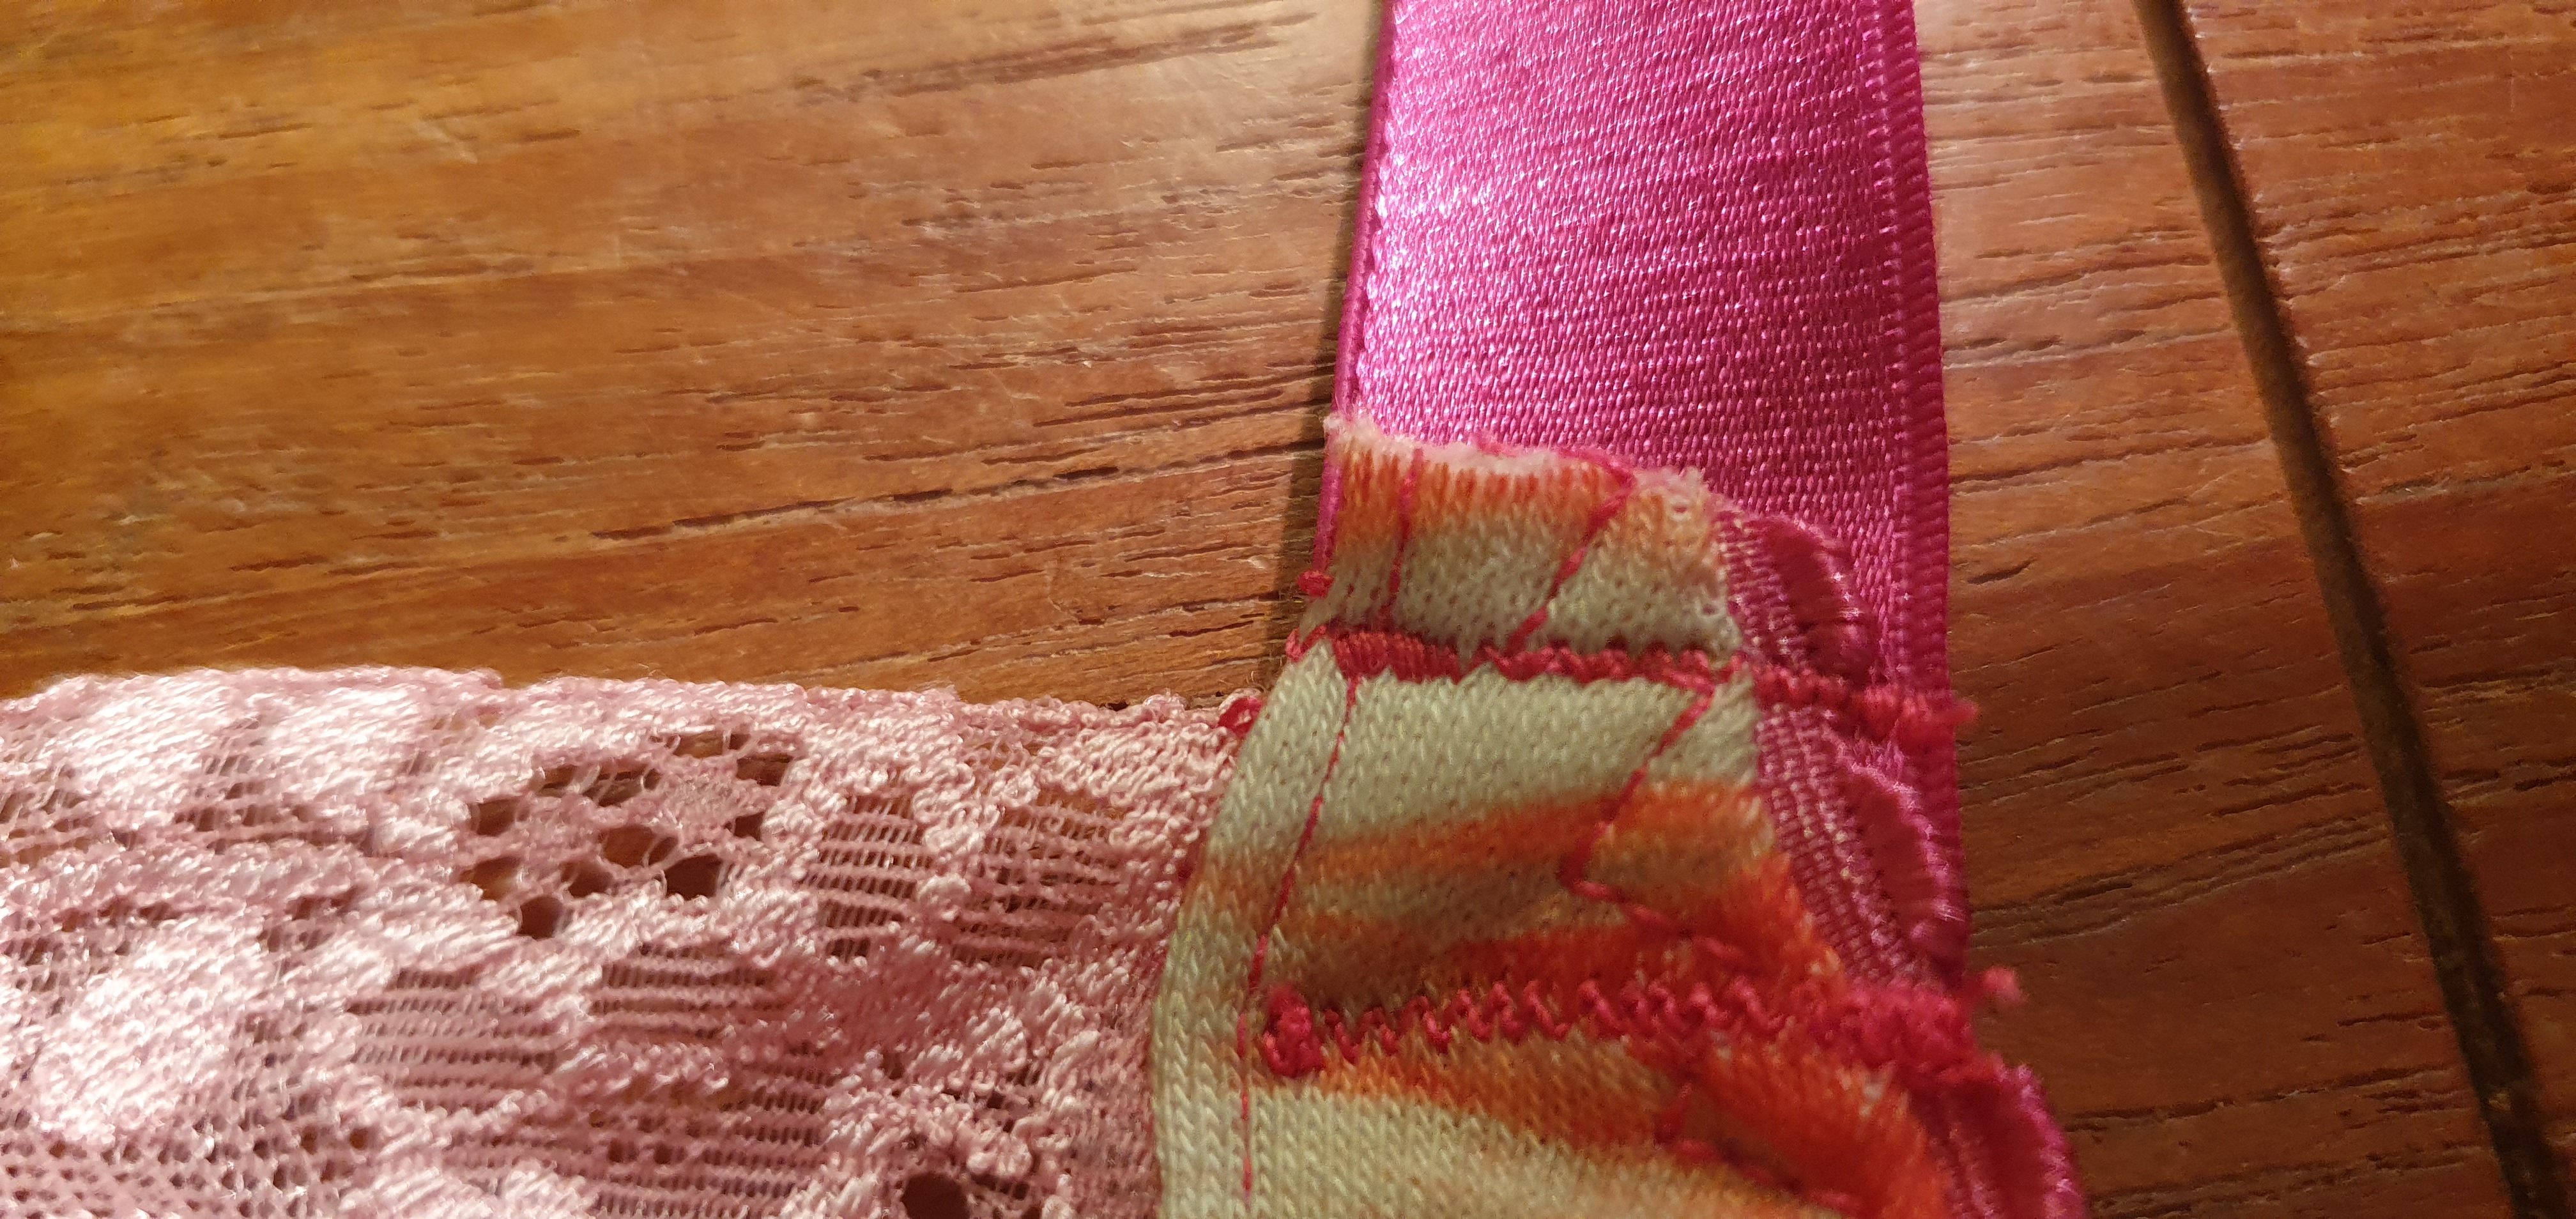
Sew the side boob piece on and when you top stitch this piece down it will hem and neaten up the edge above the cup.
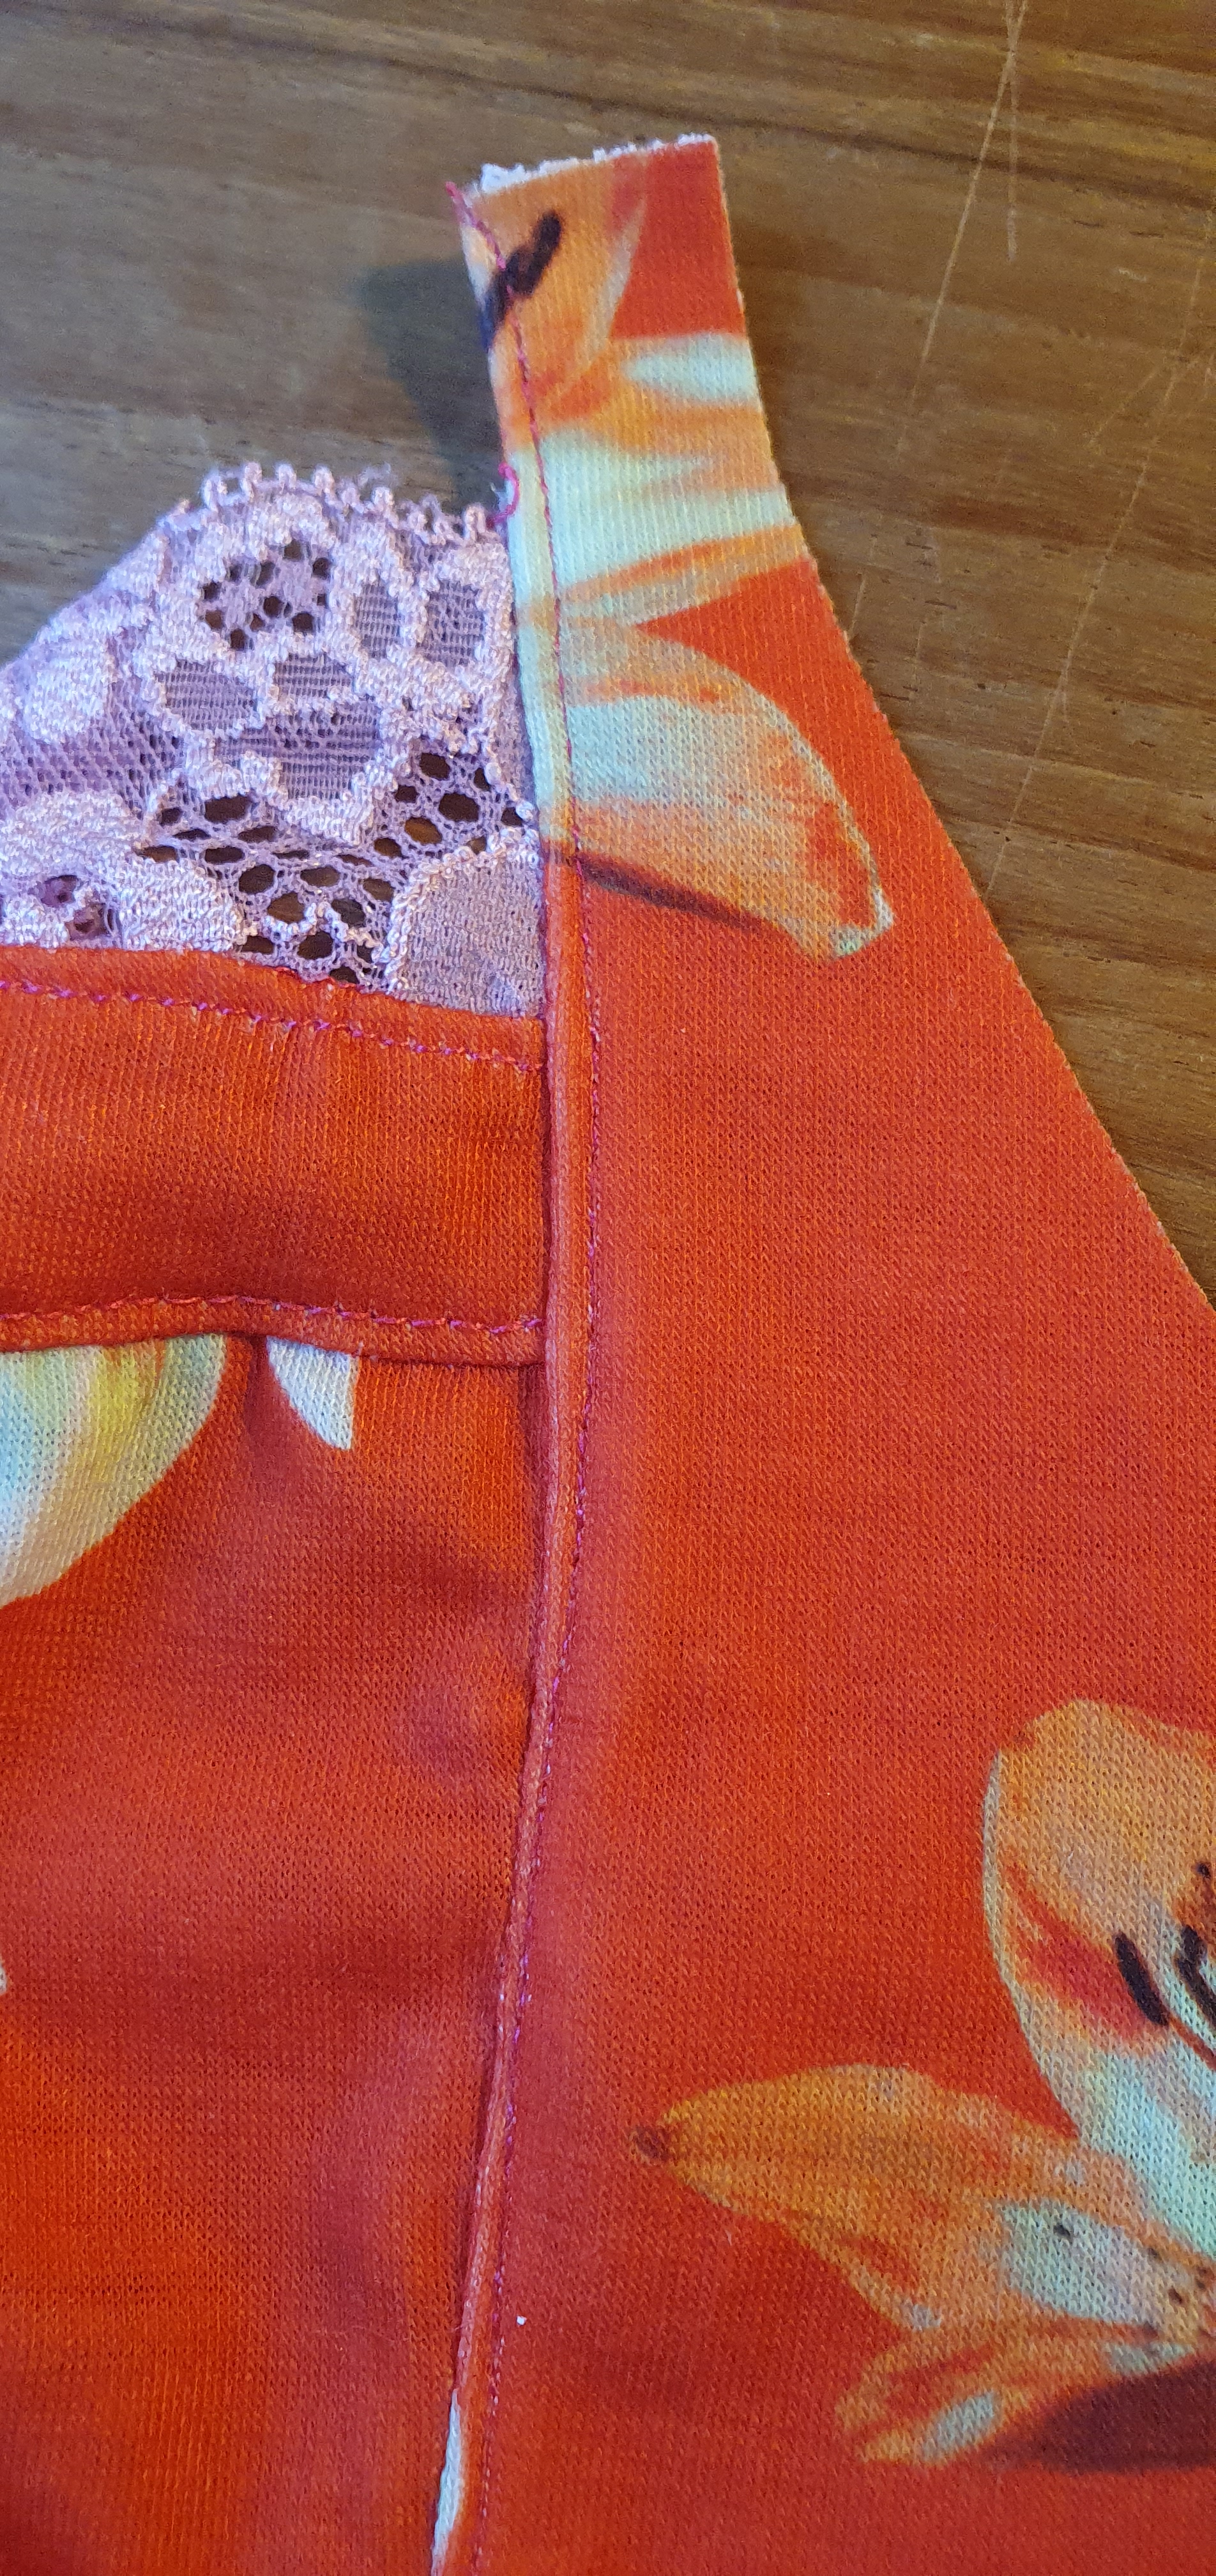
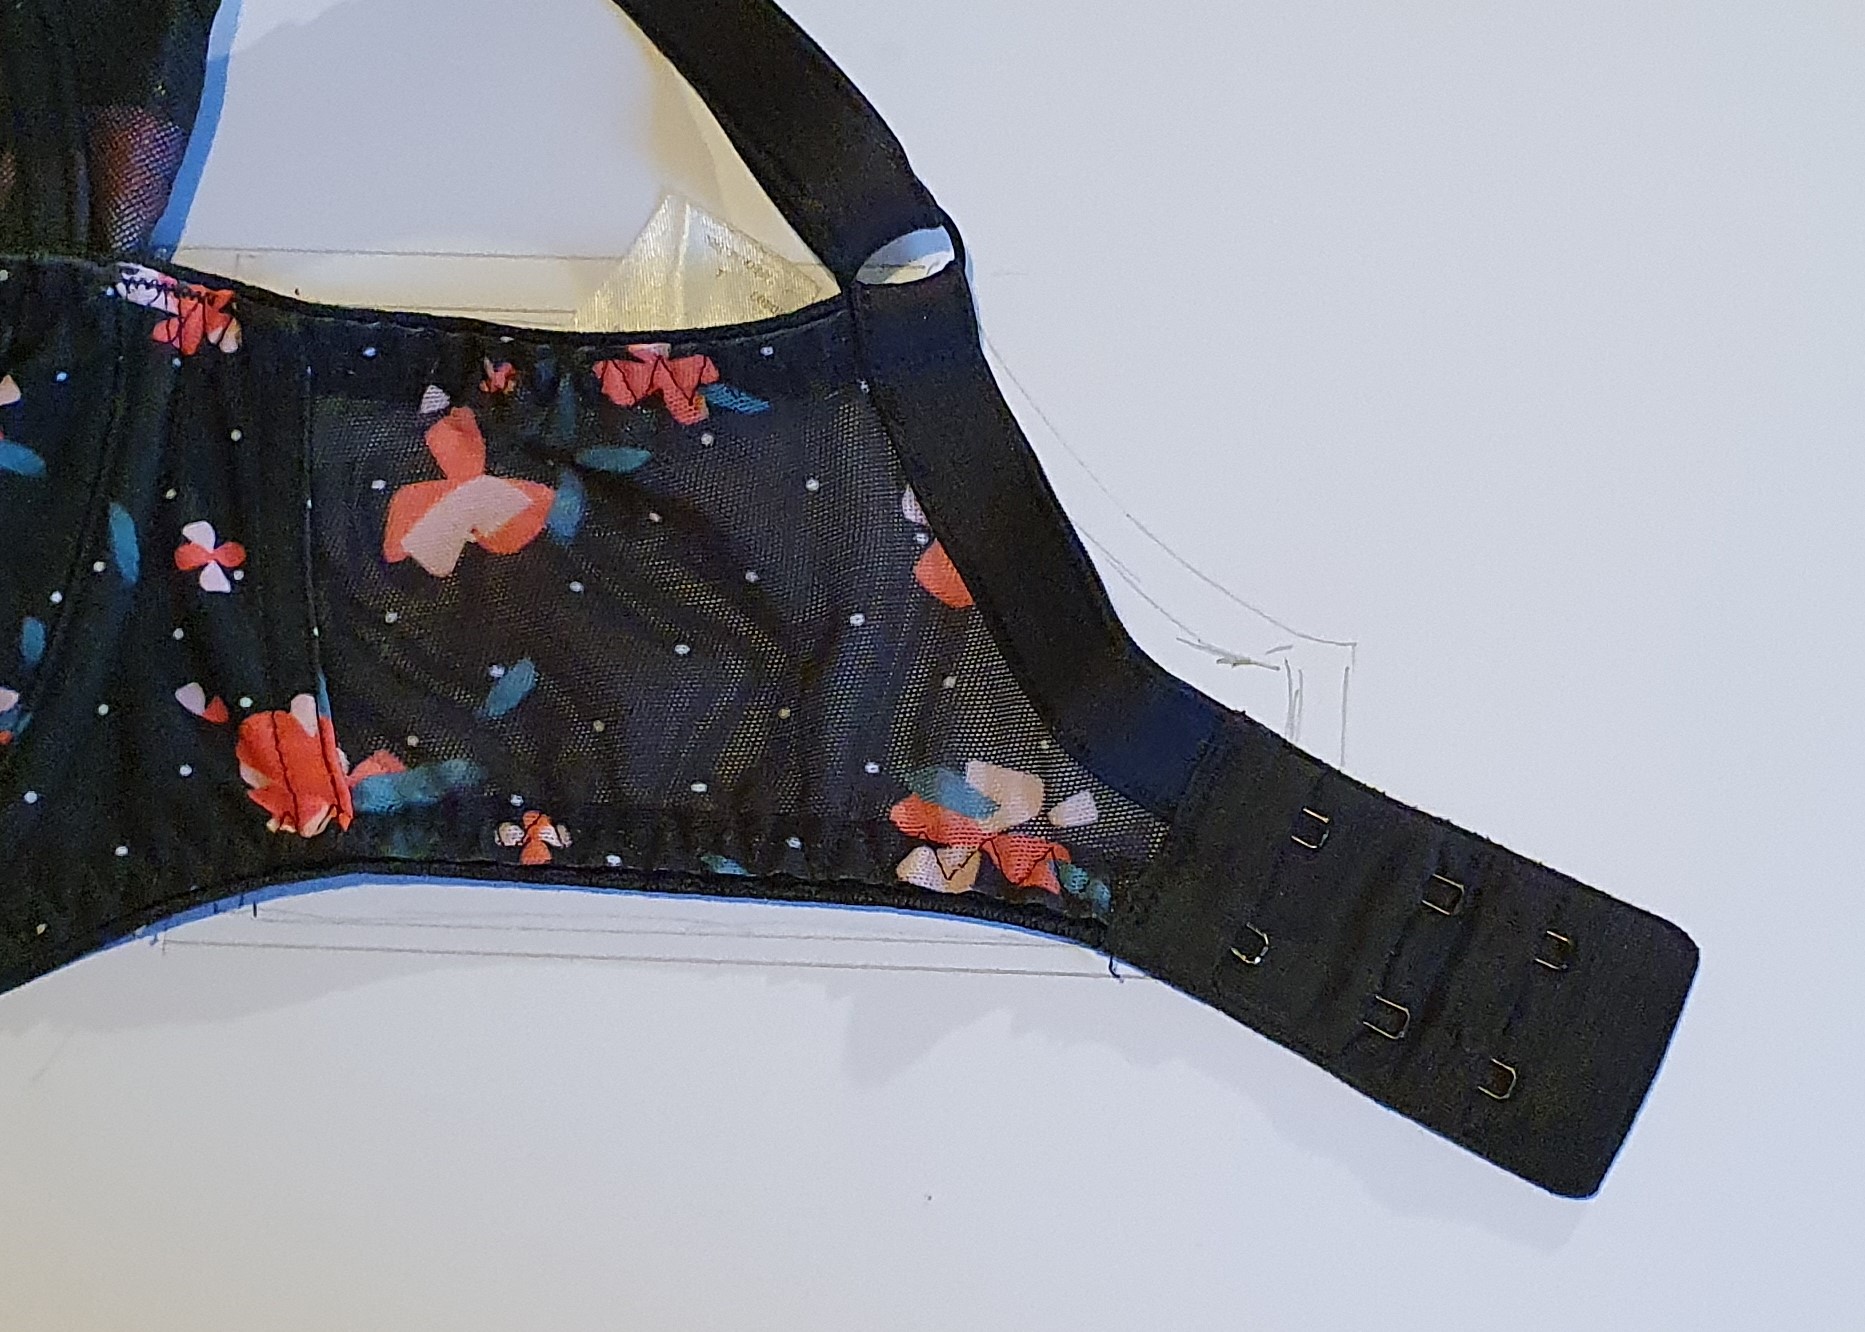
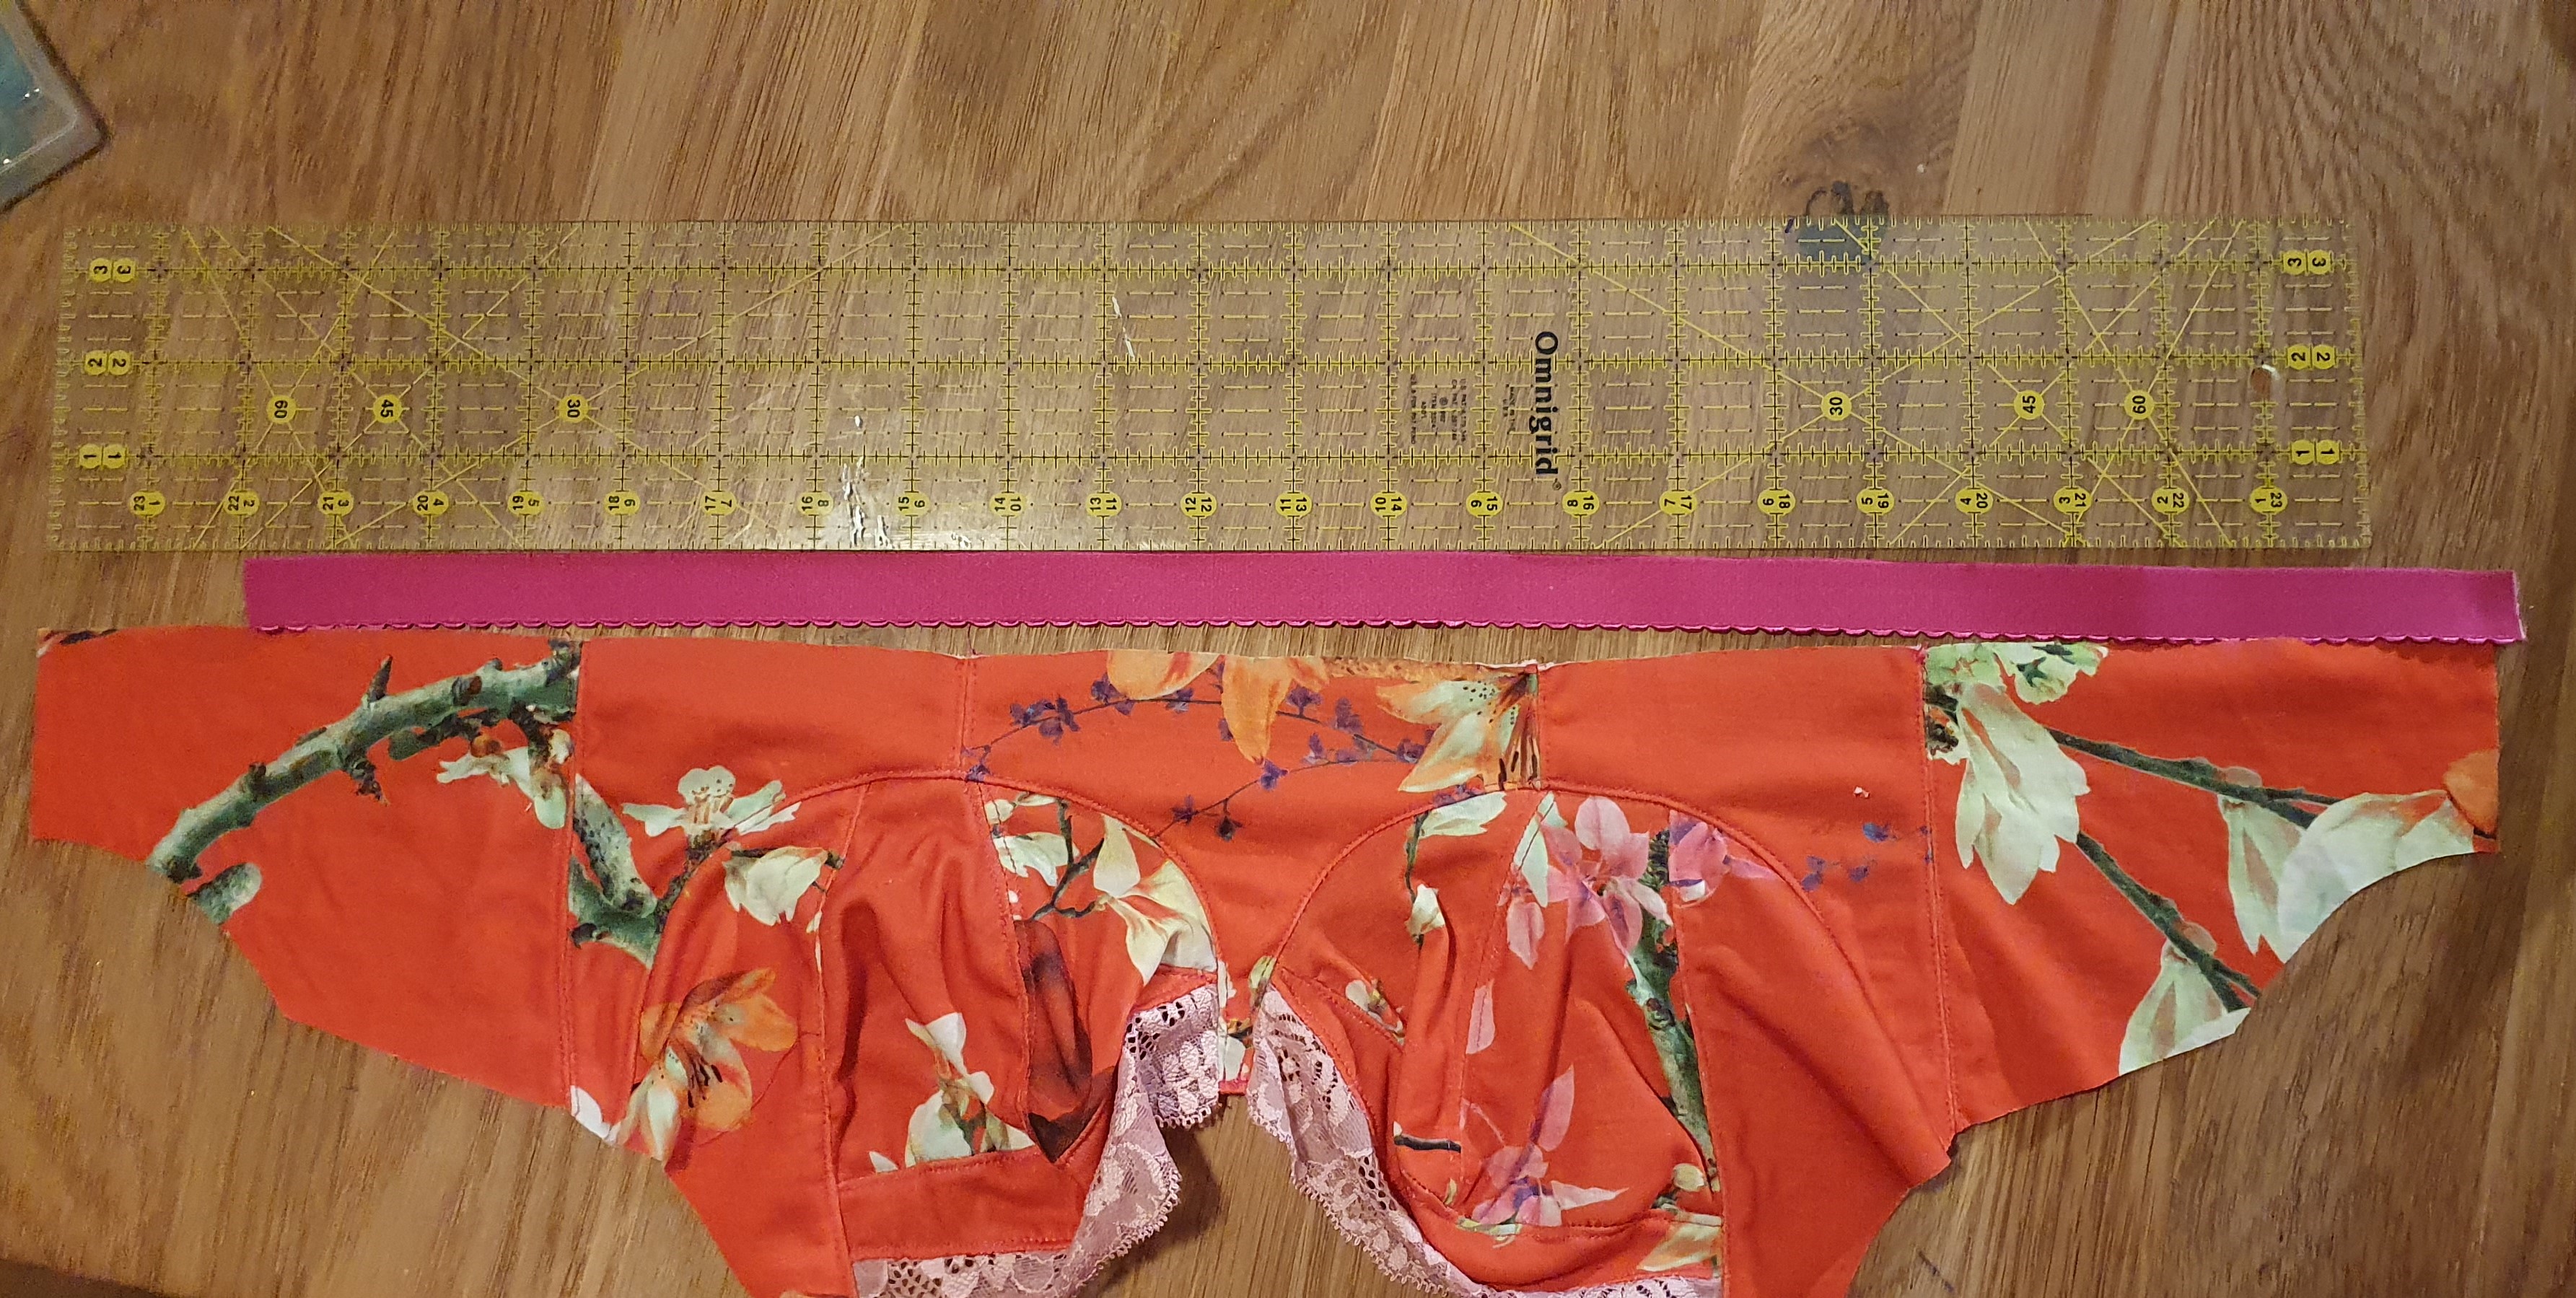
The band pieces are sewn together before the cup is pinned in and sewn in. Match the open cup seams to the open band seam. Use a lot of pins and match carefully around the cup without stretching the fabric. Sew the pieces together and then top stitch the pieces.
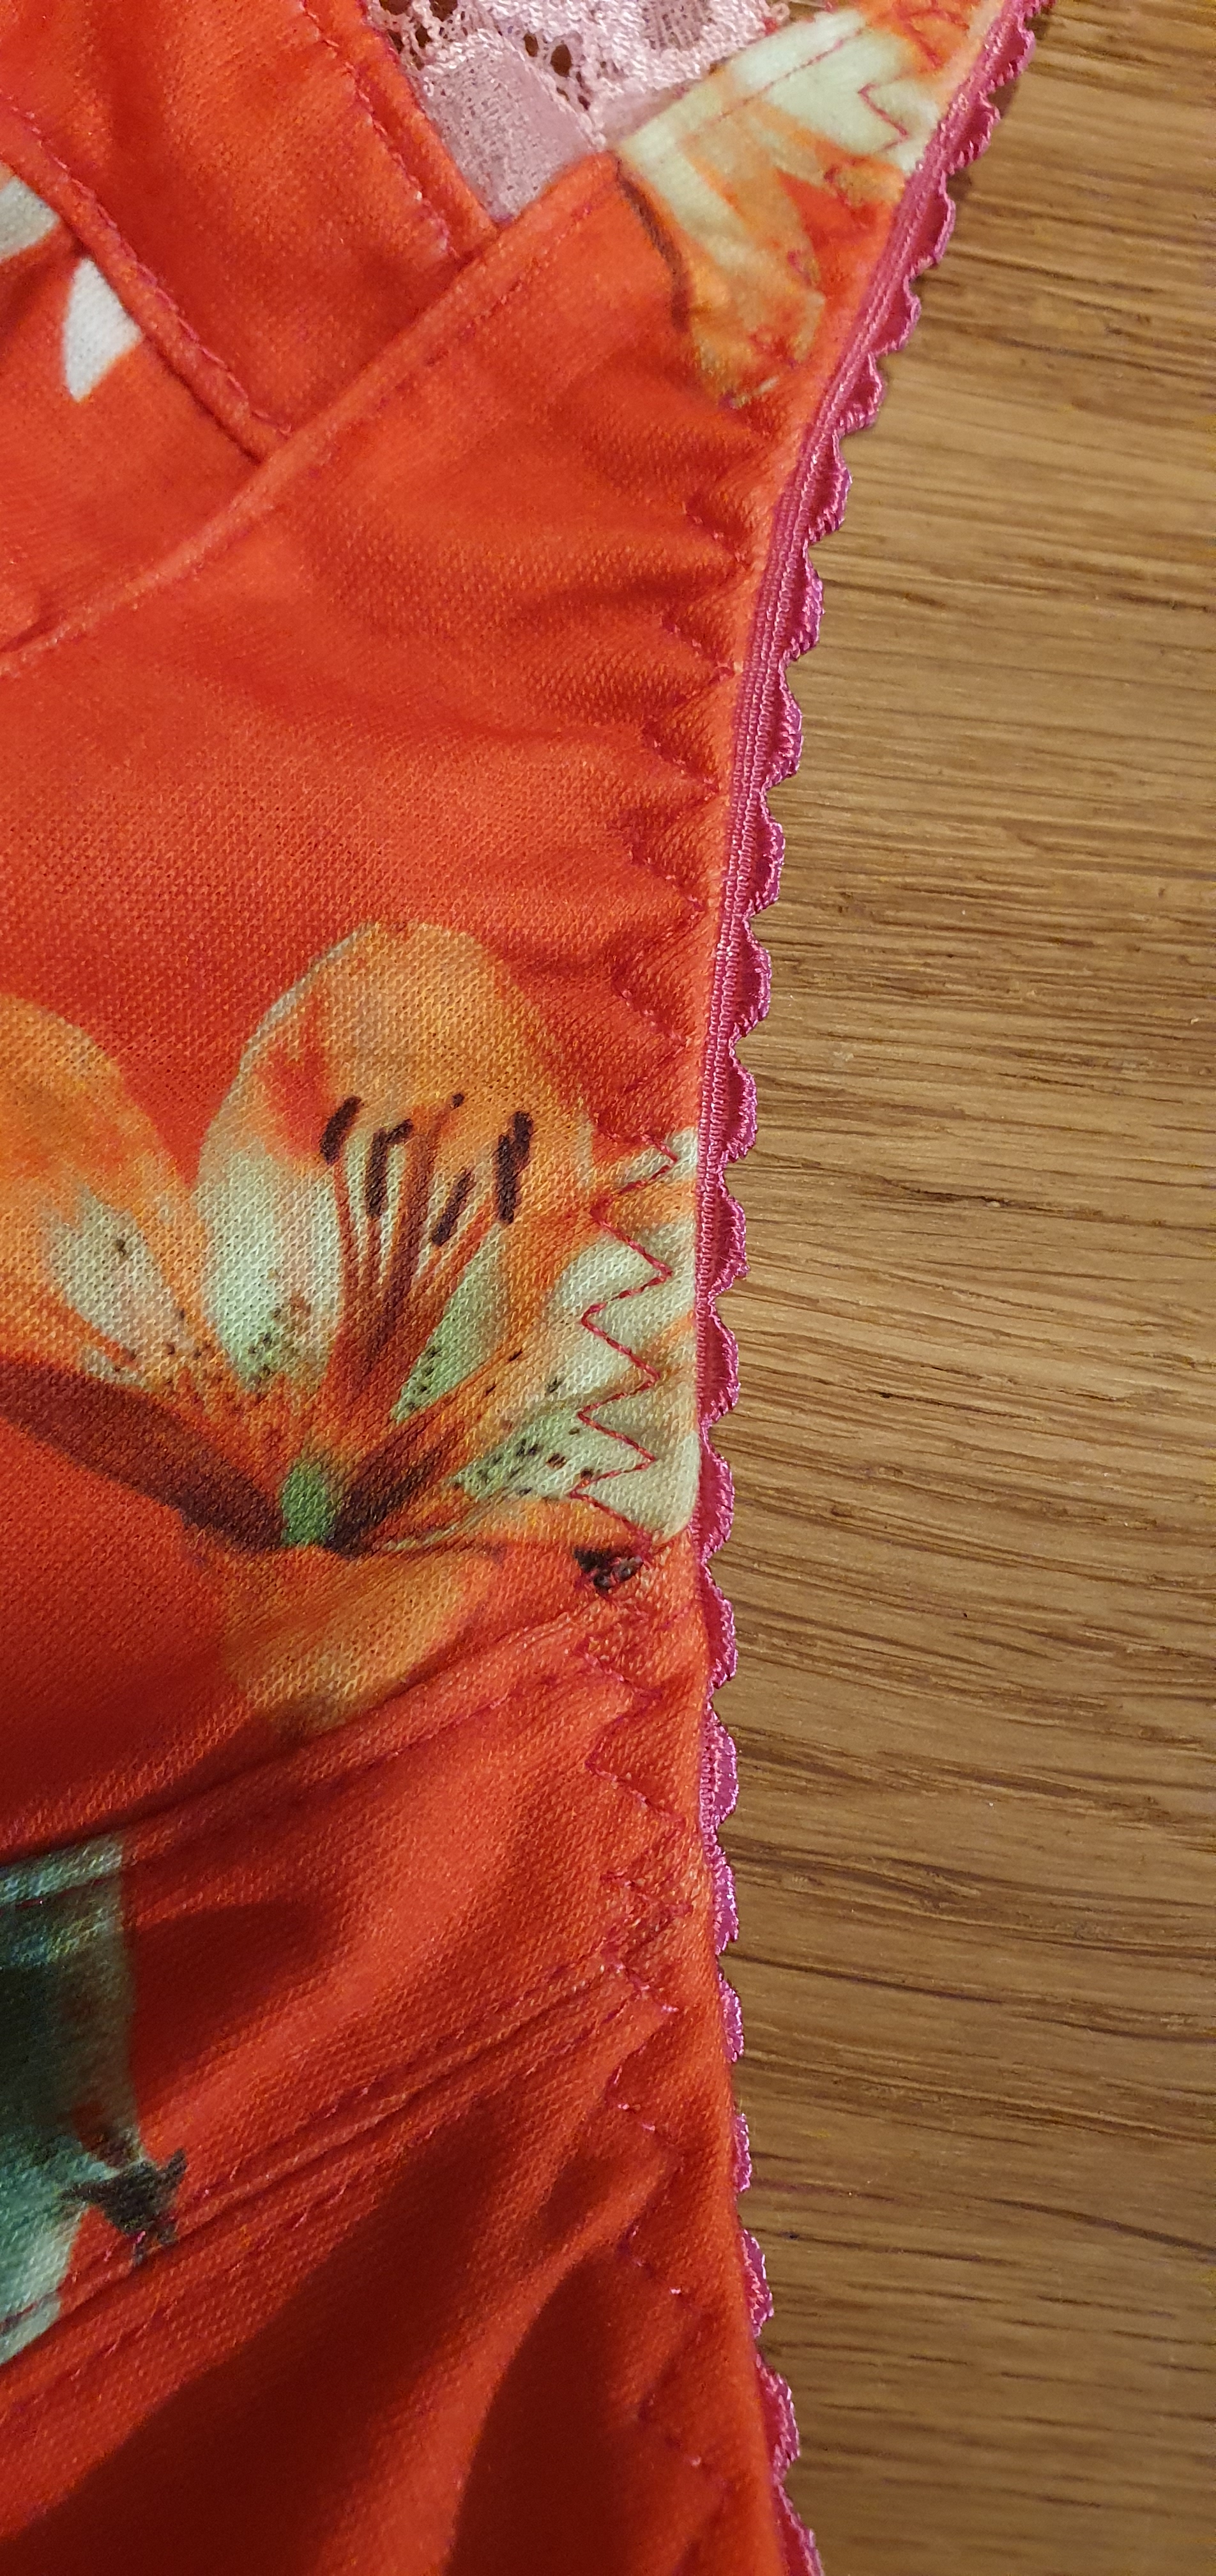
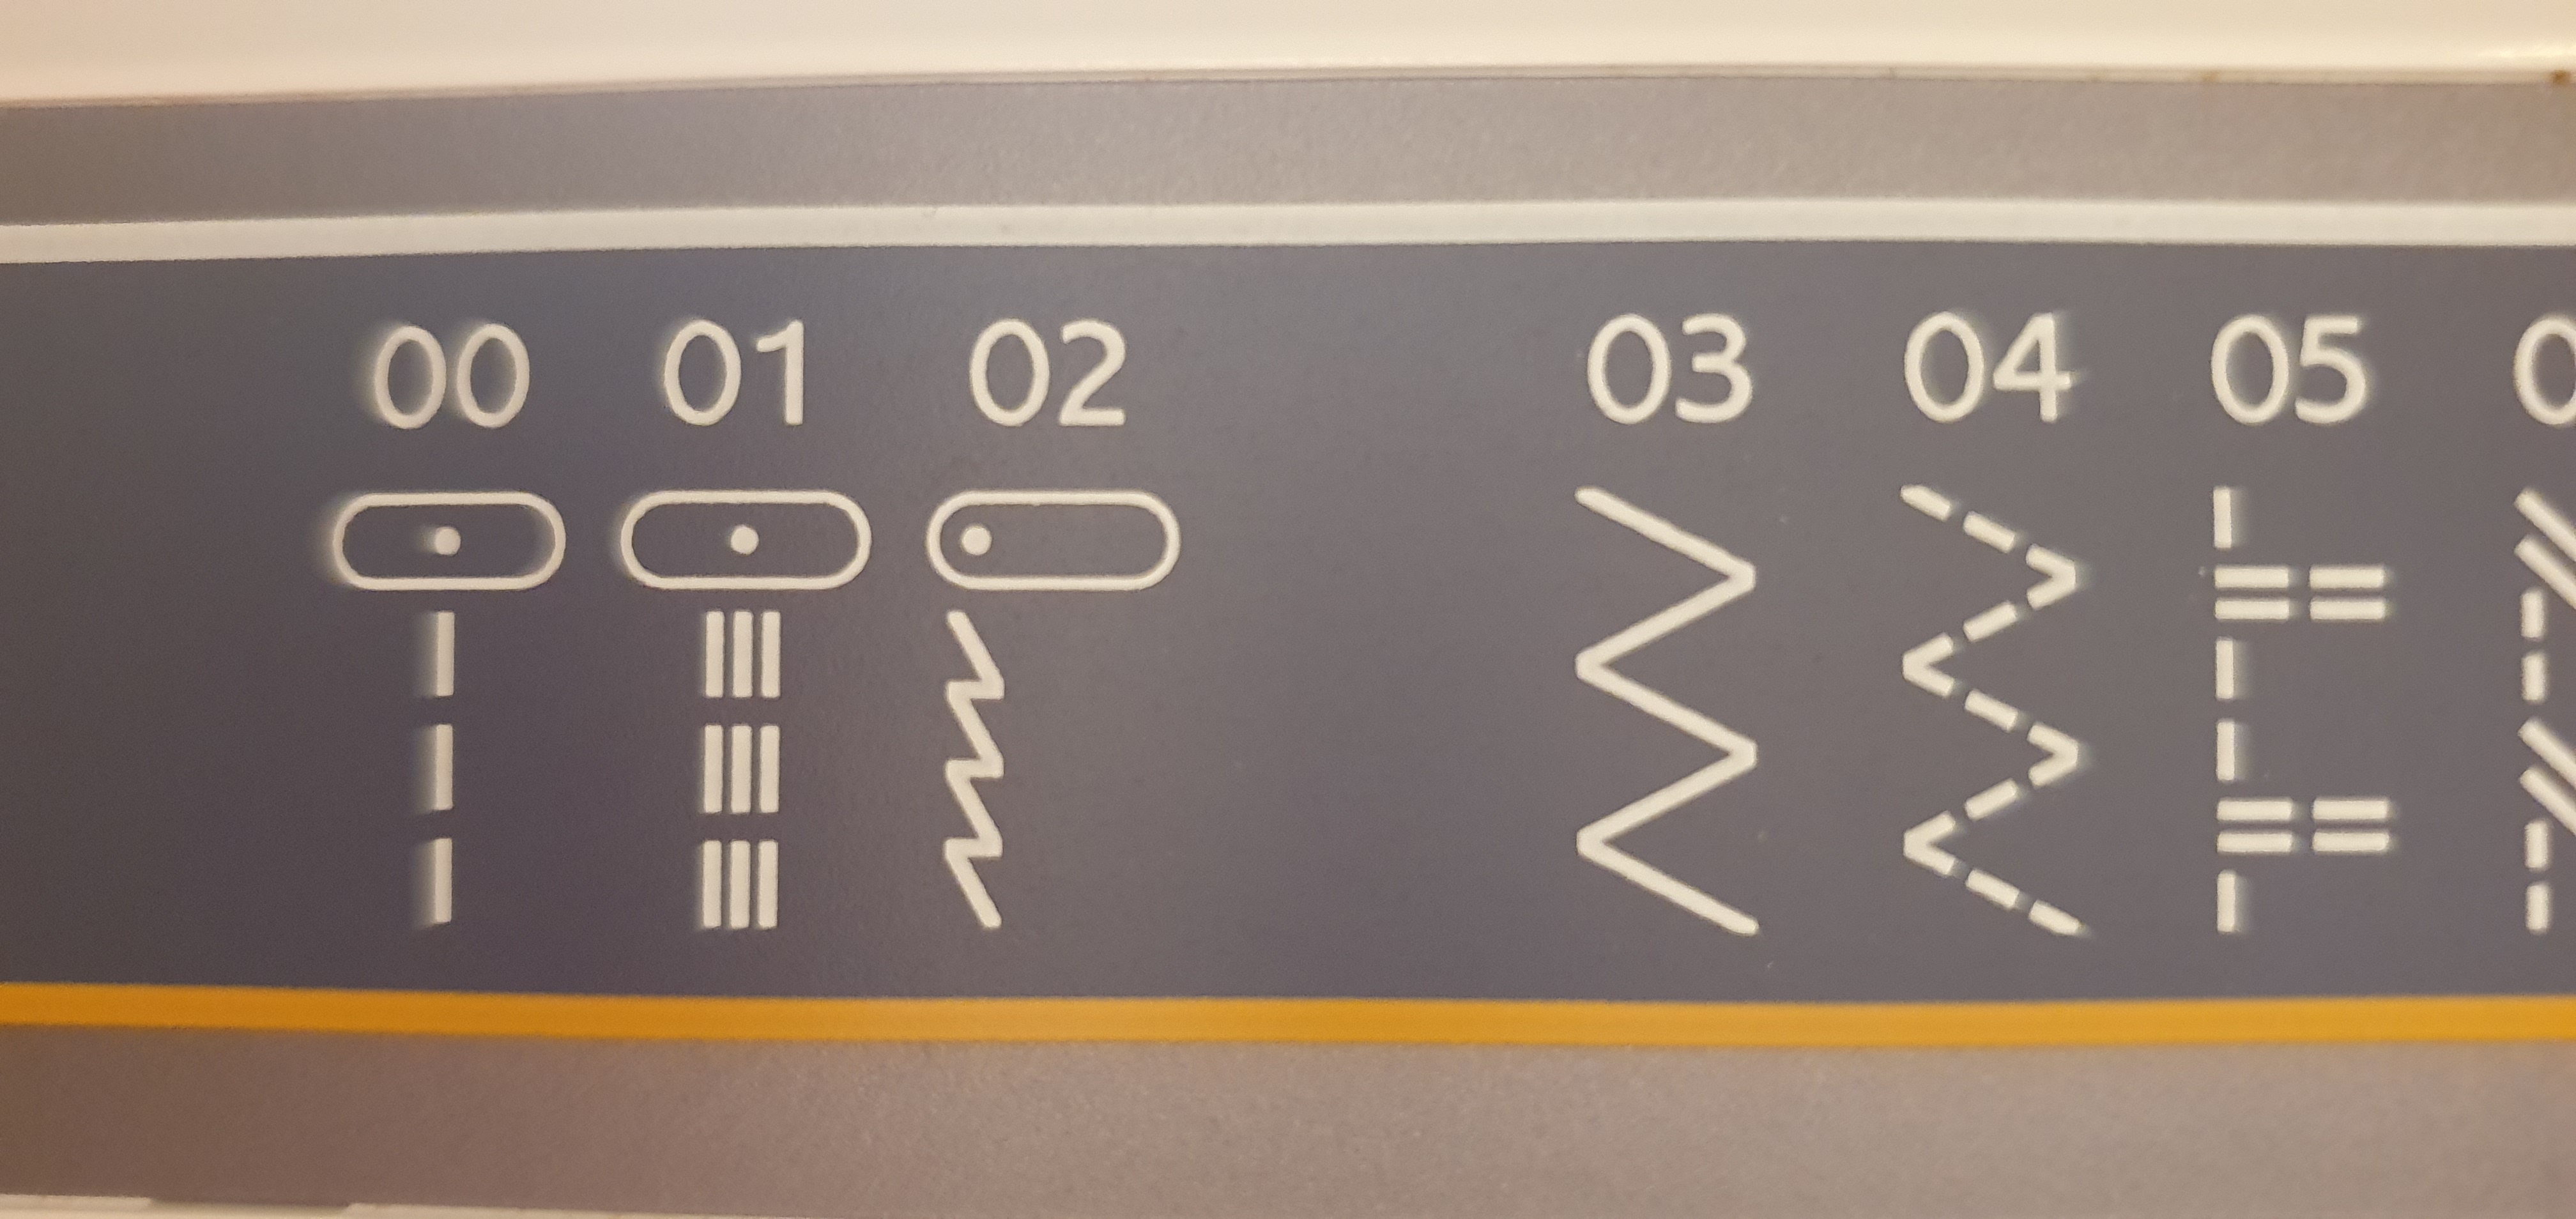
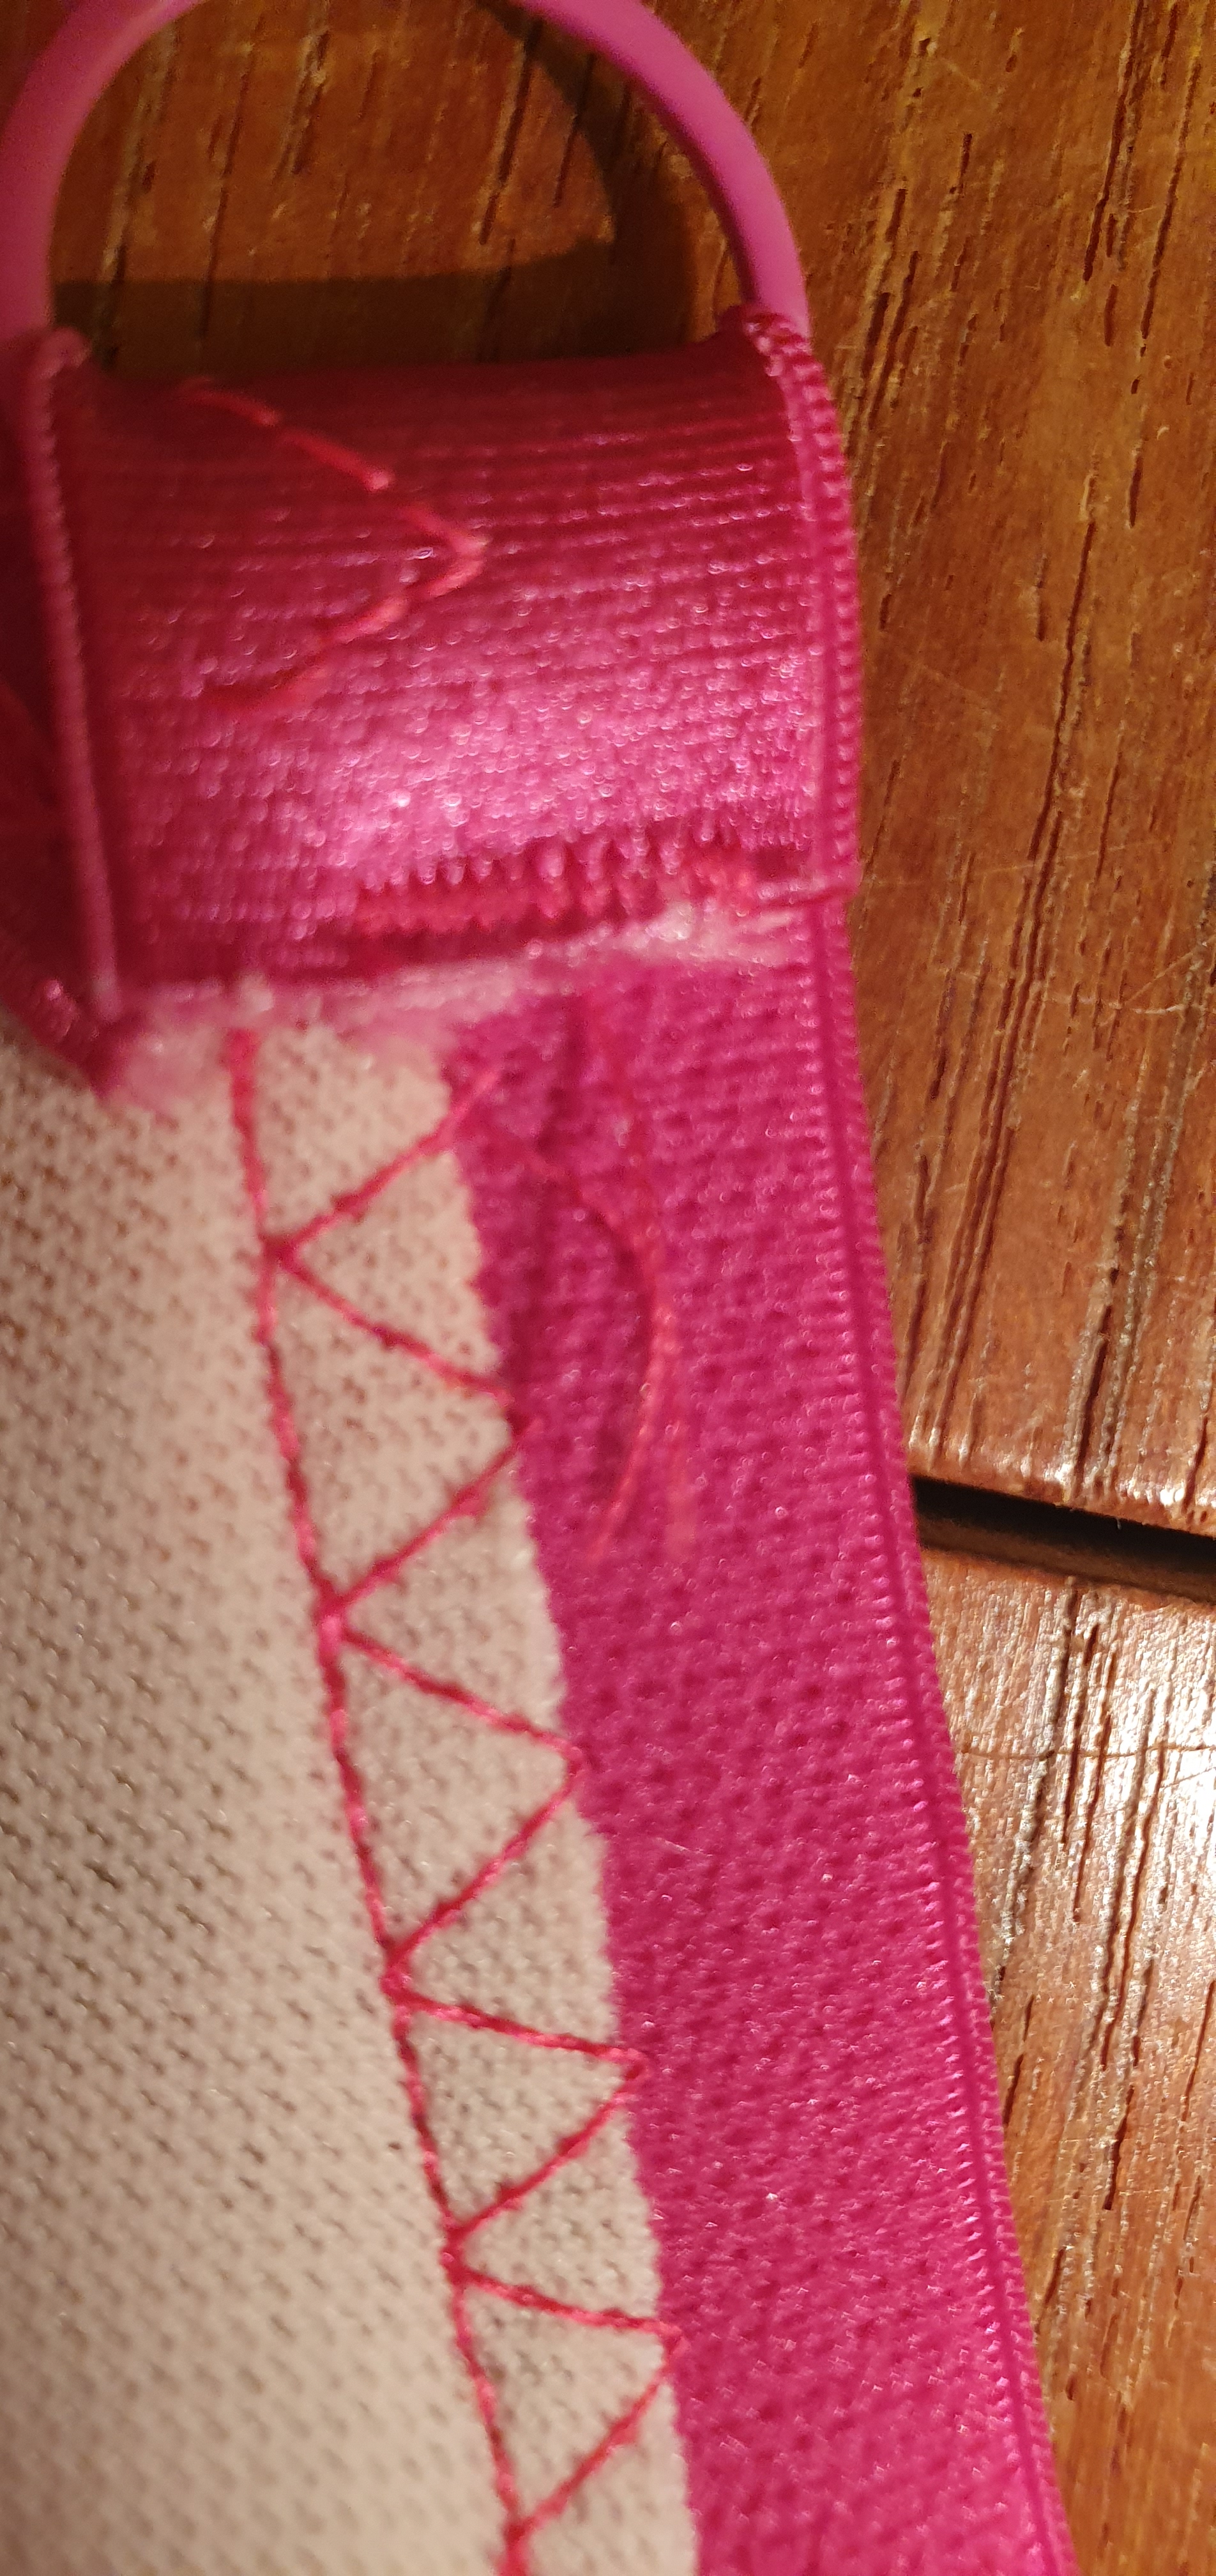
Adding the elastic bits are tricky. I used a stretch stitch (stitch 2) on the sewing machine and gently pulled the wider elastic as I sewed so that it would reach the end of the band. Sew the elastic with the right side of the elastic facing the right side of the fabric with the picot edge pointing towards the top of the bra. When this is sewn turn the elastic over so that the picot edge shows along the bottom edge and sew down with a zig zag stitch (stitch 4). Repeat with the narrower elastic on the side cups.

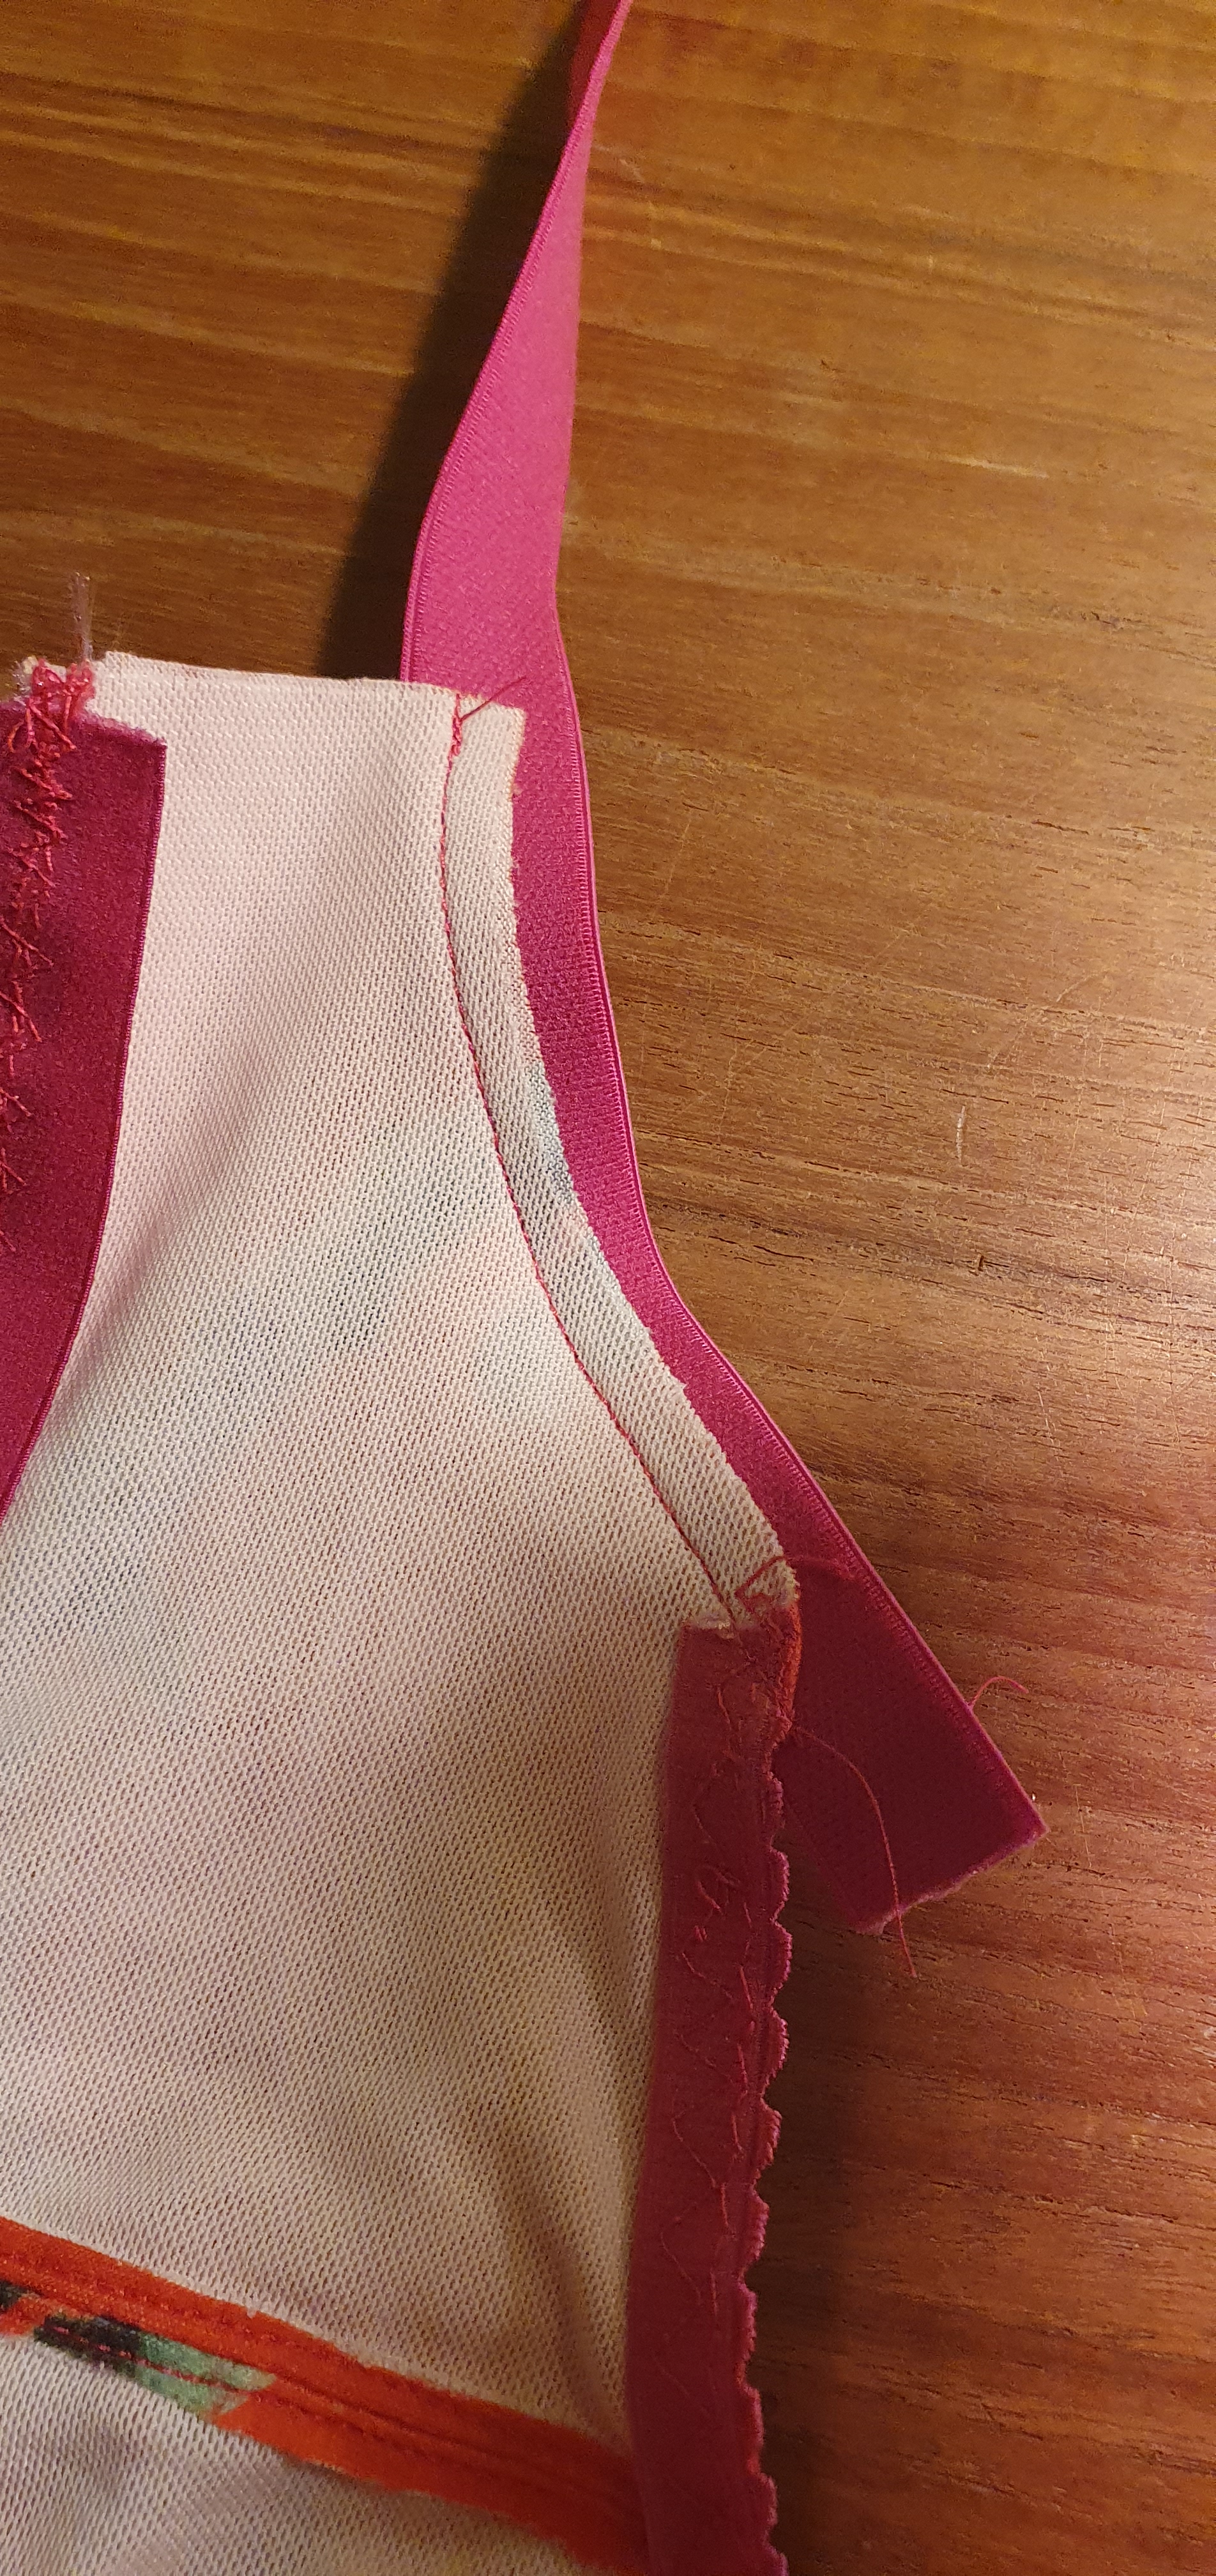
Tricky parts are all done now so using the strapping and attach a piece to each of the sides. Put together the straps and attach them to the bra.

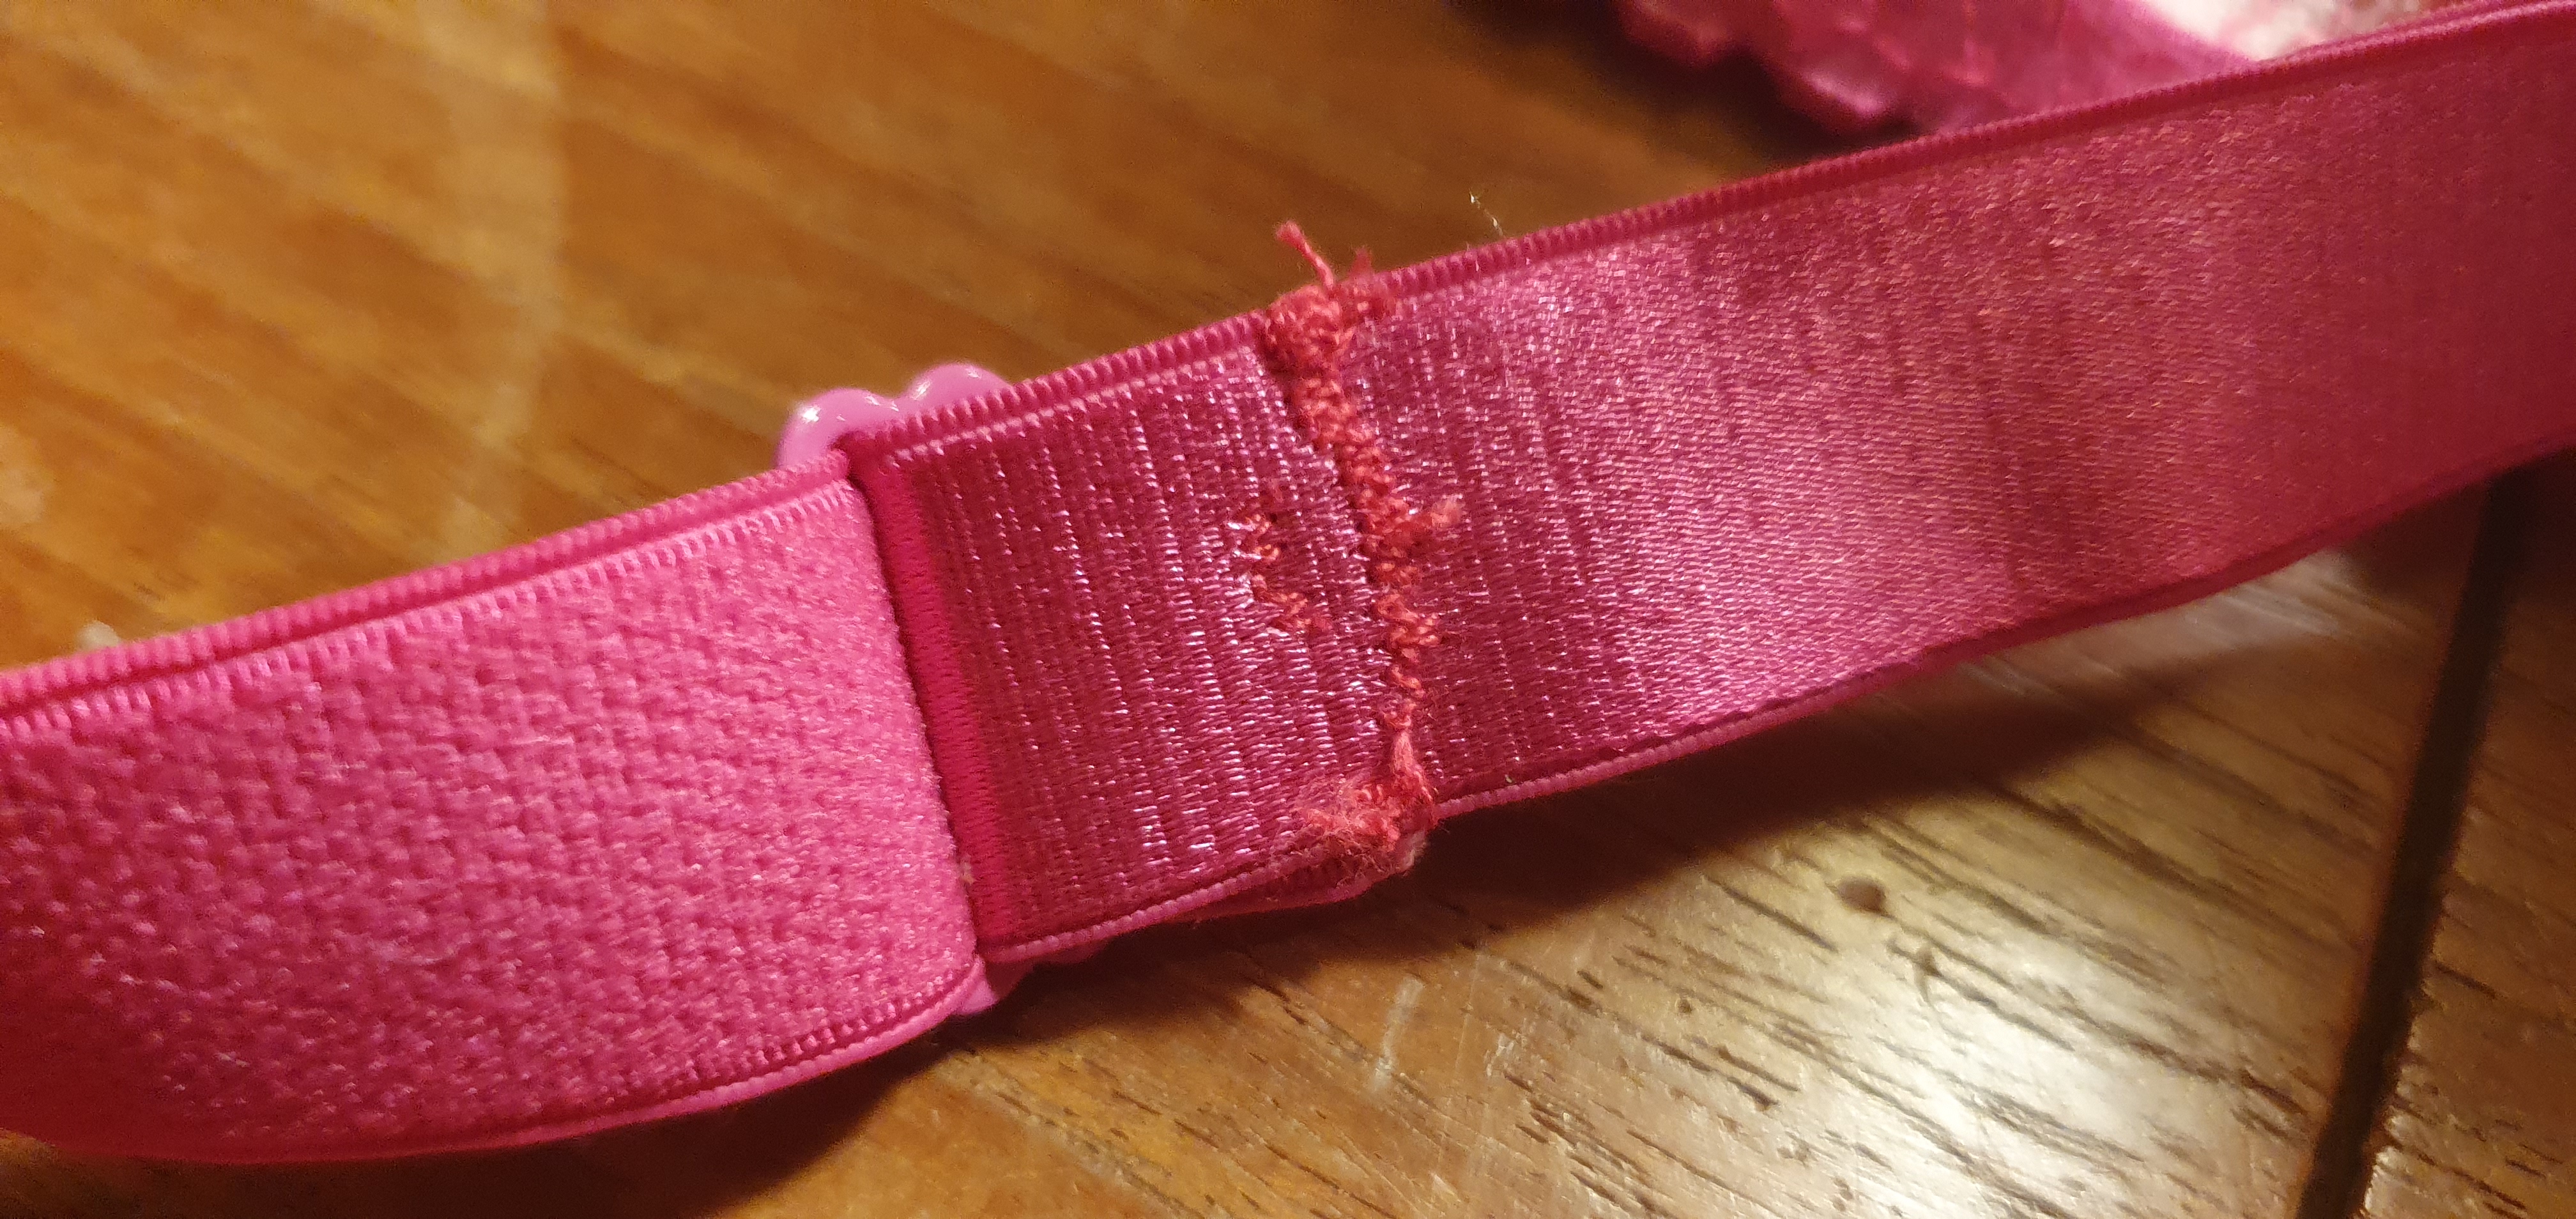
Add the fastening with a tight zig zag stitch and the bows to cover the strap ends and 1 in the centre.

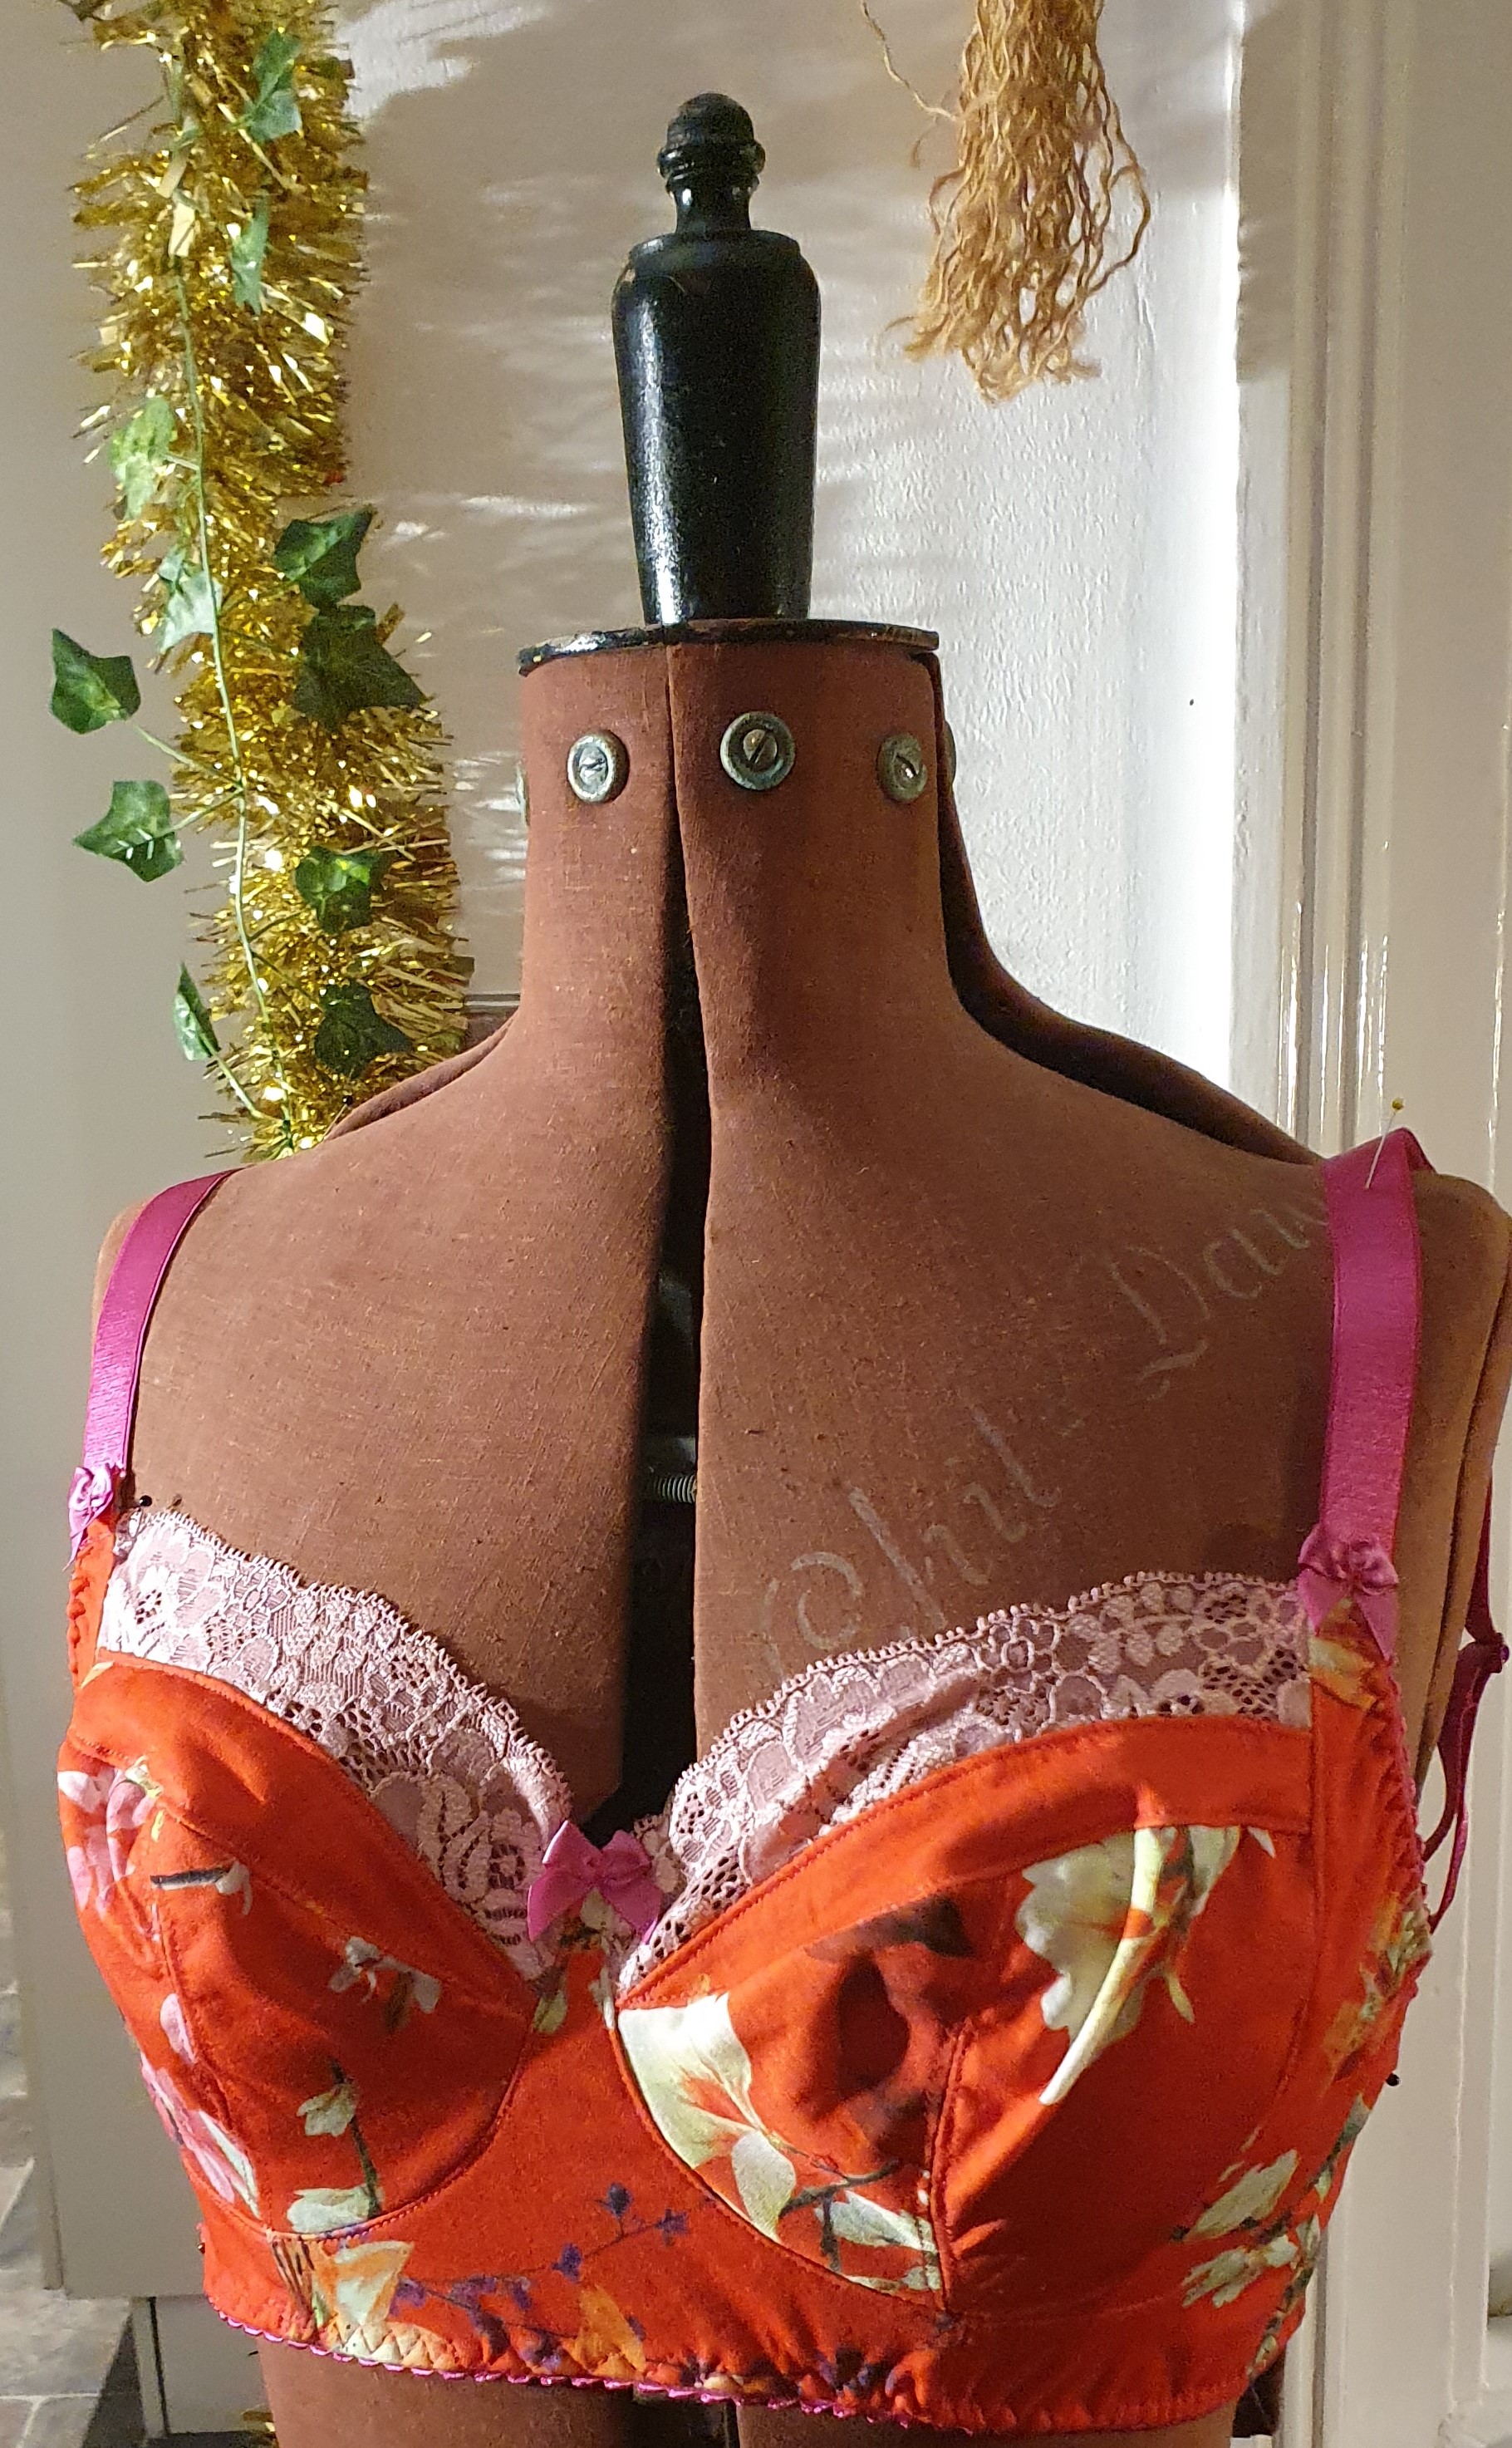
I hope this will help anyone trying to make a pretty, comfortable and well fitting soft cup bra.
