
It helps to have a fairly large work surface flush with your machine so you can easily move your fabric pieces around. I was lucky enough to have the cabinet from my mum’s old 1960’s Singer machine. The Singer used to swing down in to the cabinet when not in use but unfortunately that fabulous machine is long gone. So, I adapted the cabinet for my Husqvarna Viking, an equally fabulous machine that has served me well over the years.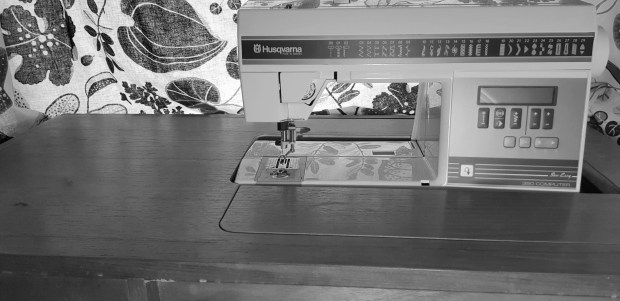
I know you can get gloves, and free motion guides to help you push around the fabric easily, but I find two pieces of rubber mat the easiest. I just place them where I want to put my hands and it gives me a relaxed grip without the sweaty palms!
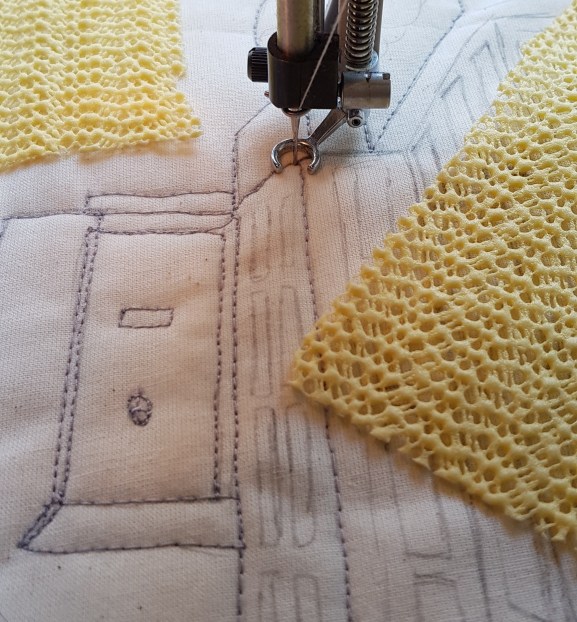
It is vital to have a sharp needle so change it now! Change it when you start to feel the needle sticking in the fabrics or the thread breaking. Use an open toe darning or stippling or free motion foot so you can clearly see where you are going, I like to sew backwards when I’m free machining – I don’t know why! Drop the feed dogs as you don’t want the machine trying to control the direction of the fabric. I also prefer to use a stitch plate with a small hole (not the zig-zag plate), I find I get less thread boogers on the back so it’s useful to have one.
I have been embroidering on top of the plants and trees that I am attaching to the dinosaur quilt I am making. This is giving them the extra detail I want and I have found that using a variegated thread works the best and hides a multitude of errors. I do not yet have the quilt back attached as this makes it easier to leave some of the ends, I can cover up the thread boogers with the 3rd layer of fabric later. And of course it will be more comfortable if that level of stitching has not gone right through to the back.

The back of the stitching on the wadding
Remember, unless you are doing a face no one knows exactly what your design is supposed to look like so relax, get going and have a practise.
